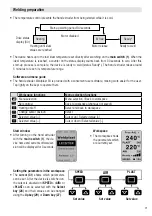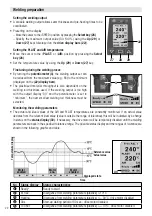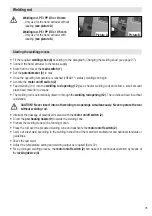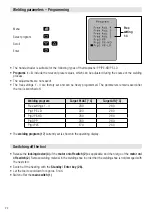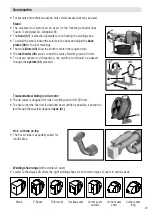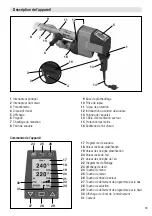
27
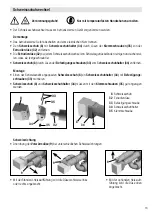
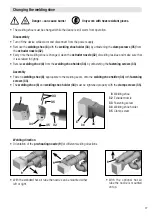
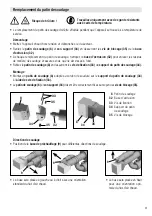
Disassembly
• Turn off the device while warm and disconnect from the power supply.
• Remove the
welding shoe (8)
with the
welding shoe holder (34)
by unfastening the
clamp screws (35)
from
the
extruder nozzle (32)
.
• Every time the welding shoe is changed, clean the
extruder nozzle (32)
of welding residue and make sure that
it is screwed in tightly.
• Remove
welding shoe (8)
from the
welding shoe holder (34)
by unfastening the
fastening screws (33)
.
Assembly
• Fasten a
welding shoe (8)
, appropriate to the welding seam, onto the
welding shoe holder (34)
with
fastening
screws (33)
.
• The
welding shoe (8)
and
welding shoe holder (34)
must be tightened properly with the
clamp screws (35)
.
Danger – can cause burns!
Only work with heat-resistant gloves.
• The welding shoe must be changed while the device is still warm from operation.
Changing the welding shoe
8
Welding shoe
32
Extruder nozzle
33
Fastening screw
34
Welding shoe holder
35
Clamp screw
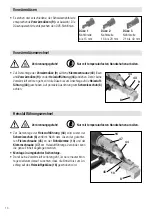
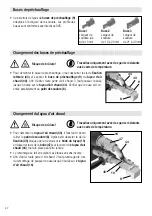
Welding direction
• Orientation of the
pre-heating nozzle (9)
for different welding directions
• With the standard hot-air tube the nozzle can be mounted either
left or right.
• With the optional hot-air
tube the nozzle is mounted
on top.
35
8
8
35 32
34
33
35
34
9
9
9
Summary of Contents for WELDPLAST S4
Page 59: ......

