Page 41
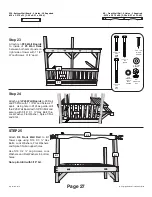
Step 64
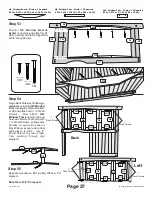
Step 65
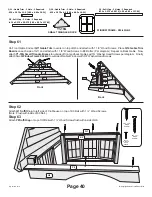
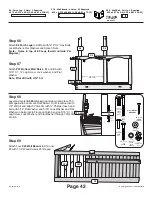
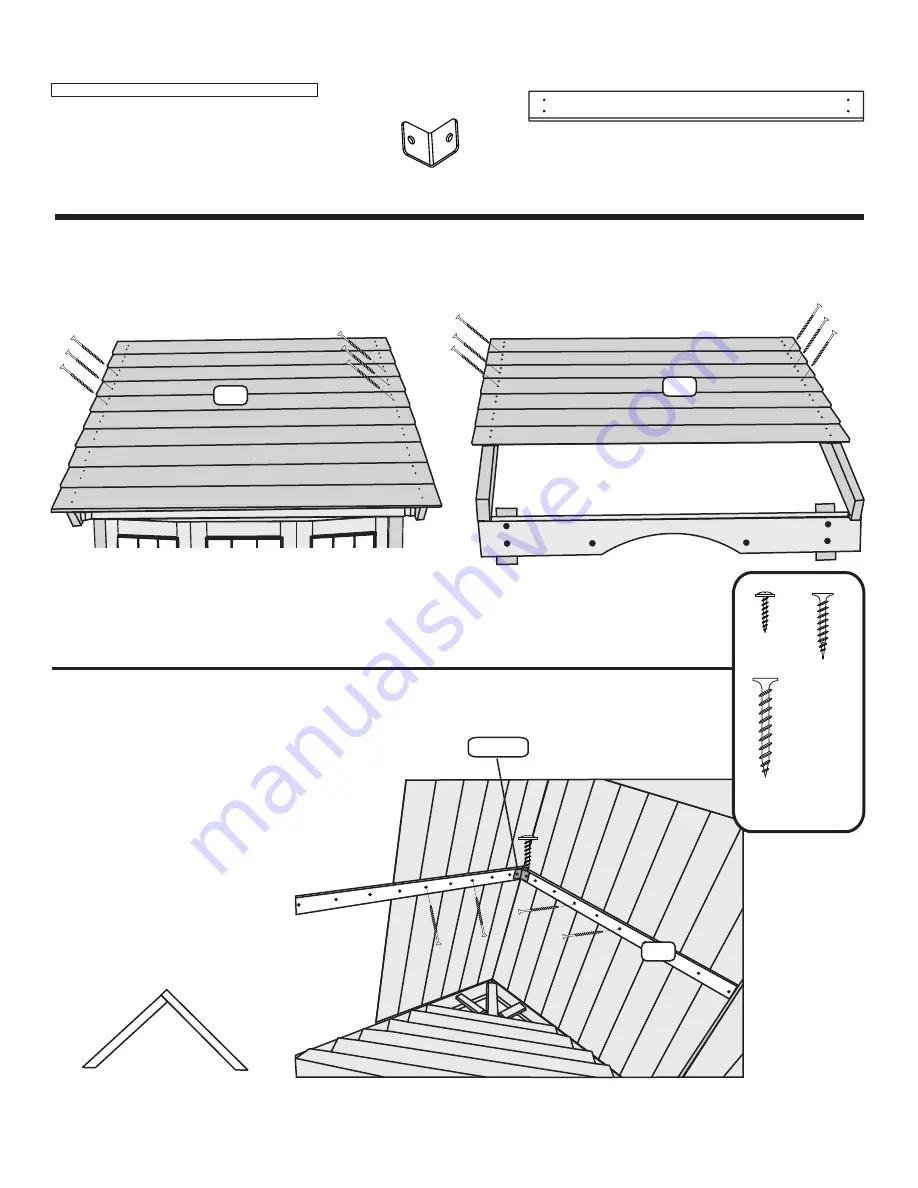
Attach nine SA1 Roof Boards to left side of Clubhouse with 1 ½” Wood Screws. Attach six SA1 Roof Boards to right side of
Clubhouse Roof Assembly with 1 ½” Wood Screws.
Note: This side of roof to be finished at later step.
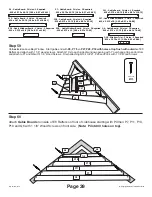
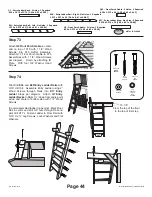
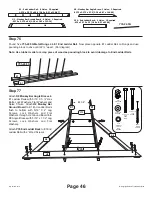
Attach
Q3 Roof Supports
to
center of SA1 Roof Boards
starting on right side. Push Q3 up
to peak on inside of Roof and
secure with 1 1/8” Wood Screws.
(Note: Put screws towards
bottom of SA1 to prevent screw
from boring through.) On left side
push Q3 support and secure
same way (per diagram). Attach
Y30-40G to Q3's at Peak with ¾”
Washer Head Screws.
Q3 - Roof Support - No Holes - 2 Required
.625 x 2.375 x 47 [1.59 x 6.03 x 119.38]
SA1 - Club House Roof Board - 4 Holes - 19 Required
.6875 x 5.25 x 59 [1.75 x 13.34 x 149.86]
Left
Right
Right
Left
#8 X 3/4
WASHER
HEAD
SCREW
"
#8 X 1-1/8"
WOOD
SCREW
#8 X 1-1/2"
WOOD
SCREW
Y30-40G
2" x2" METAL
BRACKET
© Copyright Leisure Time Products Inc.
Sky Fort 09-0112
Y30-40G
SA1
SA1
Q3
Right
Left

