
EN
Emptying the dirty water tank
! DANGER
Unplug the machine from the power socket (mains powered model).
An automatic float-controlled shut-off device mounted to the lid of the
dirty water tank is designed to inhibit further operation of the vacuuming
system when the tank is full. It is possible to recognize when the
vacuuming system has been shut off, as the suction motor will suddenly
become noisier in operation, and the floor will not dry as expected. In this
situation, the operator must stop the machine and empty the dirty water
tank, proceeding as follows:
•
Turn off the machine off at the main switch.
•
Take the machine to the designated disposal area.
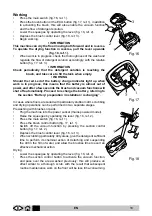
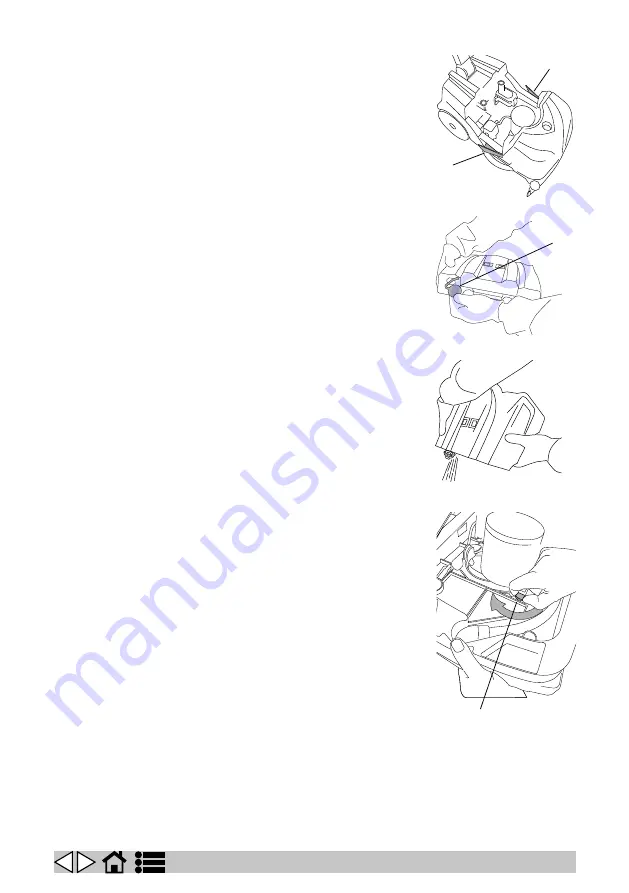
•
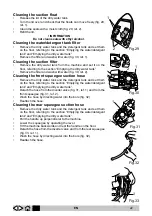
Press in the two lateral tank retaining catches (fig. 25, ref. 1), and
separate the dirty water tank from the frame.
•
Remove the cap of the dirty water tank (fig.26, ref. 1).
•
Empty the tank (fig. 27).
Drive adjustment
! DANGER
Unplug the machine from the power socket (mains powered model).
The machine is equipped with a special mechanical drive device that
exploits the friction created between brush and floor to generate forward
movement.
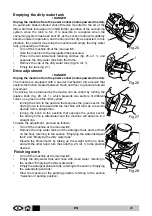
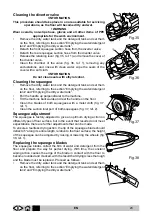
The driving force produced by the device can be varied by turning the
relative knob (fig. 28, ref. 1), which presents two sectors of different
colour, one green and the other yellow:
•
turning the knob to the position that exposes the green sector, the
driving force is increased and the machine will tend as a result to
deviate from a straight line.
•
turning the knob to the position that exposes the yellow sector,
the driving force is attenuated and the machine will advance in a
straight line.
To make the adjustment, proceed as follows:
•
Turn off the machine at the main switch.
•
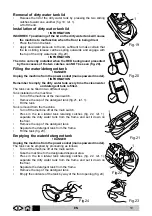
Remove the dirty water tank and the detergent tank and set them
on the floor, referring to the section “Emptying the water/detergent
tank” and “Emptying the dirty water tank”.
•
Elevate the brush/motor by taking up the weight with one hand,
and with the other hand, turn the knob (fig. 28, ref. 1) to the position
desired.
Finishing work
•
Turn off the machine at the main switch.
•
Empty the dirty water tank and rinse with clean water, referring to
the section “Emptying the dirty water tank”.
•
Empty the detergent solution tank, referring to the section “Emptying
the water/detergent tank”.
•
Stow the machine in the parking position, referring to the section
“Selection of parking position”.
1
1
1
Fig.25
Fig.26
Fig.27
1
Fig.28
20


