3.
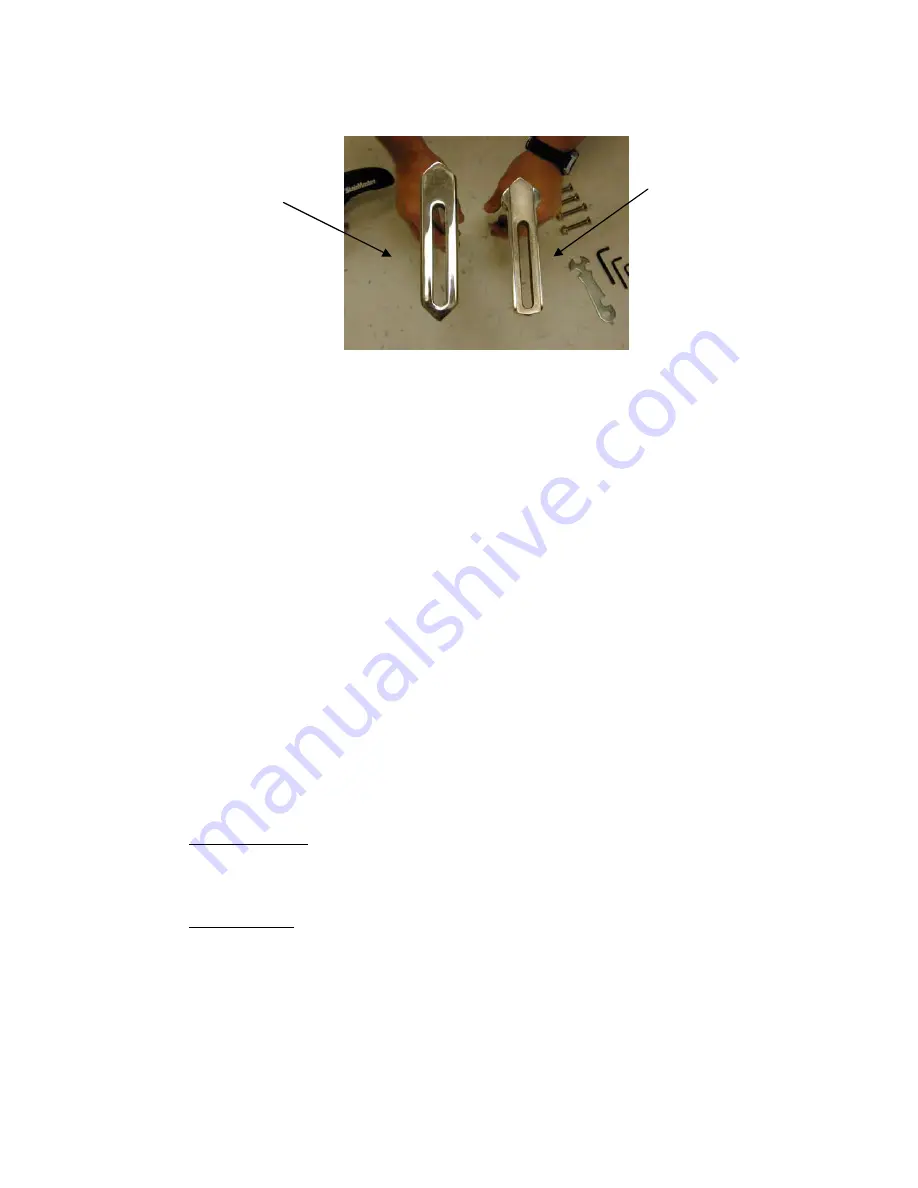
Handlebar post – insert
V-Plunger may need to be pushed back in pocket (show and explain)
Smooth finish on top face - faces forward - no slot in top
Handlebar Post
Seat Post
Adjustment handle and grease
4.
Handle bars – install
1 washer and adjustment handle and grease
5.
H
2
0 bottle cage – install
Point out 3-mm tool, positioning
6.
Seat post – insert
V-Plunger may need to be pushed back in pocket (show and explain)
Textured finish on top face - Faces rear - Slot in top
Keeps seat and seat slider from twisting
Adjustment handle and grease
7.
Saddle – install and check level
Adjustment handle, washer and grease
8.
Pedals – install
Note the dual sided upgrade option for clip less pedals that may
Labeled left and right
Left side reverse threaded
Toe
strap
II. Service
Tools/Lubricant/Glue Required:
Cover
Removal:
4-mm hex key – right cover screws (Qty – 4)
Philips Screwdriver – left cover screws (Qty – 2)
Belt Removal:
4-mm hex key – belt tensioner screw
Adjustable Wrench – idler bolt
Belt
tension
gauge
Torque wrench – for idler bolt
Multi-purpose grease – for belt tensioner screw
MPatzer Page
2 7/8/2002


