background image

~ 21 ~

Setting Country, Language, GMT , Time Zone, Program Scheduling

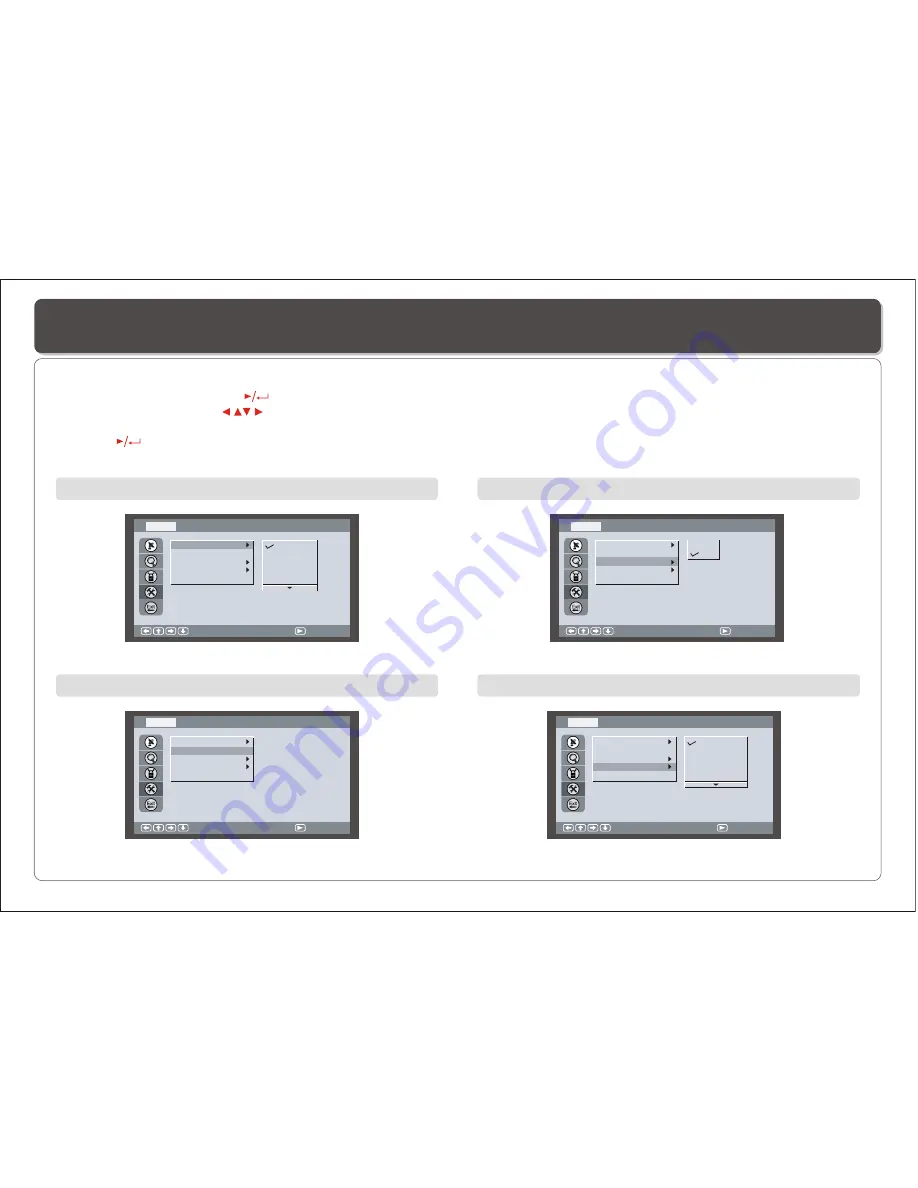
Changing Country

1. Press 

SETUP

 on the remote control to access 

Main Menu

.

2. Select 

TV Setup

 and Press          to confirm .

3. Use the direction keys (              ) to select 

System Setup

    and its sub-menu.
4. Press          to confirm your selection.
5. Select 

Exit

 or press 

SETUP

 to exit.

Country 
Language
GMT
Time Zone 
Program Schedule

: Select

TV Setup

-System Setup

:  Confirm

England
Germany
Italy
France
Spain

Changing Language

Country 
Language
GMT
Time Zone 
Program Schedule

: Select

TV Setup

-System Setup

:  Confirm

Setting GMT On/Off

Country 
Language
GMT
Time Zone 
Program Schedule

: Select

TV Setup

-System Setup

:  Confirm

Off
On

Changing Time Zone

Country 
Language
GMT
Time Zone 
Program Schedule

: Select

TV Setup

-System Setup

:  Confirm

GMT  +  00:00
GMT  +  00:30
GMT  +  01:00
GMT  +  01:30
GMT  +  02:00

Summary of Contents for DVP-743

Page 1: ...PORTABLE DIGITAL TV DVD PLAYER PORTABLE DIGITAL TV DVD PLAYER ENGLISH Please read this manual before operating OWNER S MANUAL OWNER S MANUAL OWNER S MANUAL MODEL NO DVP 743 ...

Page 2: ......

Page 3: ...hanging Program Order Deleting Program 18 Scanning and Setting TV Channel 19 Setting Channel Lock Parental Control Changing Password 20 Setting Country Language GMT Time Zone Program Scheduling 21 22 Playing a Disc 23 25 Playing MP3 and Regular Audio CD 26 Playing Picture CD 27 Displaying and Sorting Files 28 Setting Language for Menu Audio Subtitle 29 Setting Audio for Downmix 30 Setting Parental...

Page 4: ...amage your hearing 5 The Player should be connected to a power supply only of the type described in the operating instructions or as marked on the Player Please read all of the safety and operating instructions before operating this Player follow all warnings placed on the Player and in the user s manual These safety and operating instructions should be retained for future reference WARNING SAFETY...

Page 5: ...Menu to set up the system s language audio display password etc 9 VOL Button Use to increase the speaker s volume 10 VOL Button Use to decrease the speaker s volume 11 ZOOM Button Zoom in and out of videos and photos 12 GOTO Button Use to enter the specific time to playback 13 Changes channel or selects different options P N Button Selects PAL NTSC AUTO TV systems 14 PAUSE Button Use to pause 15 N...

Page 6: ...ormation Selects the voice language in a DVD Selects OSD language Plays the video at lower speeds No function No function Stops the playback No function 26 27 REPEAT Button MARK Button EPG Button FAVORITEButton 28 29 30 31 32 33 Allows you to repeat play a title chapter track or disc Use to mark a point where the playback starts each time when the MARK button is pressed later on No function No fun...

Page 7: ...tery pack separation switch 2 BATTERY PACK 1 4 4 1 OPEN 2 DISC COVER 3 LCD 4 SPEAKER 7 MENU PBC 9 TV DVD USB 8 SETUP LCD adj 11 PLAYBACK BUTTONS FAST REVERSE SKIP PREVIOUS FAST FORWARD SKIP FORWARD VOL VOL 5 LCD on off switch 6 CURSOR UP DOWN LEFT RIGHT ENTER 10 STOP 1 EARPHONE JACK 3 POWER ON OFF 4 VIDEO OUTPUT 5 AUDIO OUTPUT RIGHT 6 AUDIO OUTPUT LEFT 2 DC IN 12V Front View Right View Bottom View...

Page 8: ...oint the remote control directly at the remote sensor on the front of the DVD Player 5 6 1 Open the battery compartment cover using a coin 3 Replace the battery compartment cover and turn clockwise until it stops 2 Insert a 3V lithium battery into the battery compartment with the polarity facing up as marked Battery battery compartment cover ...

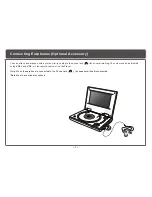
Page 9: ...cessory Note When the earphone is connected to the Phone Jack the speaker will be disconnected Earphone is an optional accessory You can attach an earphone with a stereo mini jack plug to the phone jack for private listening The volume can be adjusted using VOL and VOL on the remote control or on the Player ...

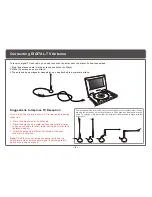
Page 10: ...antenna on a vertical surface a 90 degree bend antenna maybe used To change simply unscrew the pole from the base and replace with the other pole 4 1 Suggestions to Improve TV Reception You will significantly improve your TV reception by following these tips 1 Place the antenna near the windows 2 Place the antenna on a metal surface especially of large surface such as metal chair table cooking pot...

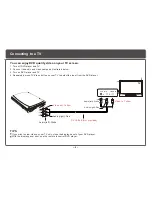
Page 11: ...f DVD player and TV 2 Connect the audio and video cables as illustrated below 3 Turn on DVD player and TV 4 Repeatedly press TV Video button on your TV to select the input from the DVD player You can enjoy DVD quality video on your TV screen TV AUDIO IN VIDEO IN L R Audio left White Audio right Red Video out Yellow Audio left White Audio right Red Video in Yellow AV CABLE Not provided ...

Page 12: ...er accepts most USB devices such as MP3 DSC USB drive Digital Camcorder etc The USB in this Player supports version 1 1 2 0 1 Insert the USB device and repeatedly press TV DVD USB to select USB mode The file manager appears and the first song file of the first folder plays 2 Use direction key and to select the file you want to play and press to play Note If you have different file types photo musi...

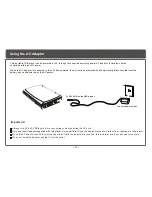
Page 13: ... of time the adaptor may heat up this is normal and is not a cause for concern When not using the adaptor unplug it from the outlet This portable DVD player can be powered by AC through the supplied switching power AC adaptor It can also use the supplied battery pack to power When the AC adaptor is connected to the unit and powered the unit will be automatically and electrically disconnected from ...

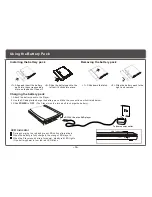
Page 14: ... battery pack 1 Attach the battery pack to the Player 2 Use the AC adapter to charge the battery pack Make the connection as illustrated below 3 Slide POWER to OFF The Player must be turned off to charge the battery During charging the red and green LEDs blink alternatively When the battery is fully charged the orange LED stays lit When the Player uses battery for power steady red LED lights If th...

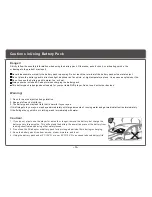
Page 15: ...r devices Warning 1 Do not drop or subject to strong vibration 2 Keep out of reach of children 3 The battery pack may leak fluid that is harmful to your eyes If this fluid gets in your eyes wash eyes immediately with large amounts of running water and get medical attention immediately If the fluid gets on your skin or clothing wash immediately with water x Caution 1 If you do not plan to use the p...

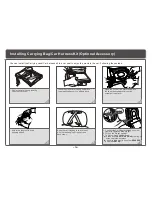
Page 16: ...l Accessory 1 Connect the Car Adaptor between your car cigarette lighter and the Player 2 Turn on the Player s power 3 To flip the image upside down a Press and hold SETUP LCD adj to bring up screen adjustment menu B Use direction key to select REVERSE and press ENTER 1 2 3 Unzip the carrying bag and flip open the top cover Insert the player into the bag and place the elastic strap over the batter...

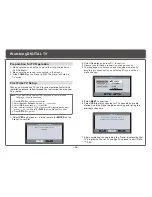
Page 17: ...erred language follow these steps 1 Press SETUP on the remote control 2 Select System Setup and press to confirm 3 Select OSD and press to confirm 4 Use the direction keys to select OSD language you want press on the remote or ENTER on the Player to confirm 5 Press SETUP to get out 1 Select YES and press on the remote or ENTER on the Player to confirm 5 Select NEXT to continue 6 Select YES to star...

Page 18: ...ng Teletext 1 Press TELETEX to display the teletext 2 Use to navigate content or key in page number to view different pages 3 Press EXIT repeatedly to get out Displaying Current Channel Information Press DISPLAY to display the information of current channel Muting Press MUTE to silence the sound press MUTE again to restore it Watching Your Favorite TV programs 1 Repeatedly press FAVORITE to turn o...

Page 19: ... 17 Listening to Digital Radio You can listen to high quality digital radio program with this Player 1 Press RADIO to change to Radio 2 Use CH or CH to change satiation ...

Page 20: ... remote control to access Main Menu 2 Select TV Setup and Press to confirm 3 Use the direction keys to select Program List and its sub menu 4 Press to confirm your selection 5 Select Exit or press SETUP to exit TV Program Music Program Select TV Setup Program List Confirm Select TV Setup Program List Program Edit T able Confirm Exit Save Exit No Program Name Favor Move Del 1 BBC NEWS 24 2 3 4 CBBC...

Page 21: ...umber and press to change 4 Select OK and press to confirm If this channel dose not have signal the Player will not list this channel 1 Press SETUP to enter Main Menu 2 Select Program Search and Manual Search press to confirm NOTE Before performing TV channel scanning make sure the Player is set to the country you are using this Player To set the country see Setting Country Language GMT Time Zone ...

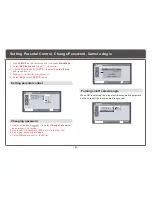
Page 22: ... x Cancel OK Setting Parental Control 1 Select Parental Ctrl and press to confirm 2 Enter Password 8888 if this is the first use and press to confirm the channel lock table appears Note whenever the channel is locked the Player requires Password input when you want to do Program Channel search or change to Factory Default setting 1 Select Channel Lock and select YES to activate the channel lock 2 ...

Page 23: ...TUP to exit Country Language GMT Time Zone Program Schedule Select TV Setup System Setup Confirm England Germany Italy France Spain Changing Language Country Language GMT Time Zone Program Schedule Select TV Setup System Setup Confirm Setting GMT On Off Country Language GMT Time Zone Program Schedule Select TV Setup System Setup Confirm Off On Changing Time Zone Country Language GMT Time Zone Prog...

Page 24: ...d fill in the Time Setting 6 Repeat STEPS 1 to 5 to set other task 7 Press SETUP to get out the setup Note For this schedule play to work you need to set the player A In TV mode B Power turned on Programming TV program schedule Country Language GMT Time Zone Program Schedule Select TV Setup System Setup Confirm Mode Frequency Channel Type Channel No Time Setting Select TV Setup System Setup Progra...

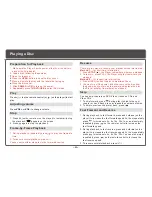
Page 25: ...n repeatedly press to increase to 4x 8x 16x 32x You can also simply repeatedly press on the remote control to increase the fast forward speed 2 During playback to fast reverse press and hold on the player to increase the fast reverse speed 2x then repeatedly press to increase to 4x 8x 16x 32x You can also simply repeatedly press on the remote control to increase the fast reverse speed 3 To resume ...

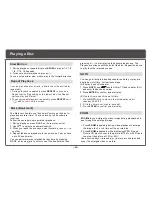
Page 26: ...kmarked scene The Playback continues until the end of the disc Repeat the above to play the other marked scenes B To play from a specific point of time 1 Press GOTO twice to move to the time display and it changes 00 00 00 2 Fill in the time hour minute second 3 Press ENTER to confirm and start play ZOOM ZOOM lets you enlarge the video image during playback and pan through the enlarged image 1 Pre...

Page 27: ...ress TITLE it takes you to the very beginning of the title and play or to the MENU if it has title menu DISPLAY Repeatedly press DISPLAY during playback to display various playback information such as current title chapter track elapsed time languages etc L R This function is mostly used for karaoke sing along discs by repeatedly pressing L R you can select STEREO MONO Left MONO Right MIX MONO etc...

Page 28: ...e ISO 9660 or JOLIET format Valid MP3 CD Play In most cases when a MP3 or audio disc is placed into the player the first song file of the first folder plays In other cases the file manager appears Use direction keys and to select the song file and press to play ...

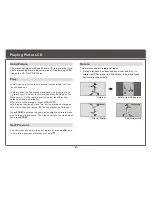
Page 29: ...pears Use direction keys and to select the picture and press PLAY on the Player or on the remote control to start the slide show plays photos automatically To return to file manager press MENU PBC To display thumbnail press during playback of images To start slide show press during playback of images Press ZOOM to enlarge the photo and use and to move around the enlarged photo The slide show funct...

Page 30: ... file types 1 Press STOP and select FILE TYPE and press to confirm 2 Select the file type you do not want to display and repeatedly press so the check mark disappears 3 Repeat STEP2 to hide the other file type 4 Select EXIT and press to get out You can list the file in the order according to its type name or date 1 Press STOP and select SORT FILE press to confirm 2 Select one of the sorting criter...

Page 31: ...r press SETUP to exit Changing menu language Changing voice language Changing subtitle language Select Main Menu English Chinese Japanese French German Menu Audio Subtitle Confirm Select DVD Setup Language Setup Confirm DVD Setup TV Setup System Setup Game Exit English Chinese Japanese French German Menu Audio Subtitle Select DVD Setup Language Setup Confirm English Chinese Japanese French German ...

Page 32: ...p Lo Ro Lt Rt Downmix Select Confirm 1 Press SETUP on the remote control to access Main Menu 2 Select DVD Setup and Press to confirm 3 Use the direction keys to select Audio Setup and its sub menu 4 Press to confirm your selection 5 Select Exit or press SETUP to exit ...

Page 33: ... selected the player will display multi angle mark on the screen if the disc has multi angle shot 1 Press SETUP on the remote control to access Main Menu 2 Select DVD Setup and Press to confirm 3 Use the direction keys to select Custom Setup and its sub menu 4 Press to confirm your selection 5 Select Exit or press SETUP to exit DVD Setup Custom Setup Select Confirm Parental Ctrl Change Password An...

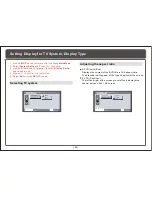
Page 34: ...onfirm 3 Use the direction keys to select Language Setup and its sub menu 4 Press to confirm your selection 5 Select Exit or press SETUP to exit Changing OSD language Select Main Menu English French German Italian Spanish OSD Confirm Select System Setup Menu Language Setup Confirm DVD Setup TV Setup System Setup Game Exit ...

Page 35: ...o exit Selecting TV system NTSC PAL AUTO TV System Display Type Select System Setup Menu Display Setup Confirm Adjusting the aspect ratio 4 3PS 4 3LB 16 9 TV System Display Type Select System Setup Menu Display Setup Confirm 4 3 LB Letter Box Displays the content of the DVD title in 16 9 aspect ratio The black bars will appear at the top and bottom of the screen 4 3 PS Pan Scan The left and right ...

Page 36: ... Main Menu 2 Select System Setup and Press to confirm 3 Use the direction keys to select Display Setup and its sub menu 4 Press to confirm your selection 5 Select Exit or press SETUP to exit Returning to default setting OSD Reset Default Select System Setup Menu Default Confirm ...

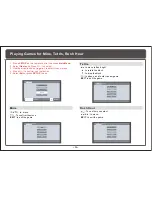
Page 37: ...lect Main Menu Confirm DVD Setup TV Setup System Setup Game Exit Main Menu Game Mine Tetris Rush Hour Calendar Exit Mine to move To confirm the move EXIT to exit the game Main Menu Game Mine Tetris Rush Hour Calendar Exit Tetris to move left and right to rotate the block to drop the block to pause and to start a new game EXIT to exit the game Main Menu Game Mine Tetris Rush Hour Calendar Exit Rush...

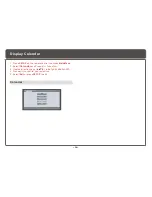
Page 38: ...te control to access Main Menu 2 Select Calendar and Press to confirm 3 Use the direction keys to set year and month 4 Press to confirm your selection 5 Select Exit or press SETUP to exit Main Menu Game Mine Tetris Rush Hour Calendar Exit Calendar ...

Page 39: ... ENTER to confirm for few seconds Adjustment Menu Adjusting Brightness Contrast and Color Reversing the screen 1 Press and hold SETUP LCD adj to display the 2 Select REVERSE and press ENTER to confirm for few seconds Adjustment Menu Resetting scree setting to default value 1 Press and hold SETUP LCD adj to display the 2 Select RESET and press ENTER to confirm for few seconds Adjustment Menu Note I...

Page 40: ...rly The batteries may be dead Replace them with new batteries Check that the signal transmission is directed at the remote control sensor on the DVD player Check that the disc is a DVD DVD RW VIDEO CD or AUDIO CD Do not use a disc that has scratches or dirt Check that the label side of the disc is facing up The pick up lens of the DVD player may be dirty Contact the service center for lens cleanin...

Page 41: ...fficiently cooled down Check with another fully charged pack if the LED lights Check that the AC adaptor is securely plugged in If DVD or battery pack is overheated you will not be able to charge the battery pack LED charging indicator quickly turns to Green Charging LED indicator does not light Disconnect the AC adaptor and reconnect Use another battery pack if the same symptom occurs the AC adap...

Page 42: ... in Full SPECIFICATION 7 2V 1A 2 0HR 2 5HR Battery Specifications Operating environment Charge 0 C 45 C Discharge 20 C 45 C Store less than 1 month 20 C 40 C Store less than 3 months 20 C 30 C Store less than 1 year 20 C 25 C O O O O O O O O O O The specifications are subject to change without notice Weight and dimensions are approximate Due to continued product improvements if there is any discre...

Page 43: ...f this product please note that Waste electrical products should not be disposed of with household waste Please recycle where facilities exist Check with your Local Authority or retailer for recycling advice Waste Electrical and Electronic Equipment Directive ...

Reviews: