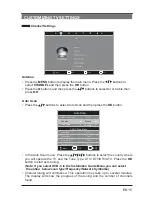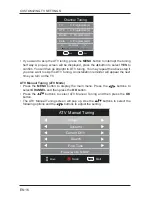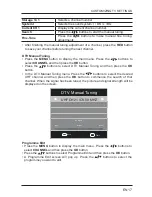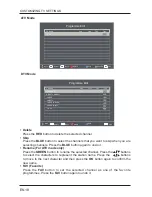
EN 8
PREPARATION
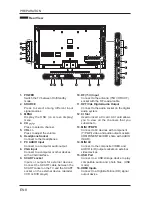
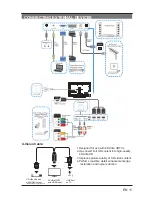
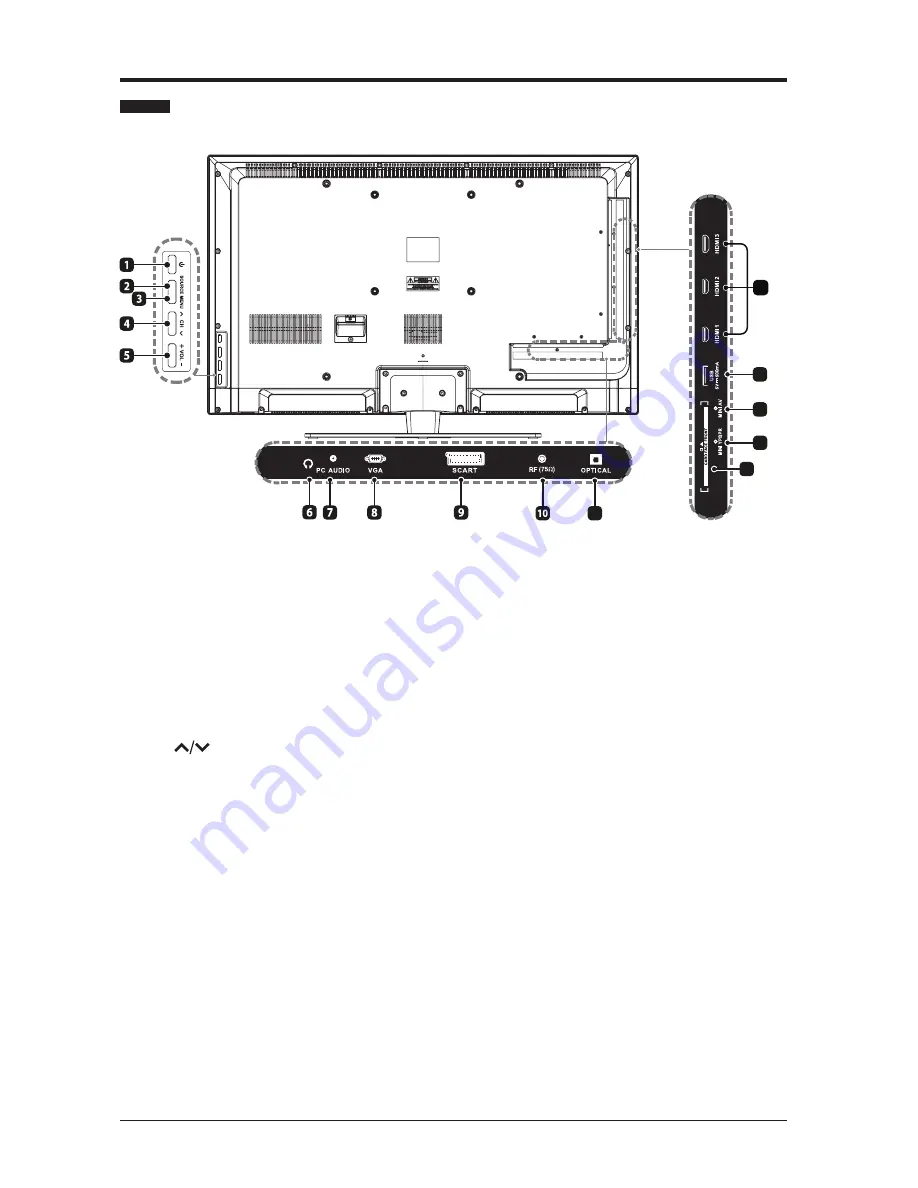
Rear View
1. POWER
Switch the TV between On/Standby
mode.
2. SOURCE
Press to select among different input
signal sources.
3. MENU
Display the OSD (on screen display)
menu.
4. CH
Press to select a channel.
5. VOL +/-
Press to adjust the volume.
6. Headphone Socket
Connect to the Headphones.
7. PC AUDIO Input
Connect to a computer audio output.
8. VGA Input
Connect to a computer or other devices
with a VGA interface.
9. SCART socket
Inputs or outputs for external devices.
Connect the SCART cable between the
SCART socket on the TV and the SCART
socket on the external device (decoder,
VCR or DVD player).
10. RF(
75Ω
) Input
Connect to the antenna (75Ω VHF/UHF)
socket with the RF coaxial cable.
11. OPTICAL Digital Audio Output
Connect to the audio socket on the digital
audio system.
12. CI Slot
Used to insert a CI card. A CI card allows
you to view all the channels that you
subscribe to.
13. MINI YPBPR
Connect to AV devices with component
(Y/Pb/Pr) video and audio output sockets.
COMPONENT&VIDEO share with AUDIO
IN(L/R).
14. MINI AV
Connect to the composite VIDEO and
AUDIO (L/R) output sockets on external
video devices.
15. USB Port
Connect to a USB storage device to play
compatible audio and photo files. (USB
mode)
16. HDMI Inputs
Connect to a High-Definition (HD) signal
output device.
13
14
15
16
11
12
Summary of Contents for LED-3901-4K
Page 2: ......


