background image


WARNING

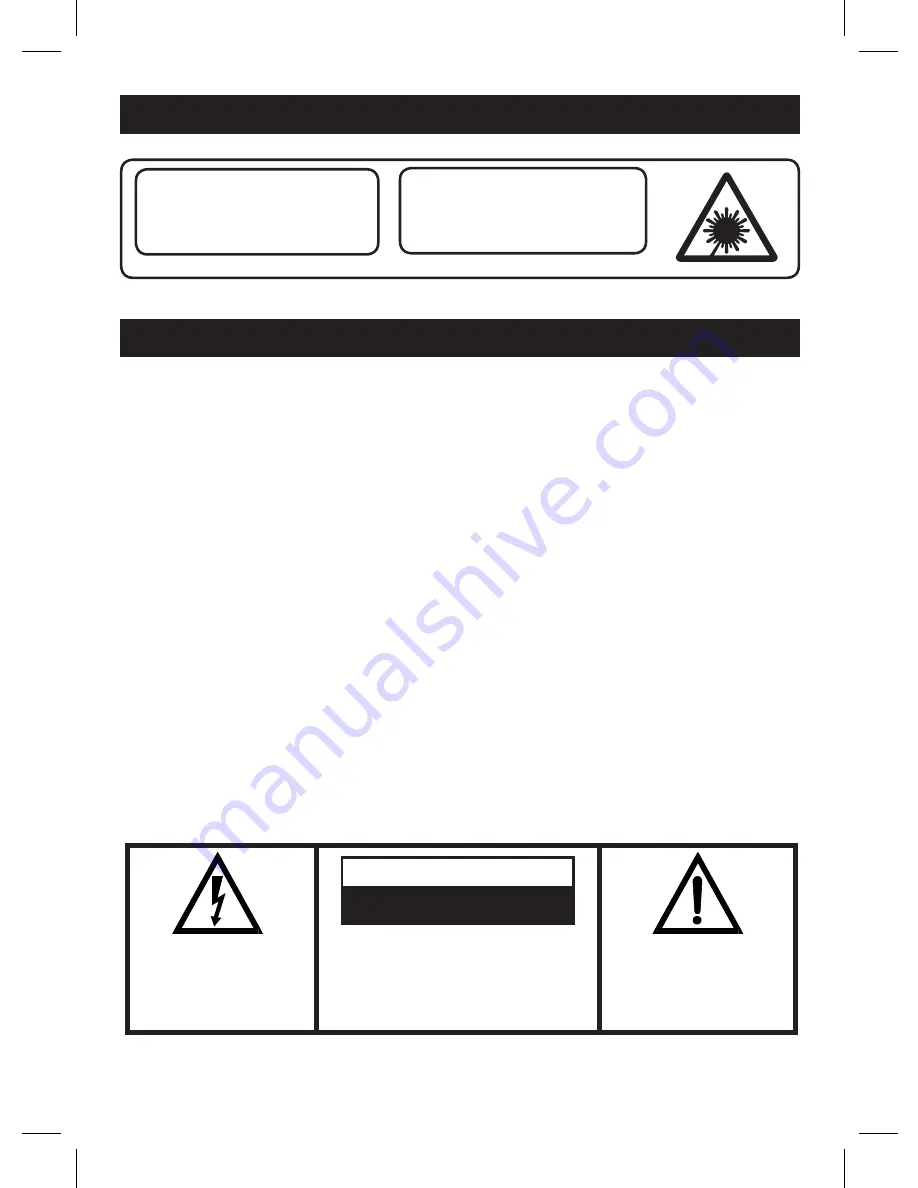
CLASS 1 LASER PRODUCT

This product contains a low power laser device.

CLASS 1 LASER PRODUCT

APPAREIL Á LASER DE CLASSE 1

PRODUCTO LASER DE CLASE 1

CAUTION

INVISIBLE LASER RADIATION

WHEN OPEN AND INTERLOCKS

DEFEATED.

AVOID EXPOSURE TO BEAM


PRECAUTIONS

Follow the advice below for safe and appropriate operations.

ON PLACEMENT

•  Do not use the unit in places which are extremely hot, cold, dusty, or humid.

•  Place the unit on a flat and even surface.

•  Do not restrict the air flow of the unit by placing it in a place with poor air flow, by covering it with a cloth,  


or by placing it on a carpet.

ON SAFETY

•  When connecting and disconnecting the AC cord, grip the plug and not the cord itself. Pulling the cord may damage  


it and create hazard.

•  When you are not going to use the unit for a long period of time, disconnect the AC power cord.

ON AC VOLTAGE

•  Before use, check that the rated voltage of your unit matches your local voltage.

ON CONDENSATION

•  When left in a heated room where it is warm and damp, water droplets or condensation may form inside the CD player.

•  When there is condensation inside the unit, the unit may not function normally.

•  Let it stand for 1 to 2 hours before turning the power on, or gradually heat the room up and dry the unit before use.

*  Ensure a minimum distance of 5 cm around the apparatus for sufficient ventilation.

*  Ensure that the ventilation is not impeded by covering the ventilation openings with items, such as newspapers, 


table-cloths, curtains, etc..

*  Do not place naked flame sources, such as lighted candles on the apparatus.

*  Take attention to the environmental aspects of battery disposal.

*  Use the apparatus only in moderate climates (not in tropical climates).

*  Do not expose the apparatus to dripping or splashing.

*  Do not place objects filled with liquids, such as vases, on the apparatus.

•  Mains plug is used as the disconnect device. It shall remain readily operable and should not be obstructed during 


intended use. To be completely disconnected the apparatus from supply mains, the mains plug of the apparatus shall 


be disconnected from the mains socket outlet completely.

Should any trouble occur, disconnect the AC power cord and refer servicing to qualified personnel.

Warning:   Do not touch the lens.


DO NOT THROW BATTERIES IN FIRE !

ATTENTION  :   

To  reduce  the  risk 

of  electric  shock,  do  not  remove  the 

cover. There are no user serviceable 

parts inside the unit. Refer all servicing 

to qualified personnel.

The  exclamation  point  within 

the triangle is a warning sign 

alerting the user of important 

instructions  accompanying 

the product.

The  lightening  flash  with 

arrowhead symbol within the 

triangle  is  a  warning  sign 

alerting the user of "danger-

ous voltage" inside the unit.

CAUTION

RISK OF ELECTRIC SHOCK

DO NOT OPEN

In case of misfunction due to electrostatic discharge the apparatus has to be reset by disconnecting it from 

mains supply.
THE MARKING PLATE IS LOCATED AT THE BACK OF ENCLOSURE OF THE APPARATUS.

Summary of Contents for MC-141

Page 1: ...TON 10 CD OPEN CLOSE BUTTON 11 FUNCTION BUTTON 12 ID3 DISPLAY BUTTON 13 PHONES JACK 14 PRESET EQ BUTTON 15 STEREO MONO PLAY MODE BUTTON 16 FOLDER UP P BUTTON 17 FOLDER DOWN P BUTTON 18 STOP BAND BUTTON 19 VOLUME BUTTON 20 FM WIRE ANTENNA 21 AUX IN JACK 22 AC CORD CONTROLS MAIN UNIT PLL MICROSET WITH CD MP3 AND WMA Instruction Manual MC141 For information and support www lenco eu ...

Page 2: ...ion is not impeded by covering the ventilation openings with items such as newspapers table cloths curtains etc Do not place naked flame sources such as lighted candles on the apparatus Take attention to the environmental aspects of battery disposal Use the apparatus only in moderate climates not in tropical climates Do not expose the apparatus to dripping or splashing Do not place objects filled ...

Page 3: ...E BACK BUTTON FOLDER DOWN P BUTTON ID3 DISPLAY BUTTON MEMORY CLOCK ADJ BUTTON 10 TRACK BUTTON GB 1 Remove the battery door Insert the batteries 2 x AAA SIZE battery not included and ensure that the polarities are correct see illustration inside the battery compartment Close the battery door To an AC outlet LEFT SPEAKER RIGHT SPEAKER FM WIRE ANTENNA LEFT RIGHT SPEAKER SOCKET Connect the black wire ...

Page 4: ...ay 1 Power is on off by pressing STANDBY button 2 The function is changed cyclically by pushing FUNCTION button CD TUNER AUX Power on off and function change STANDBY VOL VOL PRESET EQ The mute on off is changed cyclically by pressing MUTE button The mute mark is on during mute is on The mute on is cancelled in case as shown below a The power is off on b The Volume is adjusted by the VOL button Mut...

Page 5: ...ton hour of clock flash 3 Press the or to adjust hour digit 4 Press the MEMORY CLOCK ADJ button the minute digit flash 5 Press the or to adjust minute digit 6 Press the MEMORY CLOCK ADJ button again the correct time is shown on display Clock adjustment MEMORY CLOCK ADJ Maximum 20 preset stations can be memorized each in FM and AM 1 Press the or button to selected the desired frequency 2 Press the ...

Page 6: ...splay TO SKIP TO THE BEGINNING OF A TRACK Press either one of the skip buttons according to the desired skip direction Play back resumes from the selected track When the button is pressed once during play the previous track starts again When the button is pressed once during play the next track plays SEARCHING FOR A PASSAGE WITHIN A TRACK Keep the or button pressed during playback and release the ...

Page 7: ...production of CD R RW playback quality and performance are not guaranteed Manufacturer is not responsible for the playability of CD R RW due to recording conditions such as PC performance writing software media ability etc Do not attach a seal or label to either side of the CD R RW disc It may cause a malfunction It is recommended to record only audio files on CD R RW discs for easy reading Press ...

Page 8: ...er 5 Press MEMORY button again to memorize the track 6 Repeat steps 2 and 5 until all desired tracks are programmed 7 Press the PLAY PAUSE button to start MEMORY is shown on the CD display 8 Press STOP button to stop programmed playback 9 Press MEMORY and PLAY PAUSE buttons to resume programmed playback 10 Press STOP BAND button to clear the programmed memory Note Programming can only be made when...

Page 9: ...ring to furniture surfaces If necessary place the appliance on a non slide surface If at any time in the future you should need to dispose of this product please note that Waste electrical products should not be disposed of with household waste Please recycle where facilities exist Check with your Local Authority or retailer for recycling advice Waste Electrical and Electronic Equipment Directive ...

Reviews: