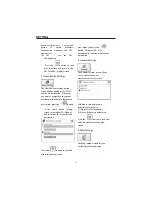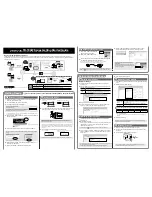
(1) Install and Remove Maps
– Install new
or remove old maps.
(2) Cut Map
– Cut your selection from a
large map.
(3) Exit
– Close down Destinator Console.
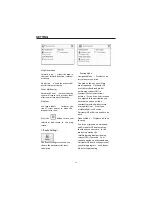
Tool Menu
(1)
Select Target Device
– Select where to
load map
(2)
Remove Maps
– Remove old or unused
maps to save on memory
(3)
Refresh map data
– Load new map(s)
and refresh installed map window
(4)
Favorites Importer
– You can download
a list of locations from your PC to your
MO to any category within Favorites (See
Chapter 7 Favorites Importing)
(5)
Language
– Select your Language to
install Destinator in (default English)
Help Menu
(1)
User Manual
– Provides a detailed
description on using Destinator
(2)
Destinator Customer Support
– Contact
Destinator information
(3)
Quick Activation
– This activation
feature is reserved for additional maps
(4)
About Destinator Console
– Version of
Destinator Console
Creating Your Own Maps
You can create your own maps by
cutting out sections of existing maps.
This lets you work with maps that are
smaller and take up less memory.
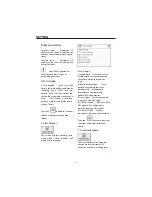
(1) From
Standard Maps
window
select the map(s) you wish to
load by clicking on the map image
or selecting them from the list.
(
) represents a selected map to
install.
(2) Press the
Cut Map
button. A Confirmation Dialog is
displayed, press the
OK
button to
install the map(s), or the
Cancel
button to exit map installation and
return to select map(s). The
selected map is temporally
loaded to hard disk.
(3) The map is displayed on screen -
Then
Zoom In
on
a section, zone, selected area or
city of interest.
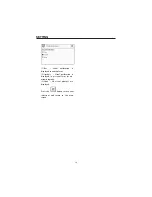
(4) Use the toolbar for
Address
or
POI
selection, to
Zoom
, to select
a
sub-region
, or
Crop
(to select
a rectangular area to be cut).
(5) Click
Crop
(Draws a
Rectangle
around area to cut.)
FAVORITES IMPORTING
44


