Page 10
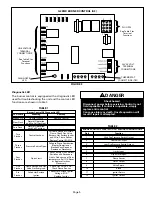
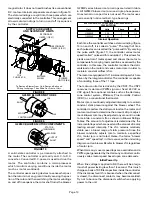
magnet rotor it does not need brushes like conventional
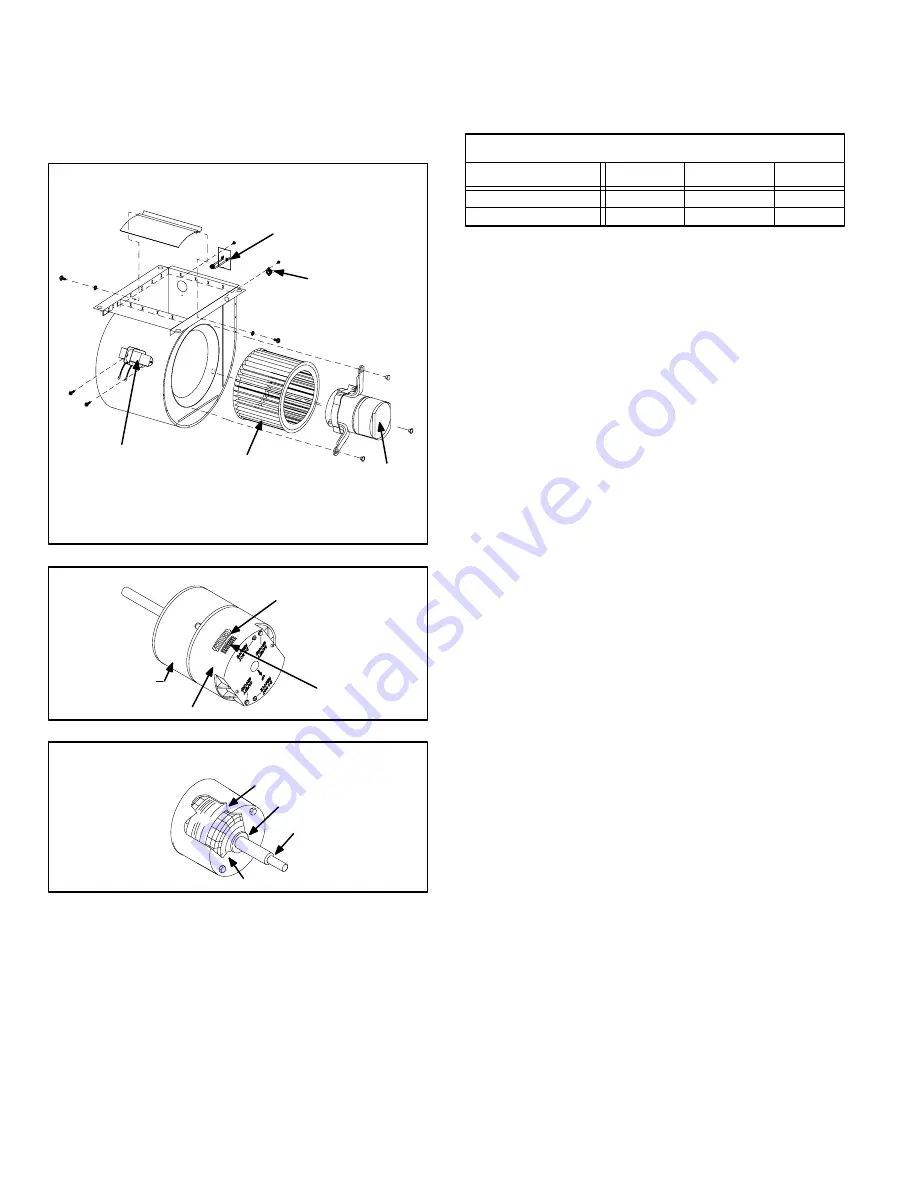
D.C. motors. Internal components are shown in figure 10.
The stator windings are split into three poles which are
electrically connected to the controller. This arrangement
allows motor windings to turn on and off in sequence
by the controller.
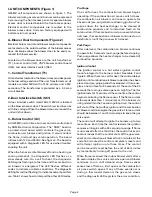
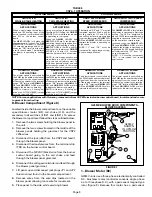
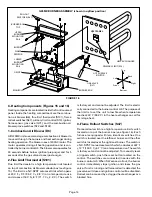
FIGURE 8
SUPPLY AIR BLOWER
AND SECONDARY LIMITS
BLOWER
MOTOR (B6)
To Remove Blower From Unit: Remove Bolts and
Wiring Jackplugs. Then Slide Out Front of Unit.
COIL
CHOKE (L13)
SECONDARY
LIMITS [(1)S21]
BLOWER
WHEEL
SECONDARY
LIMITS [(2)S21]
FIGURE 9
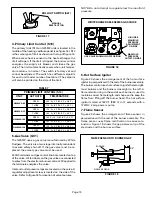
G25MV BLOWER MOTOR B3
MOTOR
CONTROLLER
SHAFT
J49
J48
G25MV BLOWER MOTOR COMPONENTS
FIGURE 10
STATOR
(WINDINGS)
OUTPUT
SHAFT
BEARING
ROTOR
A solid-state controller is permanently attached to
the motor. The controller is primarily an A.C. to D.C.
converter. Converted D.C. power is used to drive the
motor. The controller contains a microprocessor
which monitors varying conditions inside the motor
(such as motor workload).
The controller uses sensing devices to sense what posi-
tion the rotor is in at any given time. By sensing the posi-
tion of the rotor and then switching the motor windings
on and off in sequence, the rotor shaft turns the blower.
G25MV series blower motor ratings are listed in table
6. All G25MV blower motors use single phase power.
An external run capacitor is not used. The motor uses
permanently lubricated ball-type bearings.
TABLE 6
ELECTRONICALLY CONTROLLED BLOWER MOTOR
CCW ROTATION
Unit
Volts
Phase
HP
G25MV3
120
1
1
1/2
1
G25MV5
120
Internal Operation
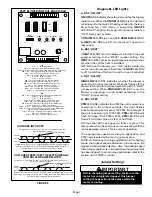
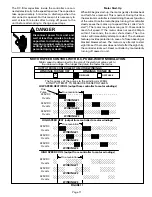
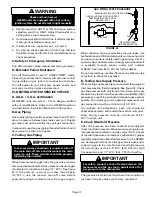
Each time the controller switches a stator winding (figure
10) on and off, it is called a “pulse.” The length of time
each pulse stays on is called the “pulse width.” By varying
the pulse width (figure 11), the controller varies motor
speed (called “pulse-width modulation”). This allows for
precise control of motor speed and allows the motor to
compensate for varying load conditions as sensed by the
controller. In this case, the controller monitors the static
workload on the motor and varies motor rpm in order to
maintain constant airflow (cfm).
The motor is equipped with 11 incremental taps which are
driven by the integral controller. The controller is capable
of controlling three of the 11 taps.
The motor controller is driven by the VSP2. The VSP2
receives its demand (PWM signal or fixed 24 VAC or
VDC signal) from optional controls such as the Harmony
zone control system, Efficiency Plus Humidity Control
(CCB1) or a conventional thermostat.
Motor rpm is continually adjusted internally to maintain
constant static pressure against the blower wheel. The
controller monitors the static work load on the motor and
motor amp-draw to determine the amount of rpm adjust-
ment. Blower rpm may be adjusted any amount in order
to maintain a constant cfm as shown in Blower Ratings
Tables. The amount of adjustment is determined by the
incremental taps which are used and the amount of motor
loading sensed internally. The cfm remains relatively
stable over a broad range of static pressure. Since the
blower constantly adjusts rpm to maintain a specified
cfm, motor rpm is not rated. Hence, the terms “blower
speed” and “speed tap” in this manual, on the unit wiring
diagram and on blower B3 refer to blower cfm regardless
of motor rpm.
When Harmony is used, speed taps are overridden and a
PWM signal generated by the Harmony controller contin-
uously varies motor speed based upon zone demands.
Initial Power Up
When line voltage is applied to B3, there will be a large
inrush of power lasting less than 1/4 second. This inrush
charges a bank of DC filter capacitors inside the controller.
If the disconnect switch is bounced when the disconnect
is closed, the disconnect contacts may become welded.
Try not to bounce the disconnect switch when applying
power to the unit.


