Page 2
IMPORTANT
Any additions, changes, or conversions reĆ
quired in order for the appliance to satisfactoriĆ
ly meet the application needs must be made by
a Lennox service technician using factory speĆ
cified and approved parts.
IMPORTANT DIRECTIONS
1- Keep the furnace area clear and free of combustible
material, gasoline, and other flammable vapors and
liquids. If installed in an insulated area, furnace must
be kept free of insulating material. Insulating material
may be combustible. Inspect furnace venting system
to make sure it is in place, physically sound, and withĆ
out holes, corrosion, or blockage. Inspect furnace reĆ
turn air duct connection to ensure duct is sealed to the
furnace and terminates outside the space containing
the furnace. Inspect the physical support of the furĆ
nace to guarantee that it is sound without sagging,
cracks or gaps around base and it maintains seal beĆ
tween base and support.
2- DO NOT obstruct air flow to unit. Unit must receive an
unobstructed flow of combustion and ventilating air.
3- DO NOT store chlorine or fluorine products near unit
or introduce these products into the combustion air.
These products can cause furnace corrosion.
LIGHTING INFORMATION AND OPERATION
WARNING
If you do not follow these instructions exactly,
a fire or explosion may result causing property
damage, personal injury or loss of life.
BEFORE LIGHTING smell all around the appliance area
for gas. Be sure to smell next to the floor because some
gas is heavier than air and will settle on the floor.
Use only your hand to push in or turn the gas control knob.
Never use tools. If the knob will not push in or turn by hand,
do not try to repair it, call a qualified service technician.
Force or attempted repair may result in a fire or explosion.
To place G17 or G17X furnace into operation:
G17 or G17X units are equipped with an intermittent pilot
ignition system. Do not attempt to manually light pilots on
these furnaces. Each time thermostat calls for heat, the piĆ
lot will be automatically lit. The pilot does not burn when
there is no call for heat on units with electronic ignitions.
Gas Valve Operation (Figures 3 - 5)
1-
STOP
! Read the safety information at the beginning
of this section.
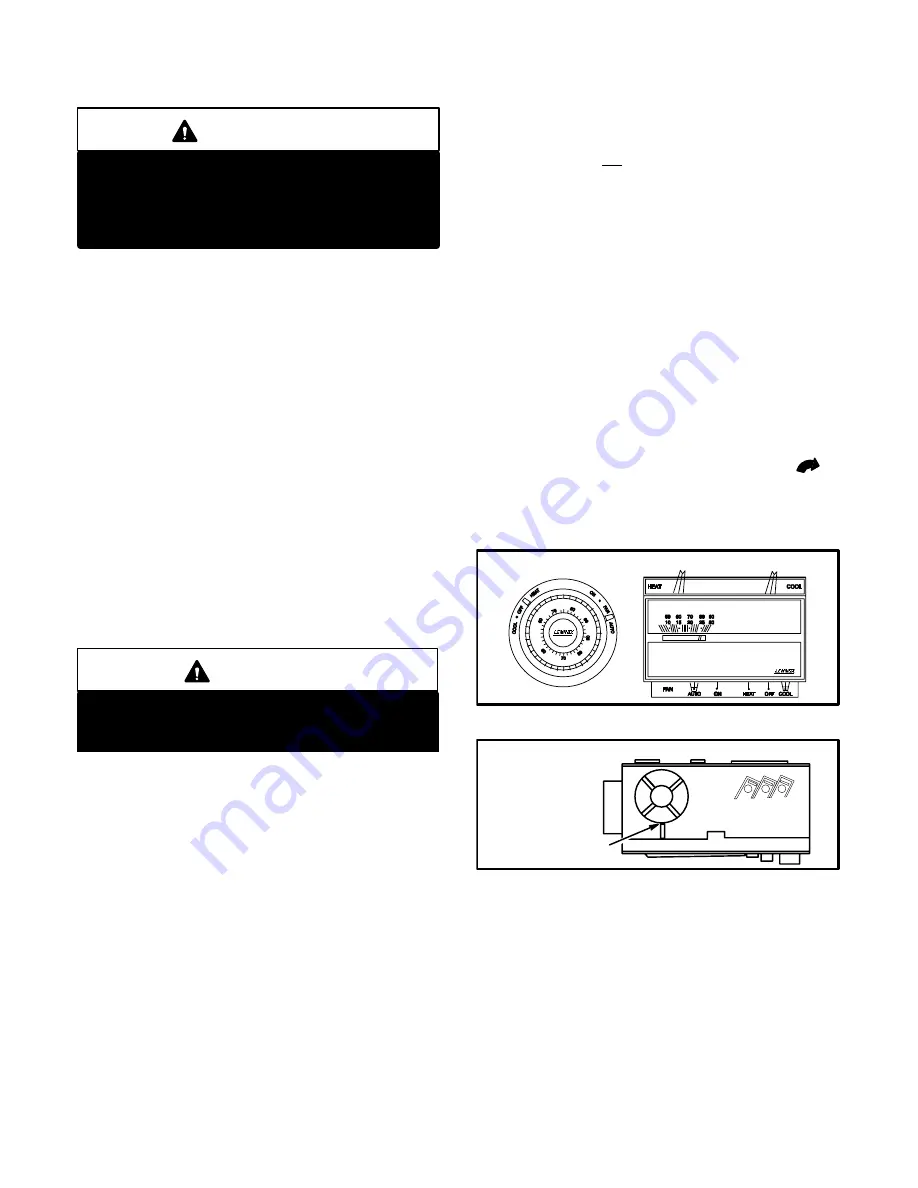
2- Set thermostat to lowest setting. See figure 2.
3- Turn off all electrical power to appliance.
4- This appliance Is equipped with an ignition device
which automatically lights the pilot. Do
not
try to
light the pilot by hand.
5- Remove control access panel.
6- On Robertshaw 7100D and Honeywell VR8204 gas
valves, turn knob on gas valve clockwise
to
OFF
. Units with Robertshaw 7200 gas valve, deĆ
press lever and move to
OFF
position. Do not force.
See figures 3 through 5.
THERMOSTATS
FIGURE 2
NO
OFF
FIGURE 3
ROBERTSHAW 7100D GAS VALVE
GAS VALVE
KNOB SHOWN IN
OFF POSITION


