Page 3
L3711C 7-DAY PROGRAMMABLE THERMOSTAT
HEAT − Using the Heat Mode
Enabling and Disabling Heat Mode
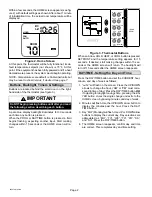
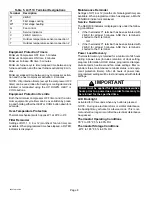
The thermostat must be in the heat mode to control the
heating equipment. Press the HEAT button to enable or
disable heat mode. If the thermostat is in cool or off mode,
pressing the HEAT button enables the heat mode (indi-
cated by HEAT in the lower right corner − see figure 4).
Heat
Prog
Fan
Settings
Cool
Day/Time
Hold
Enter
(DOOR
OPEN)
Auto
Copy
(Outside)
66
5:30
70
82
Figure 4. Turn Heat ON/OFF
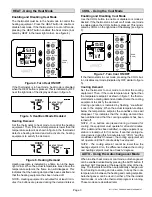
If the thermostat is in heat mode, heat mode is disabled
when the HEAT button is pressed. This is indicated by OFF
near the right side of the display as shown in figure 5.
75
ROOM
°
75
HEAT SETPOINT
°
OFF
Figure 5. Heat/Cool Mode Disabled
Heating Demand
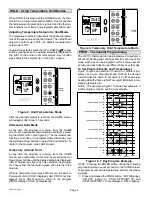
Set the thermostat to heat mode to control the heating
equipment. Then, if the room temperature is lower than the
temperature setpoint, as shown in figure 6, the thermostat
detects a heating demand and will activate the heating
equipment to satisfy the demand.
72
ROOM
°
75
HEAT SETPOINT
°
HEAT
Figure 6. Heating Demand
Heating operation is indicated by a flame icon in the lower
right corner. When the actual temperature rises above the
temperature setpoint, the flame icon will disappear. This
indicates that the heating demand has been satisfied and
that the heating equipment has been turned off.
NOTE − Heating equipment is activated for at least 3 min-
utes if no buttons are pressed during the demand interval.
COOL − Using the Cool Mode
Enabling and Disabling Cool Mode
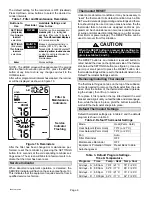
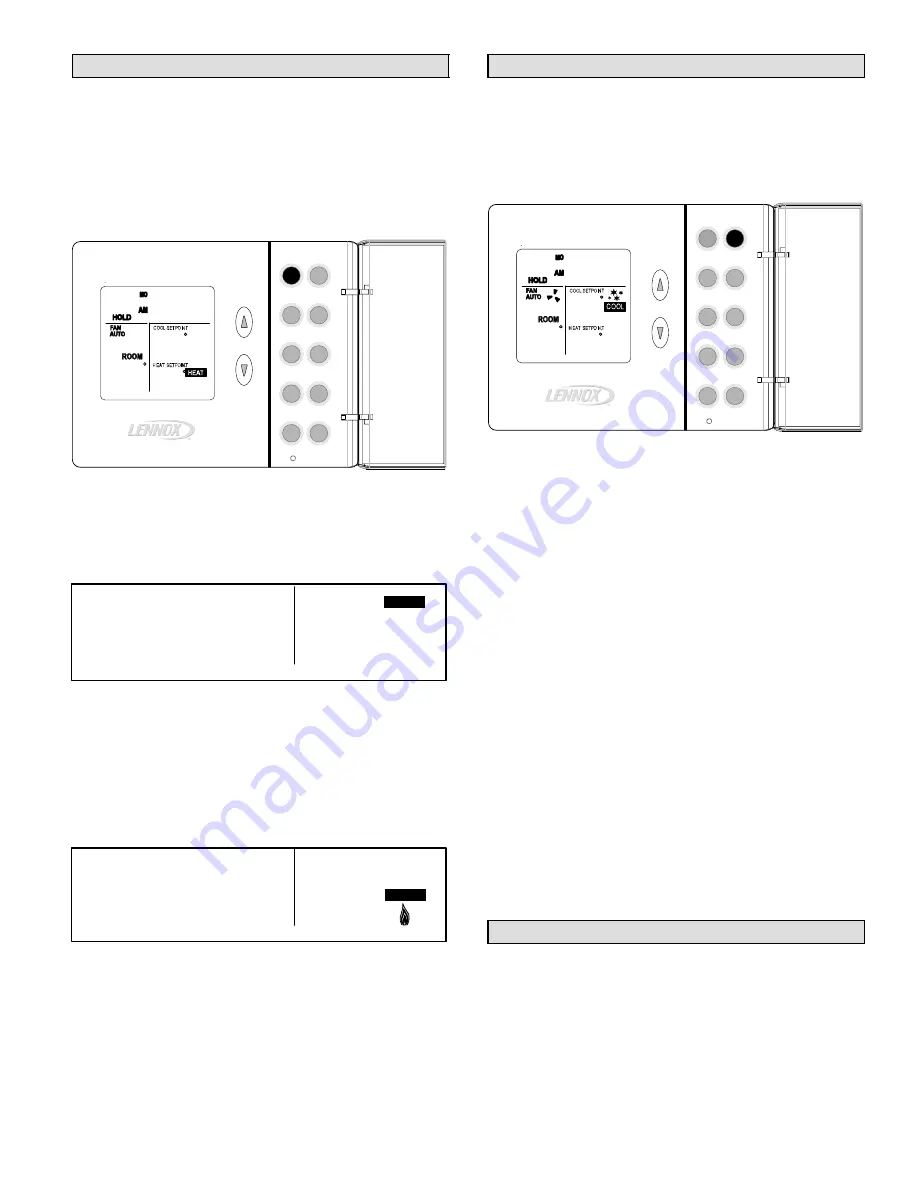
Use the COOL button to enable or disable cool mode as
desired. If the thermostat is in heat or off mode, cool mode
is enabled when the COOL button is pressed. This is indi-
cated by COOL on the right side of the display (see figure
7).
Heat
Prog
Fan
Settings
Cool
Day/Time
Hold
Enter
(DOOR
OPEN)
Auto
Copy
(Outside)
66
i0:30
75
70
Figure 7. Turn Cool ON/OFF
If the thermostat is in cool mode, pressing the COOL but-
ton disables cool mode (indicated by OFF, similar to figure
5).
Cooling Demand
Set the thermostat to cool mode to control the cooling
equipment. Then, if the room temperature is higher than
the temperature setpoint, as shown in figure 7, the thermo-
stat detects a cooling demand and will activate the cooling
equipment to satisfy the demand.
Cooling operation is indicated by flashing snowflake"
icons in the display. When the actual temperature drops
below the temperature setpoint, the snowflake icons will
disappear. This indicates that the cooling demand has
been satisfied and that the cooling equipment has been
turned off.
NOTE − If no buttons are pressed during a demand for
cooling, the equipment must operate for at least 4 minutes.
After a demand has been satisfied, cooling equipment op-
eration is locked out for 5 minutes. If another cooling de-
mand occurs during this 5−minute interval, COOL" and the
snowflakes will flash; however, the cooling equipment will
not operate until the 5−minute delay has elapsed.
NOTE − The cooling setpoint cannot be lower than the
heating setpoint. Also, the difference between the cooling
and heating setpoint must be at least 4 degrees.
AUTO − Using the Autochangeover Mode
When in either heat mode or cool mode, autochangeover
can be enabled or disabled by pressing the AUTO button. If
enabled, AUTO appears at the lower right corner of the dis-
play. The thermostat will then automatically change over
from heating to cooling and vice versa, to keep the room
temperature in between the heating and cooling setpoints.
Autochangeover can be used in either of the thermostat
hold modes, or when the thermostat program is running.
These modes are described later.


