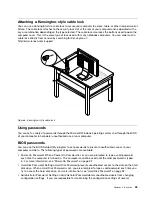


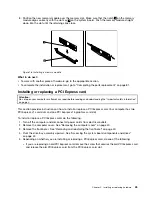
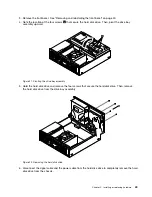

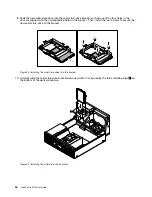
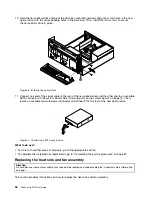

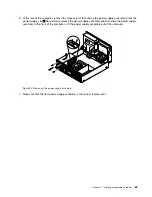
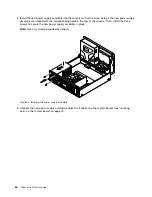
3. Remove the front bezel. See “Removing and reinstalling the front bezel” on page 40.
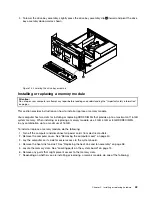
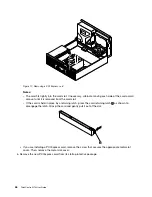
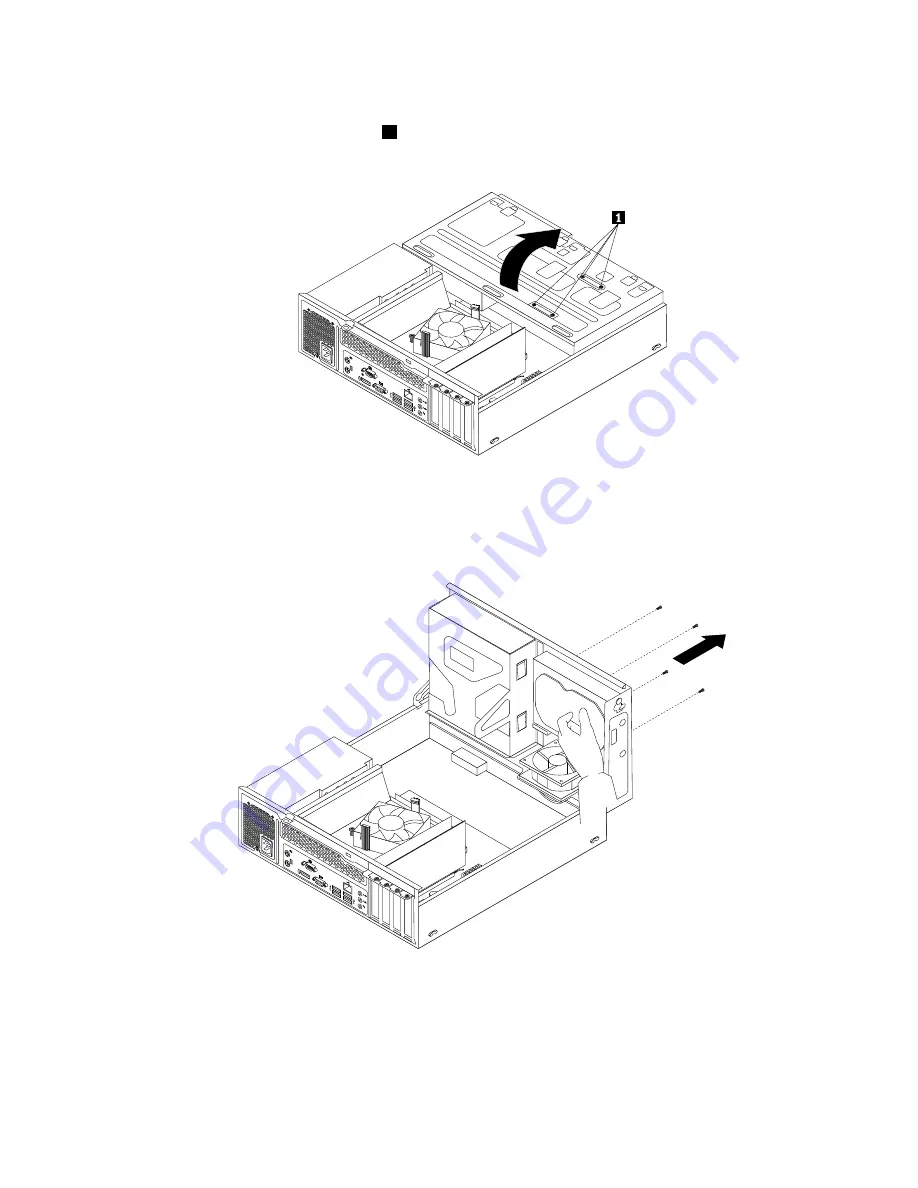
4. Note the location of the four screws
1
that secure the hard disk drive. Then, pivot the drive bay
assembly upward.
Figure 21. Pivoting the drive bay assembly
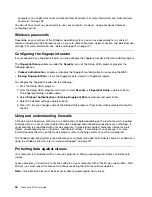
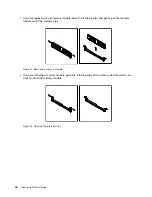
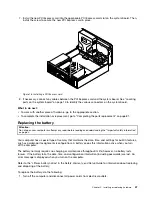
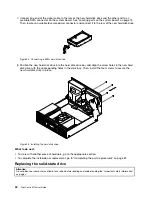
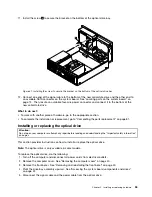
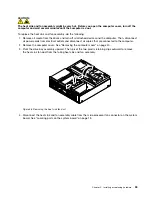
5. Hold the hard disk drive and remove the four screws that secure the hard disk drive. Then, remove
the hard disk drive from the drive bay assembly.
Figure 22. Removing the hard disk drive
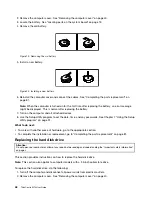
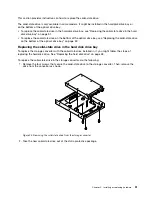
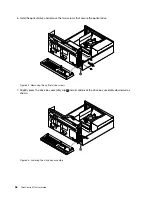
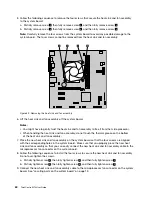
6. Disconnect the signal cable and the power cable from the hard disk drive to completely remove the hard
disk drive from the chassis.
Chapter 5
.
Installing or replacing hardware
49
Summary of Contents for 10B4
Page 1: ...ThinkCentre M73 User Guide Machine Types 10B4 10B5 10B6 and 10B7 ...
Page 6: ...iv ThinkCentre M73 User Guide ...
Page 12: ...x ThinkCentre M73 User Guide ...
Page 28: ...16 ThinkCentre M73 User Guide ...
Page 38: ...26 ThinkCentre M73 User Guide ...
Page 50: ...38 ThinkCentre M73 User Guide ...
Page 136: ...124 ThinkCentre M73 User Guide ...
Page 146: ...134 ThinkCentre M73 User Guide ...
Page 149: ...Appendix E China Energy Label Copyright Lenovo 2013 2014 137 ...
Page 150: ...138 ThinkCentre M73 User Guide ...
Page 152: ...140 ThinkCentre M73 User Guide ...
Page 156: ...144 ThinkCentre M73 User Guide ...
Page 157: ......
Page 158: ......


