


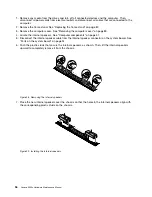


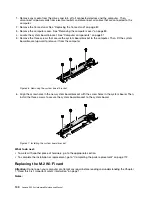


6. Release the cables from the cable guides in the VESA mount bracket as shown.
Figure 16. Releasing cables from the VESA mount bracket
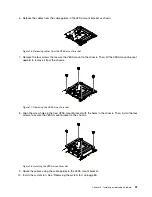
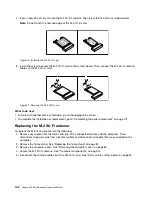
7. Remove the four screws that secure the VESA mount to the chassis. Then, lift the VESA mount bracket
upward to remove it from the chassis.
Figure 17. Removing the VESA mount bracket
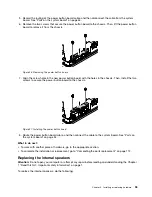
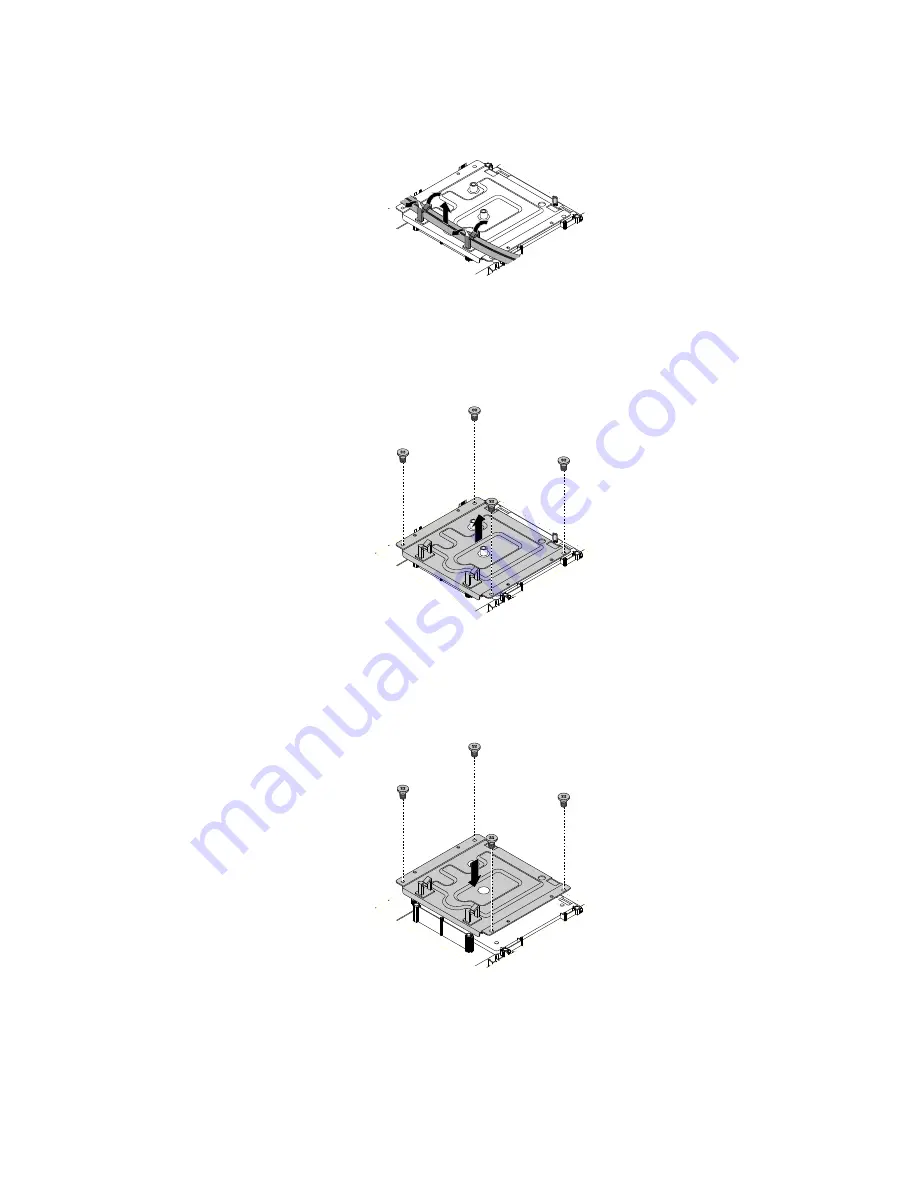
8. Align the screw holes in the new VESA mount bracket with the holes in the chassis. Then, install the four
screws to secure the VESA mount bracket to the chassis.
Figure 18. Installing the VESA mount bracket
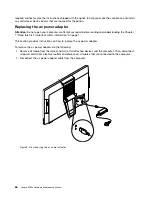
9. Route the cables using the cable guides in the VESA mount bracket.
10. Install the system fan. See “Replacing the system fan” on page 89.
Installing or replacing hardware
91
Summary of Contents for 10HA
Page 1: ...Lenovo S200z Hardware Maintenance Manual Machine Types 10HA 10K1 10K4 and 10K5 ...
Page 6: ...iv Lenovo S200z Hardware Maintenance Manual ...
Page 17: ...1 2 Chapter 1 Read this first Important safety information 11 ...
Page 18: ...12 Lenovo S200z Hardware Maintenance Manual ...
Page 24: ...18 Lenovo S200z Hardware Maintenance Manual ...
Page 28: ...22 Lenovo S200z Hardware Maintenance Manual ...
Page 32: ...26 Lenovo S200z Hardware Maintenance Manual ...
Page 48: ...42 Lenovo S200z Hardware Maintenance Manual ...
Page 62: ...56 Lenovo S200z Hardware Maintenance Manual ...
Page 66: ...60 Lenovo S200z Hardware Maintenance Manual ...
Page 72: ...66 Lenovo S200z Hardware Maintenance Manual ...
Page 120: ...114 Lenovo S200z Hardware Maintenance Manual ...
Page 124: ...118 Lenovo S200z Hardware Maintenance Manual ...
Page 132: ...126 Lenovo S200z Hardware Maintenance Manual ...
Page 135: ...Appendix D China Energy Label Copyright Lenovo 2015 2016 129 ...
Page 136: ...130 Lenovo S200z Hardware Maintenance Manual ...
Page 138: ...132 Lenovo S200z Hardware Maintenance Manual ...
Page 141: ......
Page 142: ......


