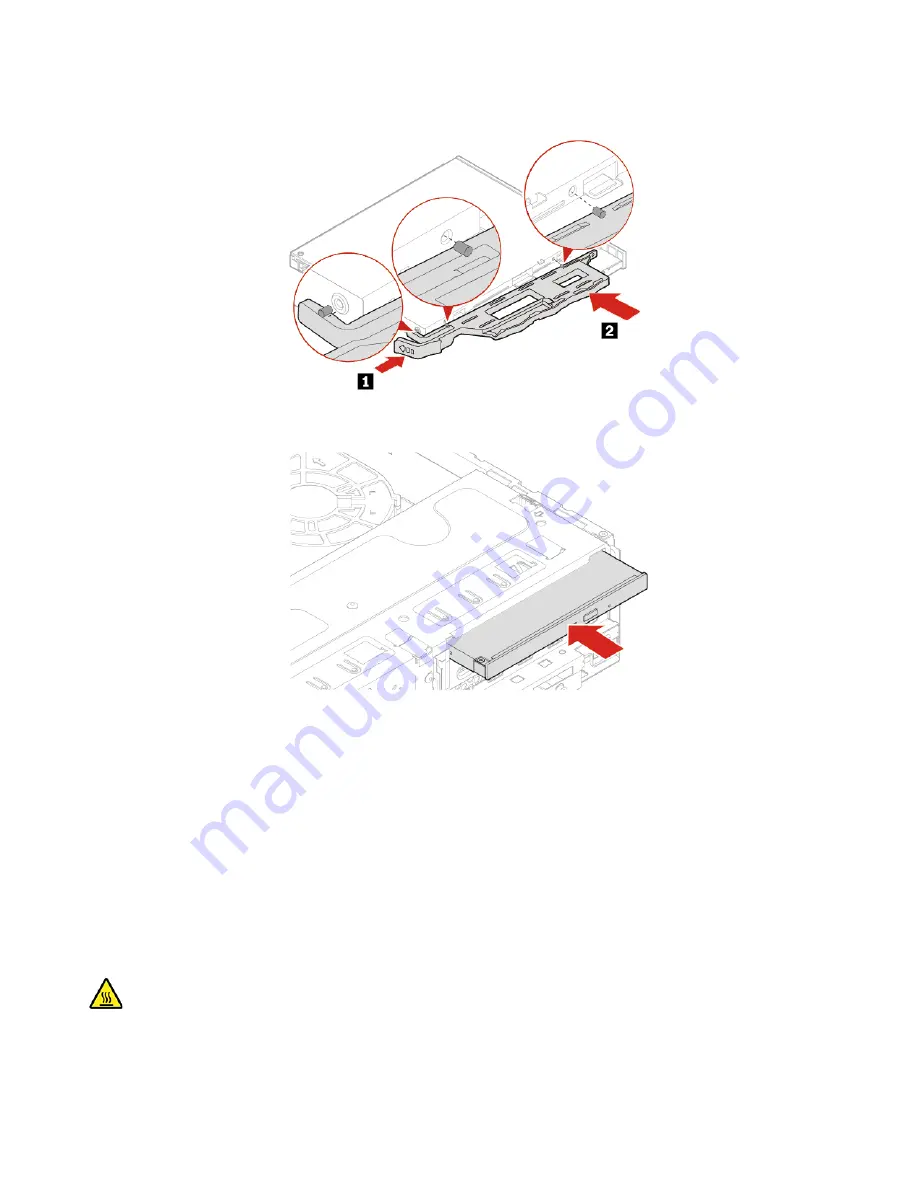
7. Install the optical drive.
8. Install the optical drive bracket.
9. Connect the signal cable and the power cable to the new optical drive.
10. Reinstall all the removed parts.
11. Place the computer in an upright position. Then, reconnect the power cord and all disconnected cables
to the computer.
Note:
If a locking device is available, use it to lock the computer.
Pivot the drive bay assembly upward and downward
Prerequisite
Before you start, read Appendix A “Important safety information” on page 77 and print the following
instructions.
Before you open the computer cover, turn off the computer and wait several minutes until the computer is
cool.
50
M75s-1 User Guide
Summary of Contents for 11A9000DUK
Page 1: ...M75s 1 User Guide ...
Page 6: ...iv M75s 1 User Guide ...
Page 22: ...16 M75s 1 User Guide ...
Page 28: ...22 M75s 1 User Guide ...
Page 46: ...40 M75s 1 User Guide ...
Page 49: ...5 Disassemble the vertical stand 6 Assemble the vertical stand Chapter 7 CRU replacement 43 ...
Page 78: ...72 M75s 1 User Guide ...
Page 82: ...76 M75s 1 User Guide ...
Page 112: ...106 M75s 1 User Guide ...
Page 115: ......
Page 116: ......


