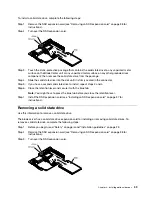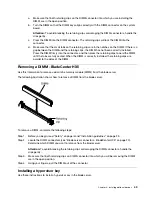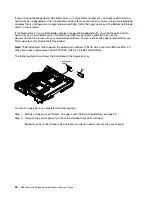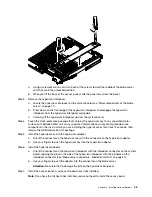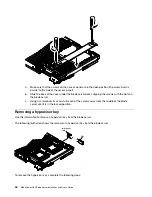
Step 4. Press down on the blue tab. The retention lever automatically opens so that the solid state drive or
drives are accessible.
Step 5. Slide the solid state drive out of the slot.
Note:
When you remove a drive from the SSD expansion card, consider labeling the drive to
indicate the slot from which the drive was removed so that you can install the drive back into the
same slot.
Step 6. Close the retention lever and secure it with the blue tab.
Note:
You might need to press the blue tab before you close the retention lever.
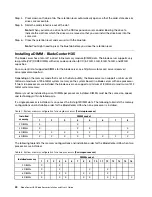
Installing a DIMM - BladeCenter HX5
The blade server has a total of 16 direct inline memory module (DIMM) slots. The blade server supports very
low profile (VLP) DDR3 DIMMs with error code correction (ECC) in 2 GB, 4 GB, 8 GB, 16 GB, and 32 GB
capacities.
For a current list of supported DIMMs for the blade server, see http://www.ibm.com/ servers/eserver/
serverproven/compat/us/.
Depending on the memory mode that is set in the Setup utility, the blade server can support a minimum of 4
GB and a maximum of 256 GB of system memory on the system board in a blade server with one processor.
If two microprocessors are installed, the blade server can support a minimum of 8 GB and a maximum of 512
GB of system memory.
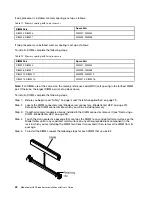
Memory must be installed in pairs of DIMMs per processor installed. DIMMs must be the same size, speed,
and technology within installed pairs.
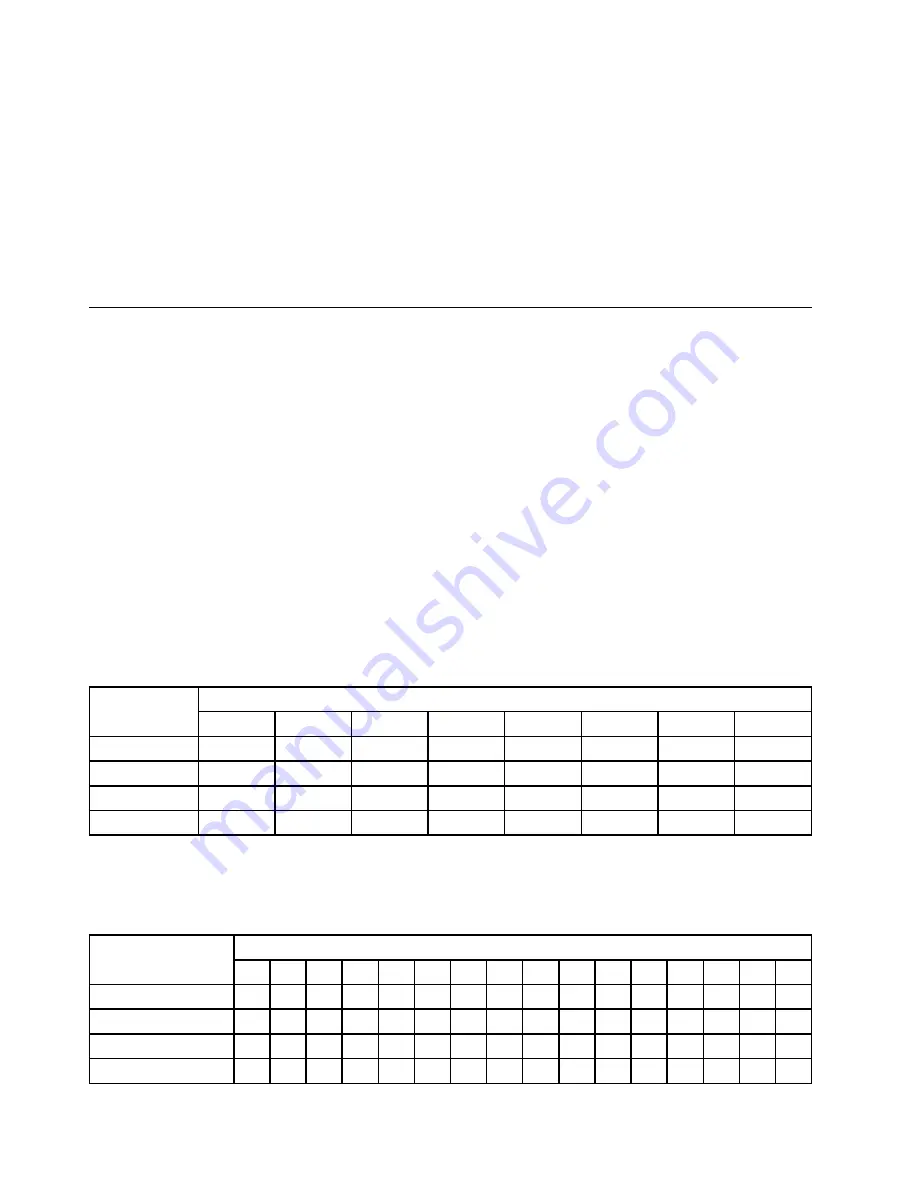
If a single processor is installed, it can access the first eight DIMM slots. The following table lists the memory
configurations and installation order for the BladeCenter HX5 when one processor is installed.
Table 7. System memory configuration for a single processor
(1 microprocessor)
Installed
memory
DIMM socket
1
2
3
4
5
6
7
8
2 DIMMs
X
X
4 DIMMs
X
X
X
X
6 DIMMs
X
X
X
X
X
X
8 DIMMs
X
X
X
X
X
X
X
X
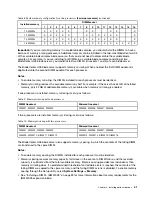
The following table lists the memory configurations and installation order for the BladeCenter HX5 when two
processors are installed.
Table 8. System memory configuration for a two processors
(2 microprocessors)
Installed memory
DIMM socket
1
2
3
4
5
6
7
8
9
10
11
12
13
14
15
16
2 DIMMs
X
X
4 DIMMs
X
X
X
X
6 DIMMs
X
X
X
X
X
X
8 DIMMs
X
X
X
X
X
X
X
X
40
BladeCenter HX5 Blade ServerInstallation and User's Guide
Summary of Contents for 1909
Page 1: ...BladeCenter HX5 Blade Server Installation and User s Guide Machine Types 7873 7872 1910 1909 ...
Page 80: ...72 BladeCenter HX5 Blade ServerInstallation and User s Guide ...
Page 112: ...104 BladeCenter HX5 Blade ServerInstallation and User s Guide ...
Page 116: ...108 BladeCenter HX5 Blade ServerInstallation and User s Guide ...
Page 120: ...112 BladeCenter HX5 Blade ServerInstallation and User s Guide ...
Page 126: ...118 BladeCenter HX5 Blade ServerInstallation and User s Guide ...
Page 133: ...Taiwan Class A compliance statement Appendix B Notices 125 ...
Page 134: ...126 BladeCenter HX5 Blade ServerInstallation and User s Guide ...
Page 139: ......
Page 140: ...Part Number 00V9872 Printed in China 1P P N 00V9872 ...
Page 141: ... 1P00V9872 ...


