3.
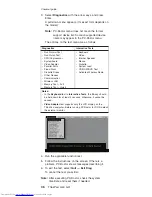
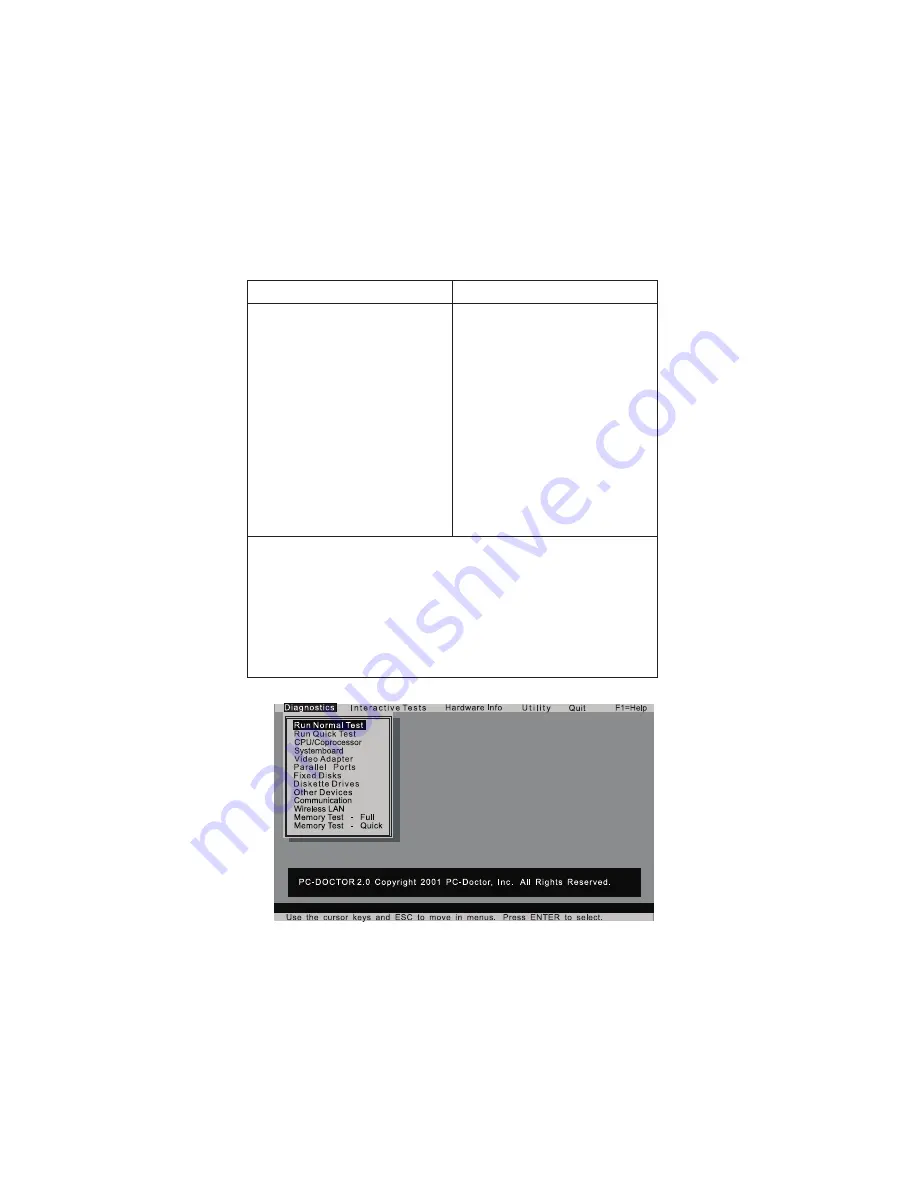
Select
Diagnostics
with
the
arrow
keys,
and
press
Enter.
A
pull-down
menu
appears.
(Its
exact
form
depends
on
the
model.)
Note:
PC-Doctor
menu
does
not
mean
the
formal
support
device
list.
Some
unsupported
device
name
may
appear
in
the
PC-Doctor
menu.
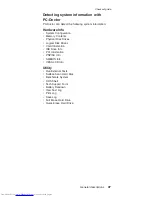
The
options
on
the
test
menu
are
as
follows:
Diagnostics
Interactive
Tests
v
Run
Normal
Test
v
Run
Quick
Test
v
CPU/Coprocessor
v
Systemboard
v
Video
Adapter
v
Parallel
Ports
v
Fixed
Disks
v
Diskette
Drives
v
Other
Devices
v
Communication
v
Wireless
LAN
v
Memory
Test
–
Full
v
Memory
Test
–
Quick
v
Keyboard
v
Video
v
Internal
Speaker
v
Mouse
v
Diskette
v
System
Load
v
CD-ROM/DVD
Test
v
Actiontec
Wireless
Radio
Notes:
v
In
the
Keyboard
test
in
Interactive
Tests
,
the
Fn
key
should
be
held
down
for
at
least
2
seconds;
otherwise,
it
cannot
be
sensed.
v
Video
Adapter
test
supports
only
the
LCD
display
on
the
ThinkPad
computer.
Before
running
PC-Doctor
for
DOS,
detach
the
external
monitor.
4.
Run
the
applicable
function
test.
5.
Follow
the
instructions
on
the
screen.
If
there
is
a
problem,
PC-Doctor
shows
messages
describing
it.
6.
To
exit
the
test,
select
Quit
—
Exit
Diag
.
To
cancel
the
test,
press
Esc.
Note:
After
executing
PC-Doctor,
check
the
system
time/date
and
reset
them
if
needed.
Checkout
guide
36
ThinkPad
G40,
G41
Summary of Contents for 2384EHU - ThinkPad G40 2384
Page 1: ...ThinkPad Computer Hardware Maintenance Manual July 2005 This manual supports ThinkPad G40 G41 ...
Page 6: ...2 ThinkPad G40 G41 ...
Page 28: ...Laser compliance statement 24 ThinkPad G40 G41 ...
Page 46: ...Checkout guide 42 ThinkPad G40 G41 ...
Page 150: ...LCD FRUs Parts list 146 ThinkPad G40 G41 ...
Page 163: ...Trademarks ThinkPad G40 G41 159 ...

