
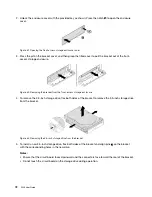
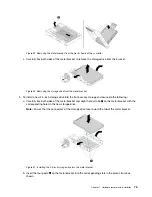
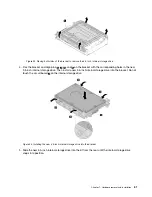
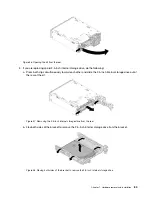

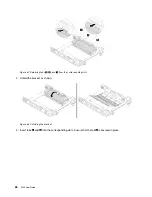

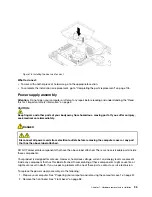


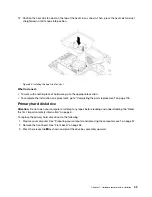
4. Flex the bracket and align pins
1
,
2
,
3
, and
4
on the bracket with the corresponding holes in the new
2.5-inch internal storage drive. Then install a new 2.5-inch internal storage drive into the bracket. Do not
touch the circuit board
5
on the internal storage drive.
Figure 59. Installing the new 2.5-inch internal storage drive into the bracket
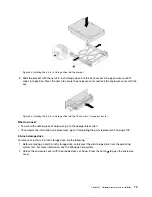
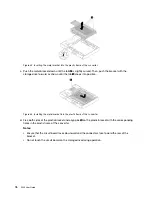
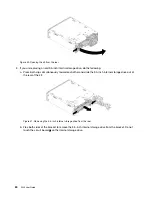
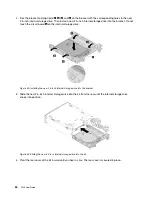
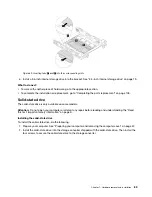
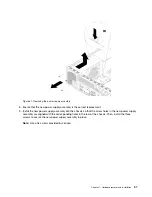
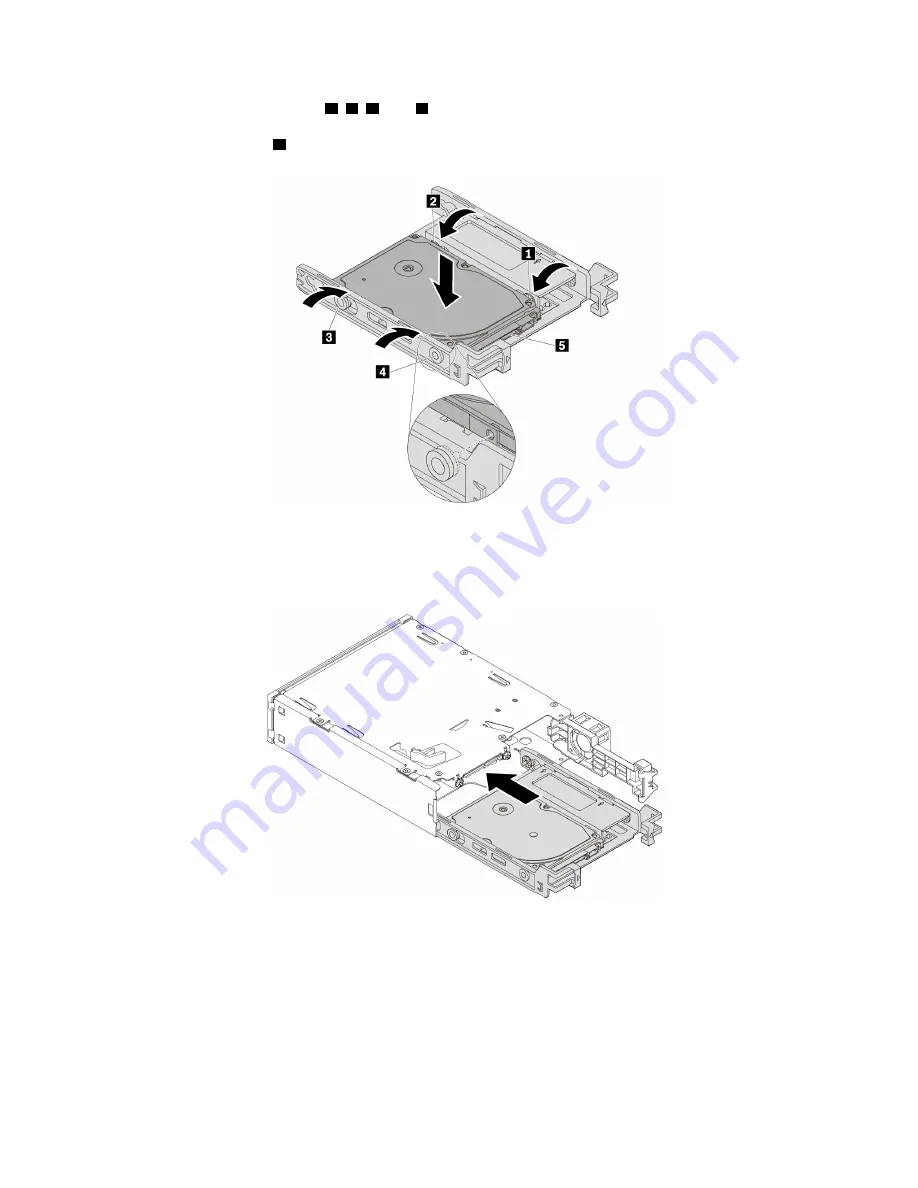
5. Slide the new 2.5-inch internal storage drive into the kit from the rear until the internal storage drive
snaps into position.
Figure 60. Sliding the new 2.5-inch internal storage drive into the kit
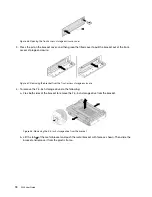
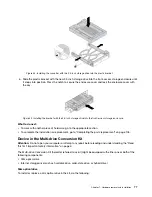
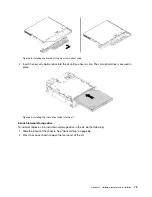
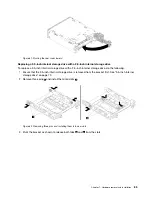
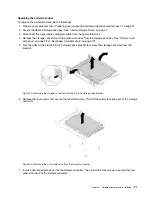
6. Pivot the rear cover of the kit inward until you hear a click. The rear cover is secured in place.
84
P320 User Guide
Summary of Contents for 30BG
Page 1: ...P320 User Guide Machine Types 30BJ 30BK and 30BS ...
Page 12: ...x P320 User Guide ...
Page 28: ...16 P320 User Guide ...
Page 40: ...28 P320 User Guide ...
Page 46: ...34 P320 User Guide ...
Page 56: ...44 P320 User Guide ...
Page 120: ...108 P320 User Guide ...
Page 124: ...112 P320 User Guide ...
Page 126: ...114 P320 User Guide ...
Page 128: ...116 P320 User Guide ...
Page 136: ...124 P320 User Guide ...
Page 140: ...4 Follow the instructions on the screen 128 P320 User Guide ...
Page 142: ...130 P320 User Guide ...
Page 144: ...132 P320 User Guide ...
Page 145: ......
Page 146: ......


