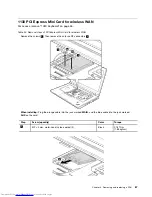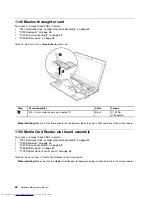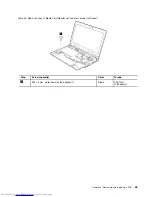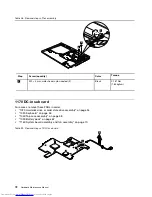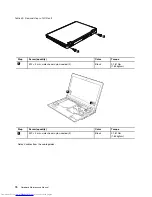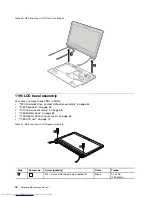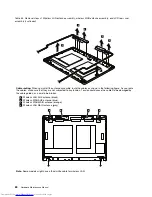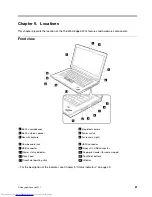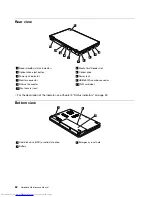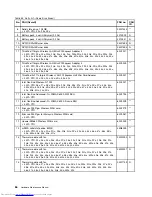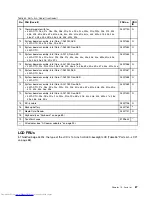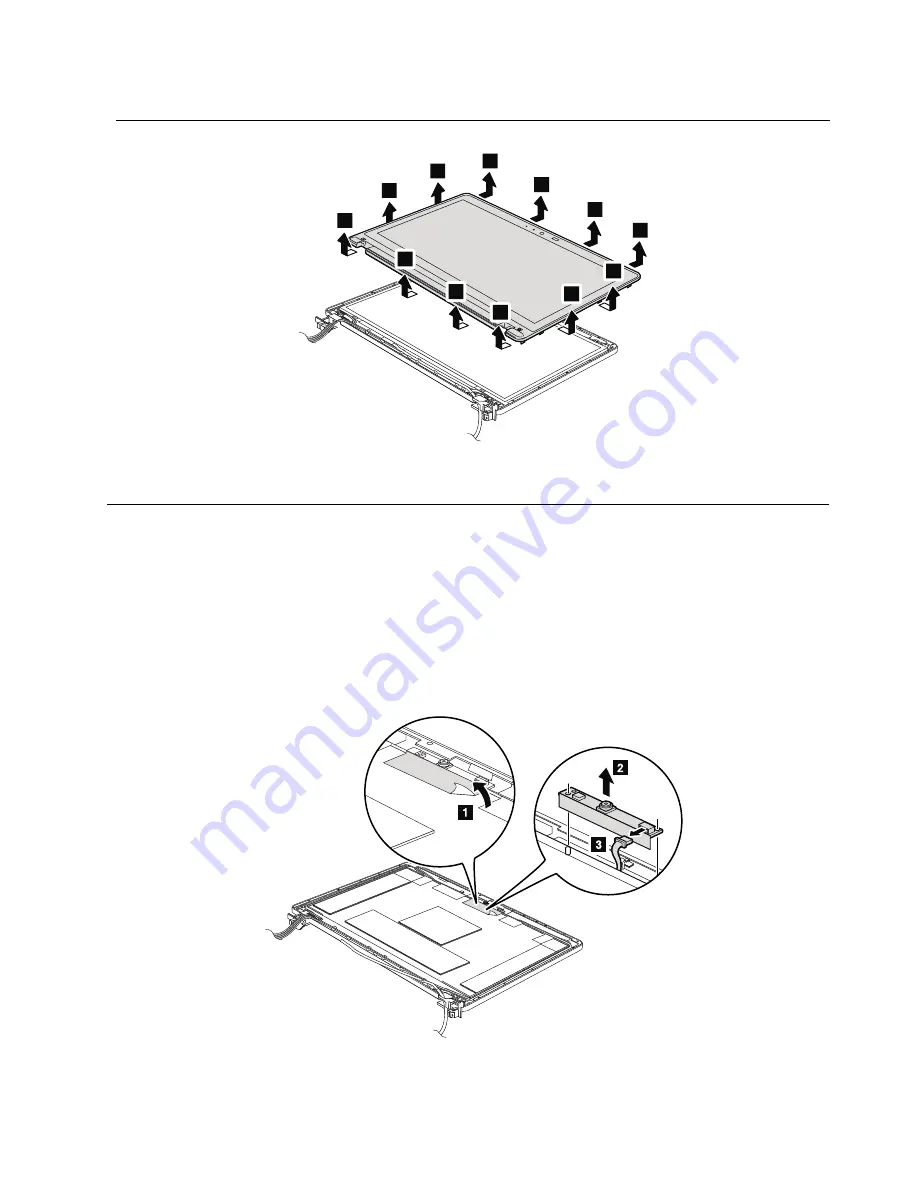
Table 31. Removal steps of LCD bezel assembly (continued)
2
2
2
2
2
2
2
2
2
2
2
2
When installing:
Make sure that all the latches are attached firmly. Then secure the bezel with the screws.
1200 Integrated camera
For access, remove these FRUs in order:
•
“1020 Hard disk drive or solid state drive assembly” on page 54
•
“1030 Keyboard” on page 55
•
“1040 Top case assembly” on page 58
•
“1090 Battery pack” on page 62
•
“1180 LCD unit” on page 73
•
“1190 LCD bezel assembly” on page 76
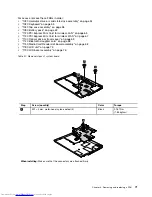
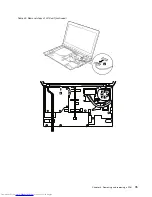
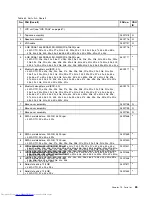
Table 32. Removal steps of integrated camera
When installing:
Make sure that the connector is attached firmly.
Chapter 8
.
Removing and replacing a FRU
77
Summary of Contents for 440128U
Page 1: ...Hardware Maintenance Manual ThinkPad Edge E420s ...
Page 6: ...iv Hardware Maintenance Manual ...
Page 11: ...DANGER DANGER DANGER DANGER DANGER Chapter 1 Safety information 5 ...
Page 12: ...DANGER 6 Hardware Maintenance Manual ...
Page 13: ...PERIGO PERIGO PERIGO Chapter 1 Safety information 7 ...
Page 14: ...PERIGO PERIGO PERIGO PERIGO PERIGO DANGER 8 Hardware Maintenance Manual ...
Page 15: ...DANGER DANGER DANGER DANGER DANGER Chapter 1 Safety information 9 ...
Page 16: ...DANGER DANGER VORSICHT VORSICHT VORSICHT 10 Hardware Maintenance Manual ...
Page 17: ...VORSICHT VORSICHT VORSICHT VORSICHT VORSICHT Chapter 1 Safety information 11 ...
Page 18: ...12 Hardware Maintenance Manual ...
Page 19: ...Chapter 1 Safety information 13 ...
Page 20: ...14 Hardware Maintenance Manual ...
Page 21: ...Chapter 1 Safety information 15 ...
Page 22: ...16 Hardware Maintenance Manual ...
Page 24: ...18 Hardware Maintenance Manual ...
Page 25: ...Chapter 1 Safety information 19 ...
Page 26: ...20 Hardware Maintenance Manual ...
Page 27: ...Chapter 1 Safety information 21 ...
Page 28: ...22 Hardware Maintenance Manual ...
Page 32: ...26 Hardware Maintenance Manual ...
Page 56: ...50 Hardware Maintenance Manual ...
Page 90: ...Overall 1 2 4 5 7 9 13 18 14 15 19 8 12 11 17 16 10 6 3 84 Hardware Maintenance Manual ...


