CAUTION:
When replacing the lithium battery, use only Part Number 33F8354 or an equivalent type battery
recommended by the manufacturer. If your system has a module containing a lithium battery, replace
it only with the same module type made by the same manufacturer. The battery contains lithium and
can explode if not properly used, handled, or disposed of.
Do not:
v
Throw or immerse into water
v
Heat to more than 100°C (212°F)
v
Repair or disassemble
Dispose of the battery as required by local ordinances or regulations.
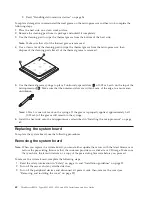
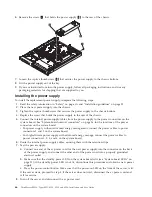
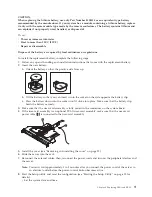
To install the replacement battery, complete the following steps:
1.
Follow any special handling and installation instructions that come with the replacement battery.
2.
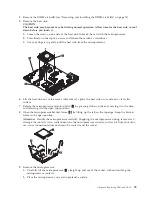
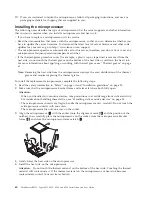
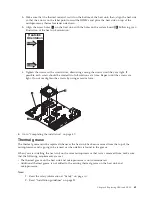
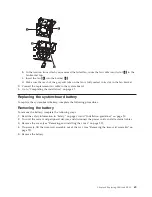
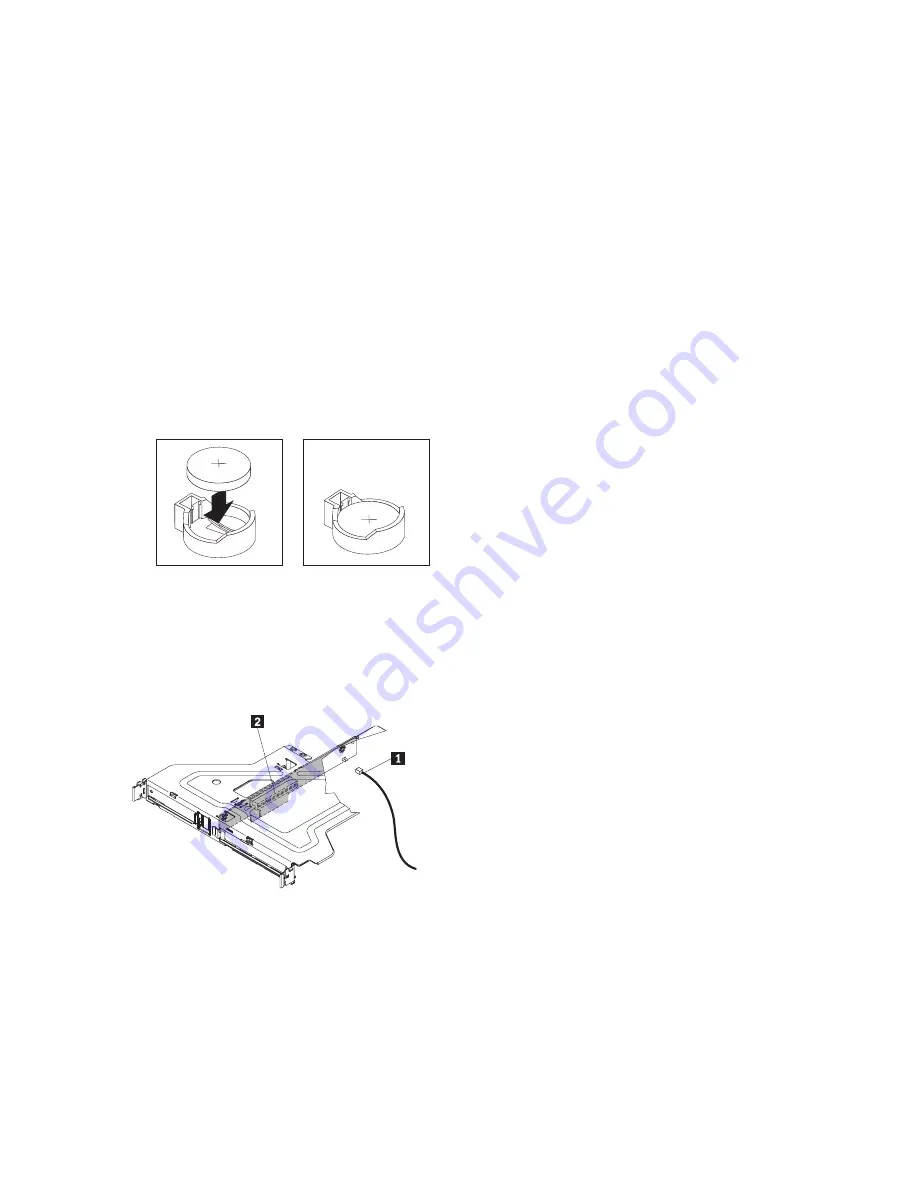
Insert the new battery:
a.
Orient the battery so that the positive side faces up.
b.
Tilt the battery so that you can insert it into the socket on the side opposite the battery clip.
c.
Press the battery down into the socket until it clicks into place. Make sure that the battery clip
holds the battery securely.
3.
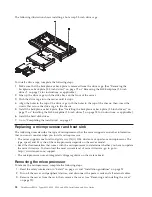
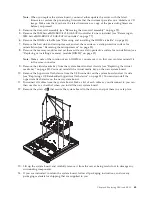
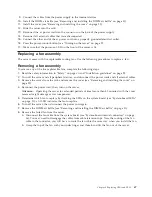
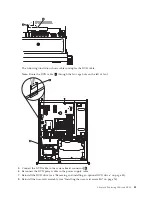
Make sure that the riser-card assembly is fully seated in the connectors on the system board.
4.
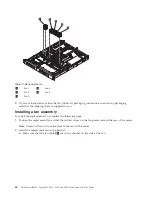
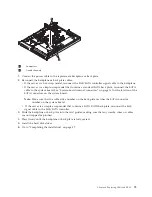
If the riser-card assembly is an optional PCI-X riser-card assembly, make sure that the riser-card
power cable
1
is connected to the riser-card assembly.
5.
Install the cover (see “Removing and installing the cover” on page 29).
6.
Slide the server into the rack.
7.
Reconnect the external cables; then, reconnect the power cords and turn on the peripheral devices and
the server.
Note:
You must wait approximately 1 to 3 minutes after you connect the power cord of the server to
an electrical outlet before the power-control button becomes active.
8.
Start the Setup utility and reset the configuration (see “Starting the Setup Utility” on page 90 for
details).
v
Set the system date and time.
Chapter 6. Replacing CRUs and FRUs
71
Summary of Contents for 653417U
Page 1: ...Installation and User Guide ThinkServer RS210 Machine Types 6531 6532 6533 and 6534 ...
Page 2: ......
Page 3: ...ThinkServer RS210 Types 6531 6532 6533 and 6534 Installation and User Guide ...
Page 8: ...vi ThinkServer RS210 Types 6531 6532 6533 and 6534 Installation and User Guide ...
Page 16: ...xiv ThinkServer RS210 Types 6531 6532 6533 and 6534 Installation and User Guide ...
Page 20: ...4 ThinkServer RS210 Types 6531 6532 6533 and 6534 Installation and User Guide ...
Page 22: ...6 ThinkServer RS210 Types 6531 6532 6533 and 6534 Installation and User Guide ...
Page 40: ...24 ThinkServer RS210 Types 6531 6532 6533 and 6534 Installation and User Guide ...
Page 66: ...50 ThinkServer RS210 Types 6531 6532 6533 and 6534 Installation and User Guide ...
Page 128: ...112 ThinkServer RS210 Types 6531 6532 6533 and 6534 Installation and User Guide ...
Page 160: ...144 ThinkServer RS210 Types 6531 6532 6533 and 6534 Installation and User Guide ...
Page 164: ...148 ThinkServer RS210 Types 6531 6532 6533 and 6534 Installation and User Guide ...
Page 173: ...Chinese Class A warning statement Korean Class A warning statement Appendix B Notices 157 ...
Page 174: ...158 ThinkServer RS210 Types 6531 6532 6533 and 6534 Installation and User Guide ...
Page 179: ......
Page 180: ...Printed in USA ...


