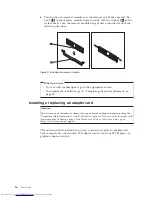
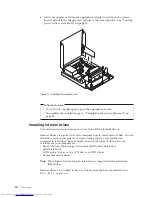


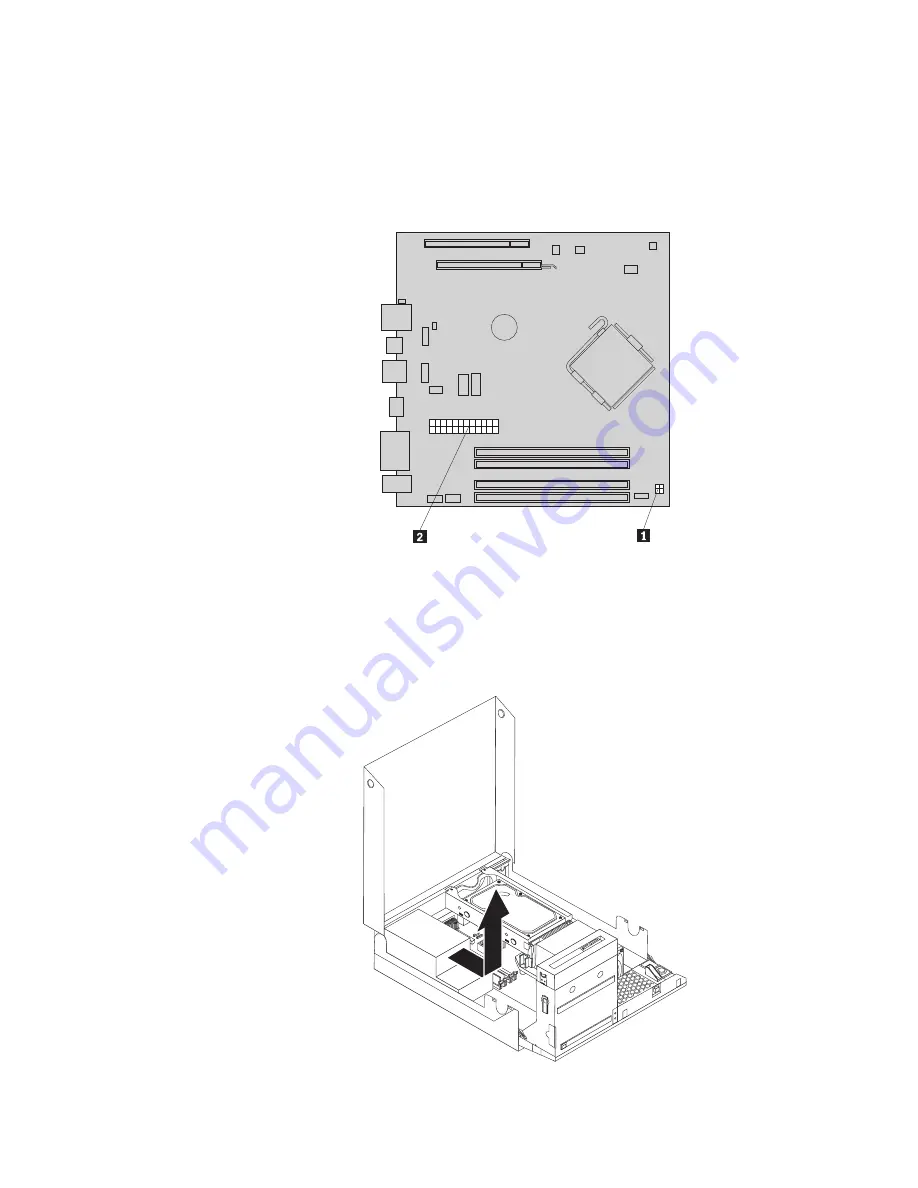
5.
Disconnect
the
power
supply
assembly
cables
from
all
drives
and
from
the
power
connectors
1
and
2
on
the
system
board.
Note:
You
might
need
to
remove
the
hard
disk
drive
to
gain
easy
access
to
the
power
connector
2
.
See
“Replacing
the
hard
disk
drive”
on
page
22.
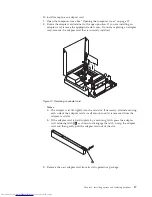
6.
Release
the
power
supply
assembly
cables
from
the
cable
clips
and
ties
in
the
chassis.
7.
Slide
the
power
supply
assembly
away
from
the
chassis
and
remove
it
from
the
computer.
Figure
25.
Power
connectors
on
the
system
board
Figure
26.
Removing
the
power
supply
assembly
30
User
Guide
Summary of Contents for 7360APU
Page 1: ......
Page 2: ......
Page 3: ...ThinkCentre User Guide ...
Page 6: ...iv User Guide ...
Page 8: ...vi User Guide ...
Page 54: ...46 User Guide ...
Page 62: ...54 User Guide ...
Page 78: ...70 User Guide ...
Page 79: ......
Page 80: ...Part Number 53Y9876 Printed in USA 1P P N 53Y9876 ...


