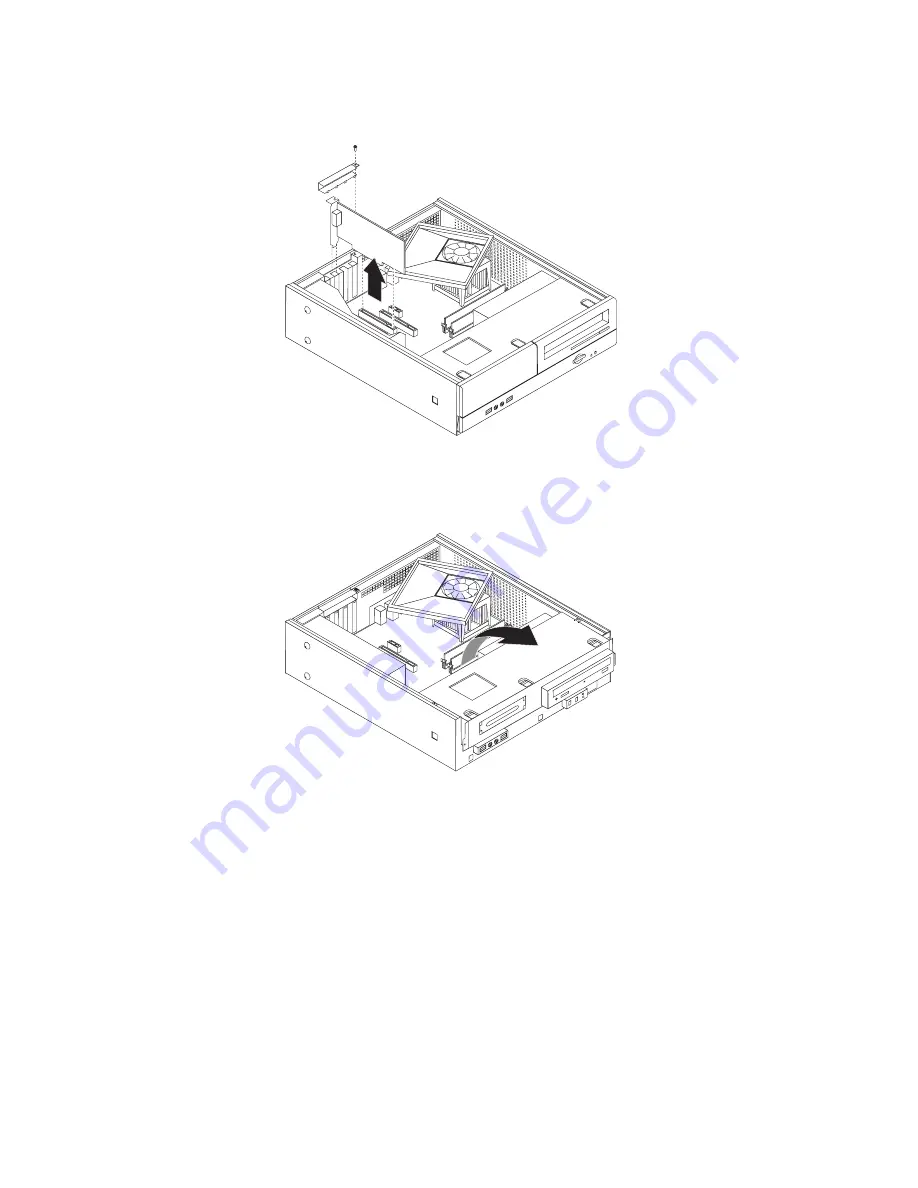
4.
In
some
models,
you
will
need
to
remove
the
PCI
adapter
in
order
to
access
the
battery.
5.
Slide
the
drive
bay
assembly
forward
until
the
drive
bay
assembly
is
aligned
with
the
two
slots
on
the
sides
of
the
chassis
and
remove
the
drive
cables
from
the
system
board.
Then
pivot
the
drive
bay
assembly
upward
to
remove
it
completely
from
the
computer.
Chapter
3.
Installing
options
23
Summary of Contents for 7390
Page 1: ...User Guide Lenovo 3000 J Series Types 7390 7391 7392 7396 7397 7398 ...
Page 2: ......
Page 3: ...Lenovo 3000 J Series ...
Page 18: ...xvi User Guide ...
Page 28: ...10 User Guide ...
Page 50: ...32 User Guide ...
Page 58: ...40 User Guide ...
Page 64: ...46 User Guide ...
Page 72: ...54 User Guide ...
Page 84: ...66 User Guide ...
Page 89: ......
Page 90: ...Part Number 41X8053 Printed in USA 1P P N 41X8053 ...


