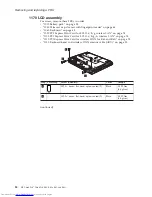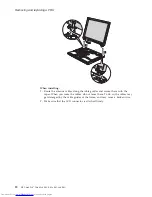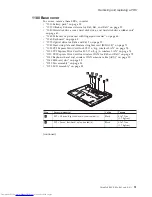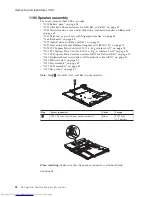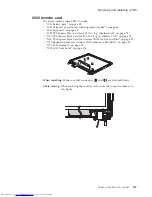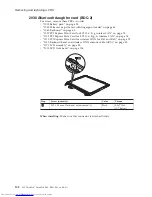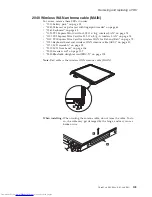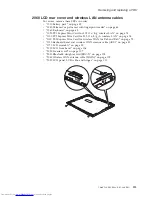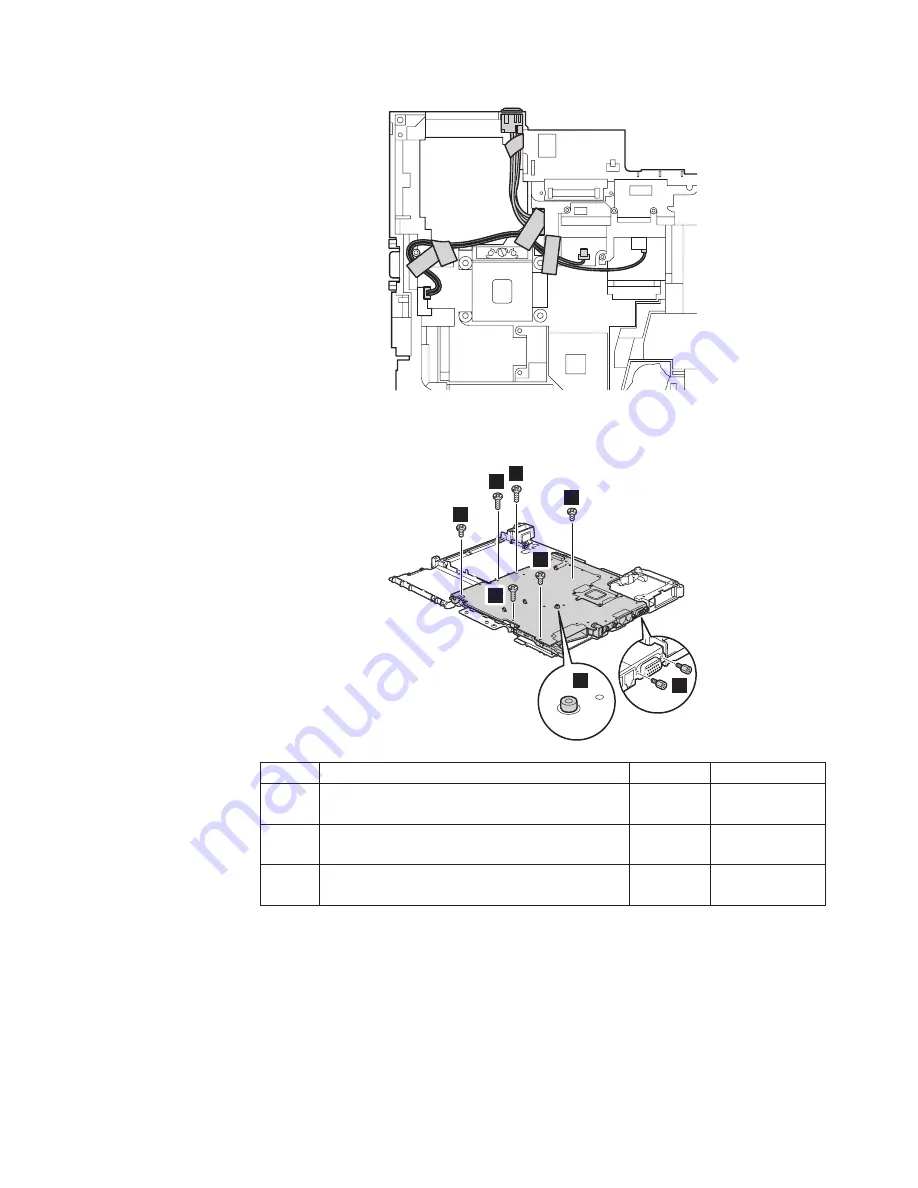
When
installing:
Make
sure
the
connectors
are
attached
firmly,
and
that
the
cables
are
routed
as
in
the
figure
above.
14
15
16
14
15
a
14
15
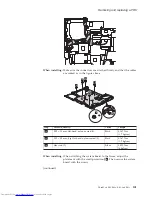
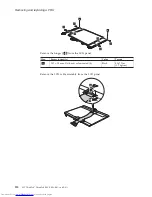
Step
Screw
(quantity)
Color
Torque
14
M2
×
10
mm,
flat-head,
nylon-coated
(3)
Black
0.167
Nm
(1.7
kgfcm)
15
M2
×
3.5
mm,
big
flat-head,
nylon-coated
(3)
Black
0.167
Nm
(1.7
kgfcm)
16
Hex
stud
(2)
Silver
0.392
Nm
(4
kgfcm)
When
installing:
When
attaching
the
system
board
to
the
frame,
adjust
the
placement
with
the
small
projection
a
.
Then
secure
the
system
board
with
the
screws.
(continued)
Removing
and
replacing
a
FRU
ThinkPad
R60,
R60e,
R61,
and
R61i
101
Summary of Contents for 765002U
Page 2: ......
Page 3: ...ThinkPad R60 R60e R61 and R61i Hardware Maintenance Manual ...
Page 6: ...iv MT ThinkPad ThinkPad R60 R60e R61 and R61i ...
Page 8: ...2 MT ThinkPad ThinkPad R60 R60e R61 and R61i ...
Page 81: ...3 Removing and replacing a FRU ThinkPad R60 R60e R61 and R61i 75 ...
Page 83: ...3 Removing and replacing a FRU ThinkPad R60 R60e R61 and R61i 77 ...
Page 203: ...LCD FRUs 1 3 2 5 6 7 8 9 4 Parts list ThinkPad R60 R60e R61 and R61i 197 ...


