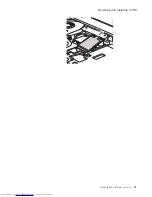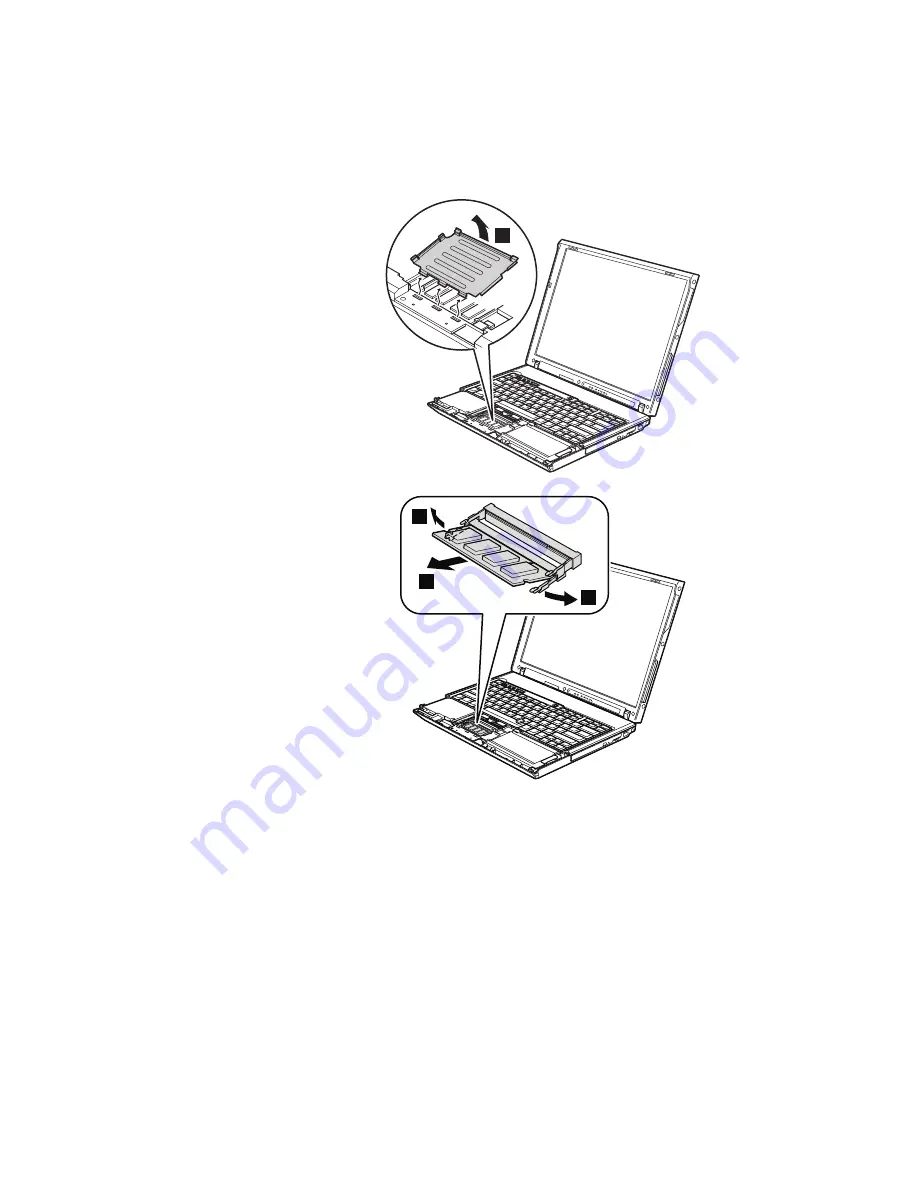
1050
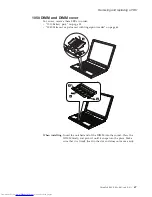
DIMM
and
DIMM
cover
For
access,
remove
these
FRUs
in
order:
v
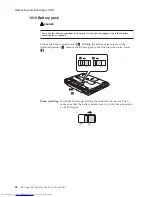
“1010
Battery
pack”
on
page
58
v
“1040
Palm
rest
or
palm
rest
with
fingerprint
reader”
on
page
64
1
3
2
2
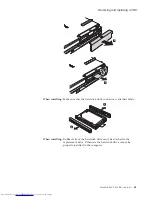
When
installing:
Insert
the
notched
end
of
the
DIMM
into
the
socket.
Press
the
DIMM
firmly,
and
pivot
it
until
it
snaps
into
the
place.
Make
sure
that
it
is
firmly
fixed
in
the
slot
and
does
not
move
easily.
Removing
and
replacing
a
FRU
ThinkPad
R60,
R60e,
R61,
and
R61i
67
Summary of Contents for 765002U
Page 2: ......
Page 3: ...ThinkPad R60 R60e R61 and R61i Hardware Maintenance Manual ...
Page 6: ...iv MT ThinkPad ThinkPad R60 R60e R61 and R61i ...
Page 8: ...2 MT ThinkPad ThinkPad R60 R60e R61 and R61i ...
Page 81: ...3 Removing and replacing a FRU ThinkPad R60 R60e R61 and R61i 75 ...
Page 83: ...3 Removing and replacing a FRU ThinkPad R60 R60e R61 and R61i 77 ...
Page 203: ...LCD FRUs 1 3 2 5 6 7 8 9 4 Parts list ThinkPad R60 R60e R61 and R61i 197 ...

