• Replace the internal storage drive only for upgrade or repair. The internal storage drive is not designed for
frequent changes or replacement.
• Before replacing the internal storage drive, make a backup copy of all the data that you want to keep.
• Do not touch the contact edge of the internal storage drive. Otherwise, the internal storage drive might get
damaged.
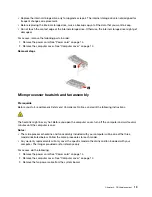
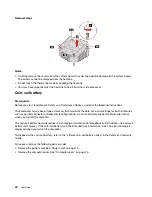
For access, remove the following parts in order:
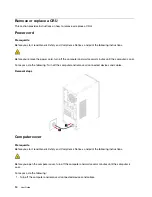
1. Remove the power cord. See “Power cord” on page 14.
2. Remove the computer cover. See “Computer cover” on page 14.
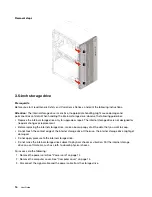
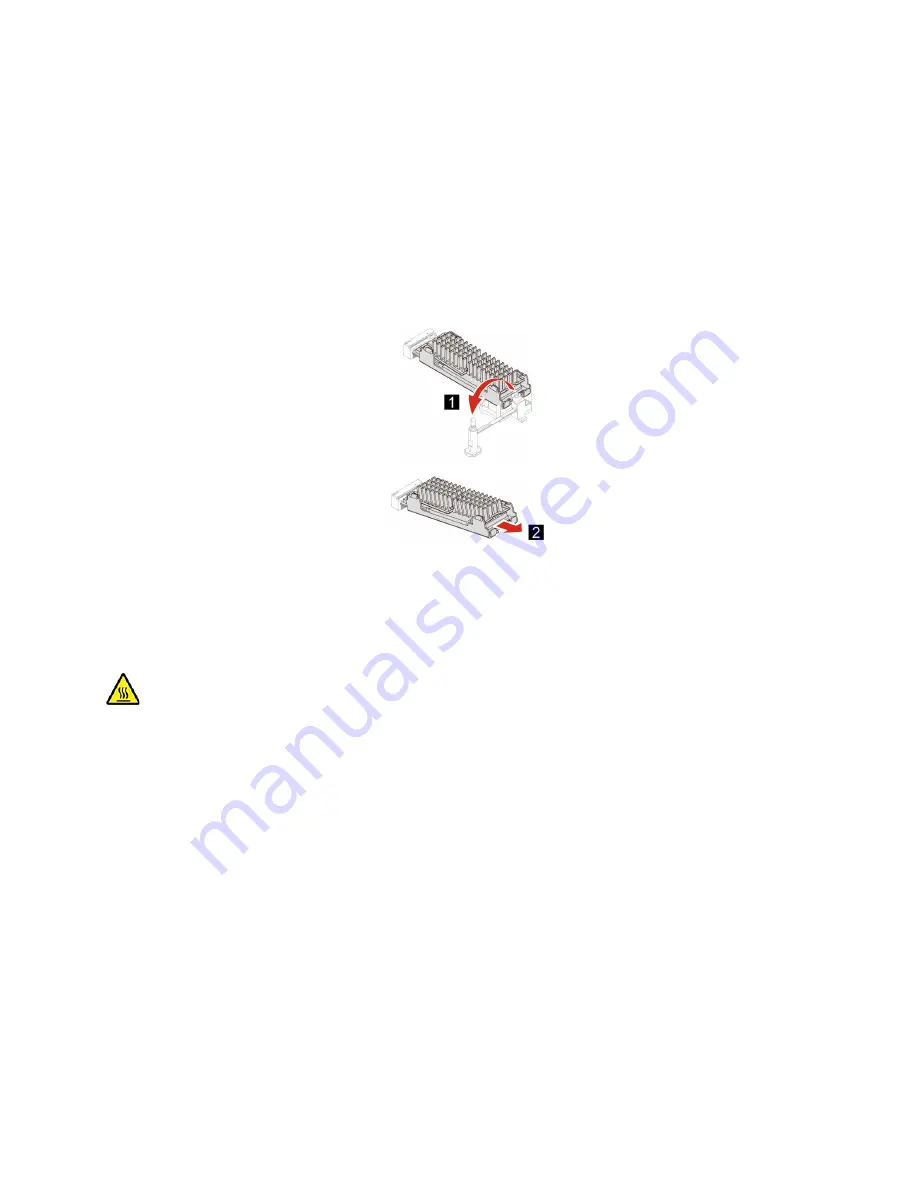
Removal steps
Microprocessor heatsink and fan assembly
Prerequisite
Before you start, read
Generic Safety and Compliance Notices
, and print the following instructions.
The heatsink might be very hot. Before you open the computer cover, turn off the computer and wait several
minutes until the computer is cool.
Notes:
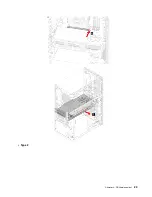
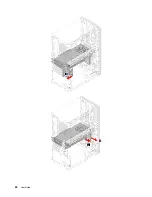
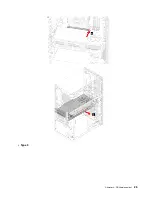
• The microprocessor heatsink and fan assembly included with your computer will be one of the three
models illustrated below. Follow the same procedures for each model.
• Any warranty replacements will only cover the specific model of heatsink and fan included with your
computer. The images provided are for reference only.
For access, do the following:
1. Remove the power cord. See “Power cord” on page 14.
2. Remove the computer cover. See “Computer cover” on page 14.
3. Remove the fan power cable from the system board.
19
Summary of Contents for 90T0
Page 1: ...User Guide IdeaCentre Gaming 5i 17L 7 ...
Page 4: ...ii User Guide ...
Page 6: ...iv User Guide ...
Page 12: ...6 User Guide ...
Page 14: ...8 User Guide ...
Page 18: ...12 User Guide ...
Page 28: ...22 User Guide ...
Page 29: ... Type 2 Chapter 4 CRU replacement 23 ...
Page 30: ...24 User Guide ...
Page 31: ... Type 3 Chapter 4 CRU replacement 25 ...
Page 34: ...28 User Guide ...
Page 41: ......
Page 42: ......


