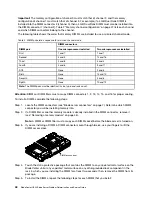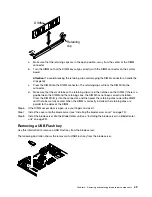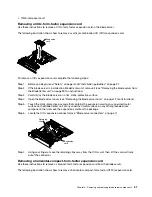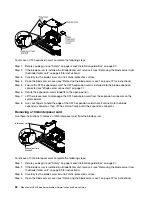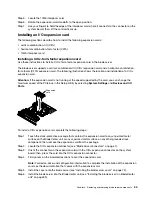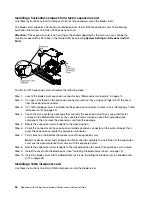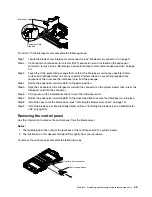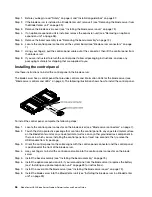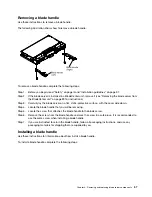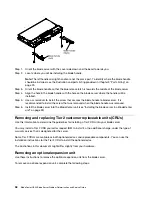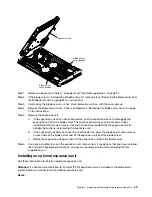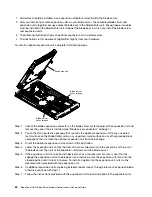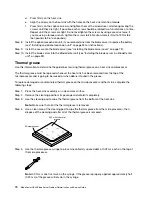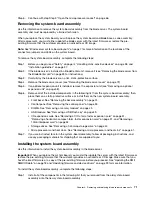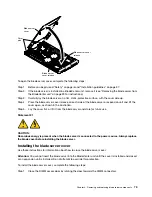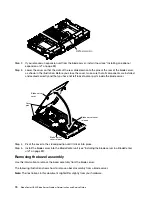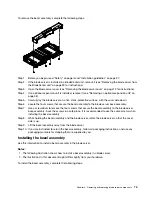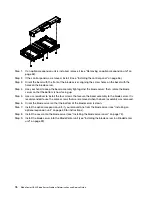
Step 8. If this is the last expansion blade being installed, install the cover provided with the expansion unit
(see “Installing the blade server cover” on page 73).
Step 9. Install the blade server into the BladeCenter unit (see “Installing the blade server in a BladeCenter
Removing a microprocessor and heat sink
Use this information to remove a microprocessor and heat sink from the blade server. The microprocessor
and heat sink assembly must be replaced by a trained technician.
Read the following important guidelines before you remove a microprocessor that is not faulty (for example,
when you are replacing the system-board assembly).
If you are not replacing a defective heat sink or microprocessor, the thermal material on the heat sink and
microprocessor will remain effective if you carefully handle the heat sink and microprocessor when you
remove or install these components. Do not touch the thermal material or otherwise allow it to become
contaminated.
Notes:
1. Read the following important information before you remove a microprocessor that is not faulty (for
example, when you are replacing the system-board assembly).If you are not replacing a defective heat
sink or microprocessor, the thermal material on the heat sink and microprocessor will remain effective if
you carefully handle the heat sink and microprocessor when you remove or install these components.
Do not touch the thermal material or otherwise allow it to become contaminated.
2. The microprocessor installation tool might become worn after several uses. Make sure that the tool can
hold the microprocessor securely if you are reusing an existing microprocessor installation tool. Do not
return the tool with other parts that you are returning.
3. Do not touch the contacts in the microprocessor socket. Touching these contacts might result in
permanent damage to the system board.
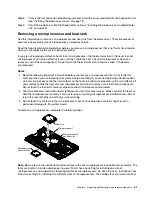
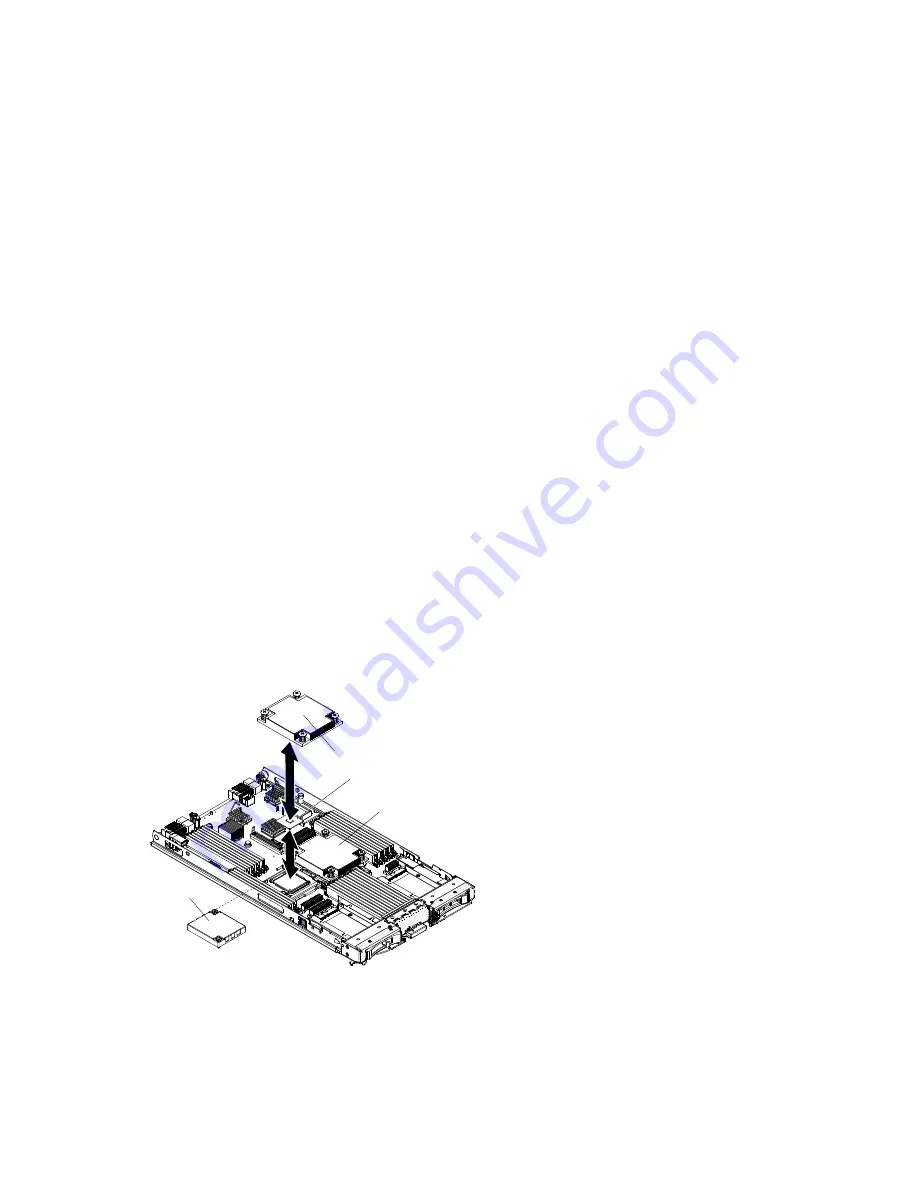
To remove a microprocessor, complete the following steps.
Microprocessor 2
and heat sink
Microprocessor 1
Heat sink
Microprocessor
heat sink filler
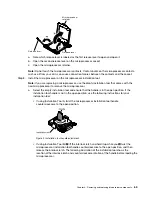
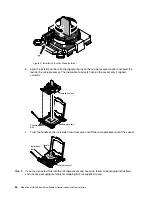
Note:
Be sure to use the installation tool that comes with your microprocessor installation tool assembly. The
tools are similar in function and design, however Tool A has one setting for installing one size of
microprocessor, and supports the following families of microprocessors: E5-26xx, E5-46xx. Installation Tool
B has two settings for installing two different sizes of microprocessors. The settings that are marked on Tool
.
Removing and replacing blade server components
61
Summary of Contents for BladeCenter HS23 1929
Page 1: ...BladeCenter HS23 Blade Server Problem Determination and Service Guide Machine Types 7875 1929 ...
Page 284: ...268 BladeCenter HS23 Blade ServerProblem Determination and Service Guide ...
Page 289: ...Taiwan BSMI RoHS declaration Appendix B Notices 273 ...
Page 290: ...274 BladeCenter HS23 Blade ServerProblem Determination and Service Guide ...
Page 296: ...280 BladeCenter HS23 Blade ServerProblem Determination and Service Guide ...
Page 297: ......
Page 298: ...Part Number 00KC215 Printed in China 1P P N 00KC215 ...
Page 299: ... 1P00KC215 ...


