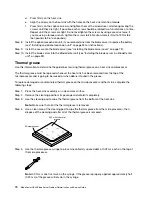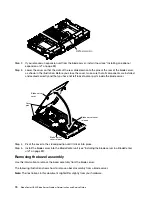
Step 2. If you removed an expansion unit from the blade server, install it now (see “Installing an optional
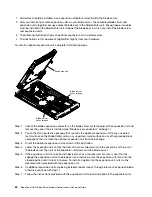
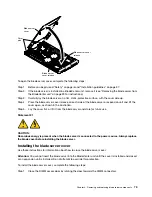
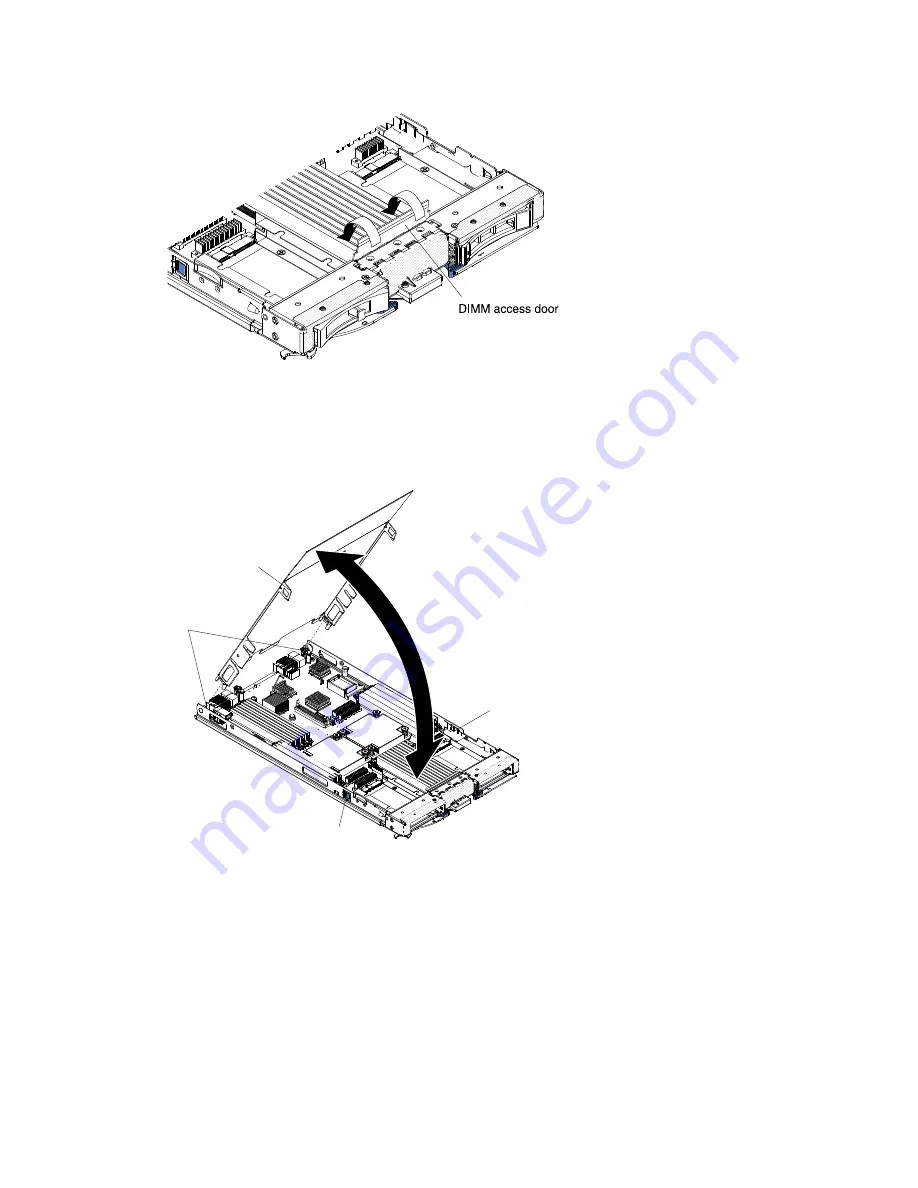
Step 3. Lower the cover so that the slots at the rear slide down onto the pins at the rear of the blade server,
as shown in the illustration. Before you close the cover, make sure that all components are installed
and seated correctly and that you have not left loose tools or parts inside the blade server.
Blade server
cover release
Cover
pins
Blade server
cover
Blade server cover
release
Step 4. Pivot the cover to the closed position until it clicks into place.
Step 5. Install the blade server into the BladeCenter unit (see “Installing the blade server in a BladeCenter
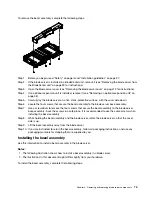
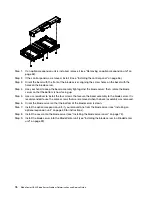
Removing the bezel assembly
Use this information to remove the bezel assembly from the blade server.
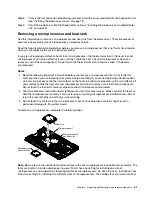
The following illustration shows how to remove a bezel assembly from a blade server.
Note:
The illustrations in this document might differ slightly from your hardware.
74
BladeCenter HS23 Blade ServerProblem Determination and Service Guide
Summary of Contents for BladeCenter HS23 1929
Page 1: ...BladeCenter HS23 Blade Server Problem Determination and Service Guide Machine Types 7875 1929 ...
Page 284: ...268 BladeCenter HS23 Blade ServerProblem Determination and Service Guide ...
Page 289: ...Taiwan BSMI RoHS declaration Appendix B Notices 273 ...
Page 290: ...274 BladeCenter HS23 Blade ServerProblem Determination and Service Guide ...
Page 296: ...280 BladeCenter HS23 Blade ServerProblem Determination and Service Guide ...
Page 297: ......
Page 298: ...Part Number 00KC215 Printed in China 1P P N 00KC215 ...
Page 299: ... 1P00KC215 ...

