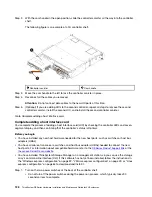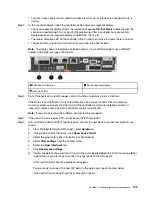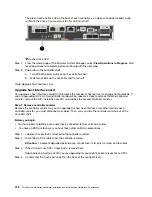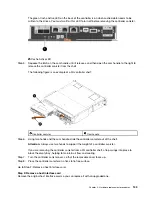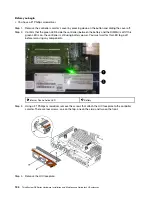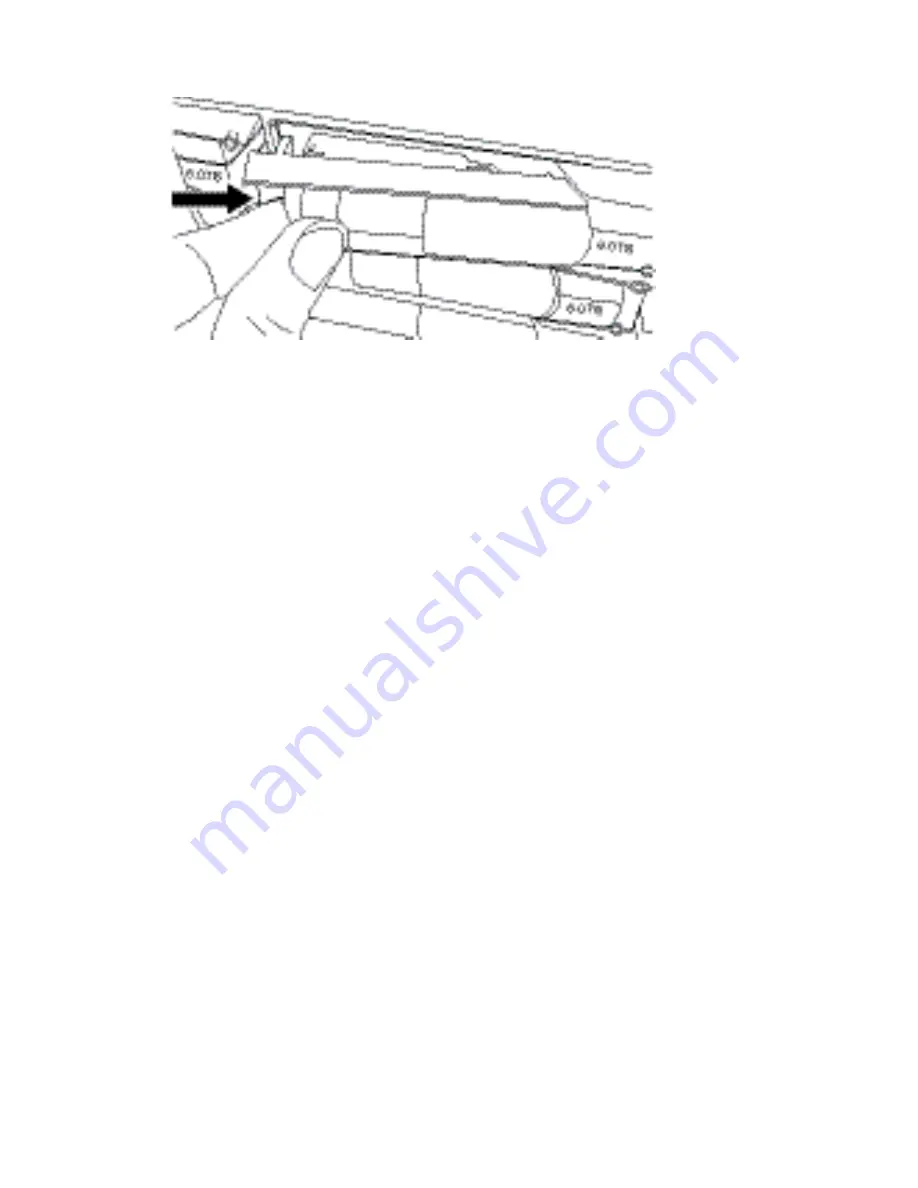
• For drives in a 12-drive controller shelf or drive shelf, the release button is located at the left of
the drive.
• For drives in a 24-drive controller shelf or drive shelf, the release button is located at the top of
the drive.
The cam handle on the drive springs open partially, and the drive releases from the midplane.
Step 3. Open the cam handle, and slide out the drive slightly.
Step 4. Wait 30 seconds.
Step 5. Using both hands, remove the drive from the shelf.
Step 6. Place the drive on an antistatic, cushioned surface away from magnetic fields.
Step 7. Wait 30 seconds for the software to recognize that the drive has been removed.
Note:
If you accidentally remove an active drive, wait at least 30 seconds, and then reinstall it. For
the recovery procedure, refer to the storage management software.
Go to Install new drive (12-drive or 24-drive).
Install new drive (12-drive or 24-drive)
You install a new drive to replace the failed one. Install the replacement drive as soon as possible after
removing the failed drive. Otherwise, there is a risk that the equipment might overheat.
Before you begin
• You have a replacement drive that is supported by Lenovo for your controller shelf or drive shelf.
Step 1. Open the cam handle.
Step 2. Using two hands, insert the replacement drive into the open bay, firmly pushing until the drive
stops.
Step 3. Slowly close the cam handle until the drive is fully seated in the midplane and the handle clicks into
place.
The green LED on the drive comes on when the drive is inserted correctly.
Note:
Depending on your configuration, the controller might automatically reconstruct data to the
new drive. If the shelf uses hot spare drives, the controller might need to perform a complete
reconstruction on the hot spare before it can copy the data to the replaced drive. This
reconstruction process increases the time that is required to complete this procedure.
Go to Complete drive replacement (12-drive or 24-drive).
.
Hardware replacement procedures
119
Summary of Contents for DE120S
Page 96: ...90 ThinkSystem DE Series Hardware Installation and Maintenance Guide for 2U Enclosures ...
Page 282: ...276 ThinkSystem DE Series Hardware Installation and Maintenance Guide for 2U Enclosures ...
Page 284: ...278 ThinkSystem DE Series Hardware Installation and Maintenance Guide for 2U Enclosures ...
Page 291: ......
Page 292: ......


