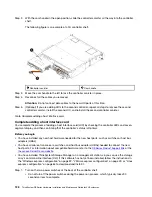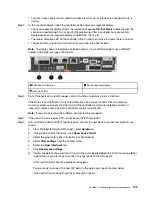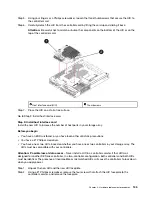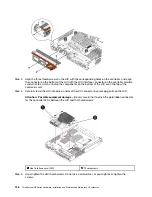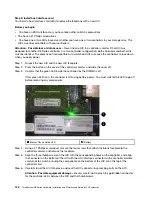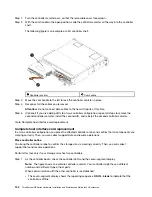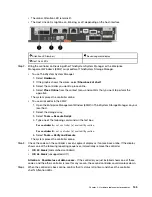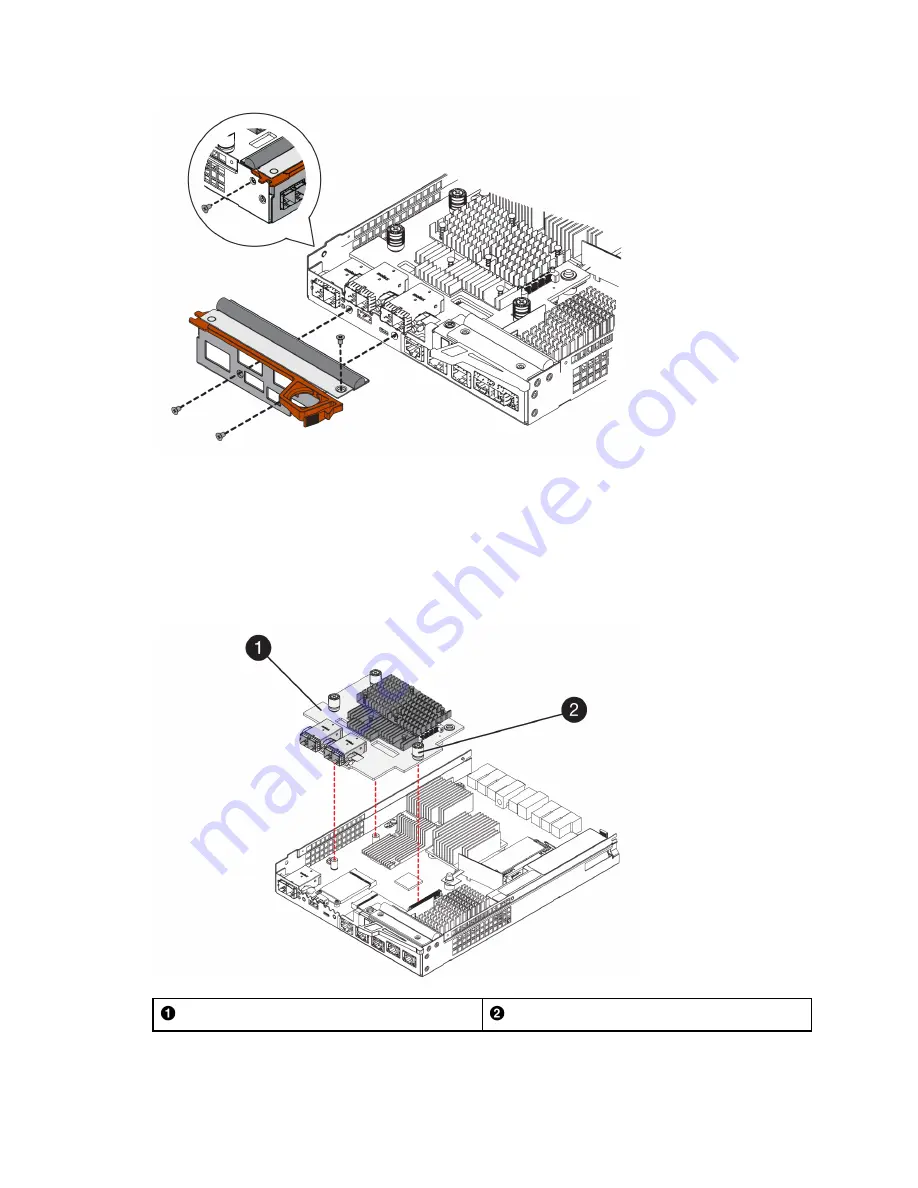
Step 3. Align the three thumbscrews on the HIC with the corresponding holes on the controller, and align
the connector on the bottom of the HIC with the HIC interface connector on the controller card.Be
careful not to scratch or bump the components on the bottom of the HIC or on the top of the
controller card.
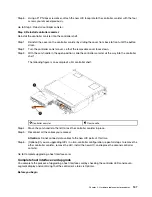
Step 4. Carefully lower the HIC into place, and seat the HIC connector by pressing gently on the HIC.
Attention: Possible equipment damage –
Be very careful not to pinch the gold ribbon connector
for the controller LEDs between the HIC and the thumbscrews.
Host interface card (HIC)
Thumbscrews
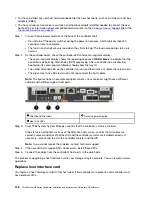
Step 5. Hand-tighten the HIC thumbscrews.Do not use a screwdriver, or you might over-tighten the
screws.
136
ThinkSystem DE Series Hardware Installation and Maintenance Guide for 2U Enclosures
Summary of Contents for DE120S
Page 96: ...90 ThinkSystem DE Series Hardware Installation and Maintenance Guide for 2U Enclosures ...
Page 282: ...276 ThinkSystem DE Series Hardware Installation and Maintenance Guide for 2U Enclosures ...
Page 284: ...278 ThinkSystem DE Series Hardware Installation and Maintenance Guide for 2U Enclosures ...
Page 291: ......
Page 292: ......


