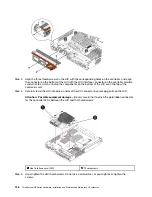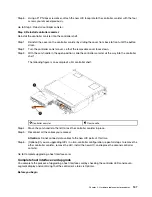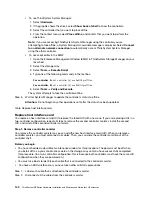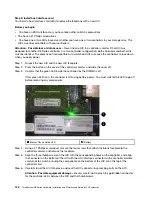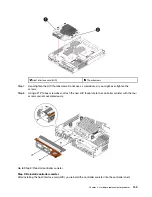
Step 6. Using a #1 Phillips screwdriver, attach the new HIC faceplate to the controller canister with the four
screws you removed previously.
Go to Step 4: Reinstall controller canister.
Step 4: Reinstall controller canister
Reinstall the controller canister into the controller shelf.
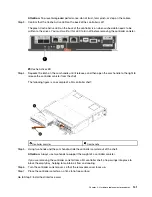
Step 1. Reinstall the cover on the controller canister by sliding the cover from back to front until the button
clicks.
Step 2. Turn the controller canister over, so that the removable cover faces down.
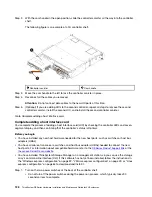
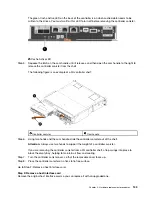
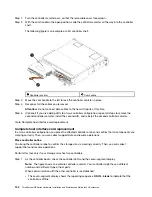
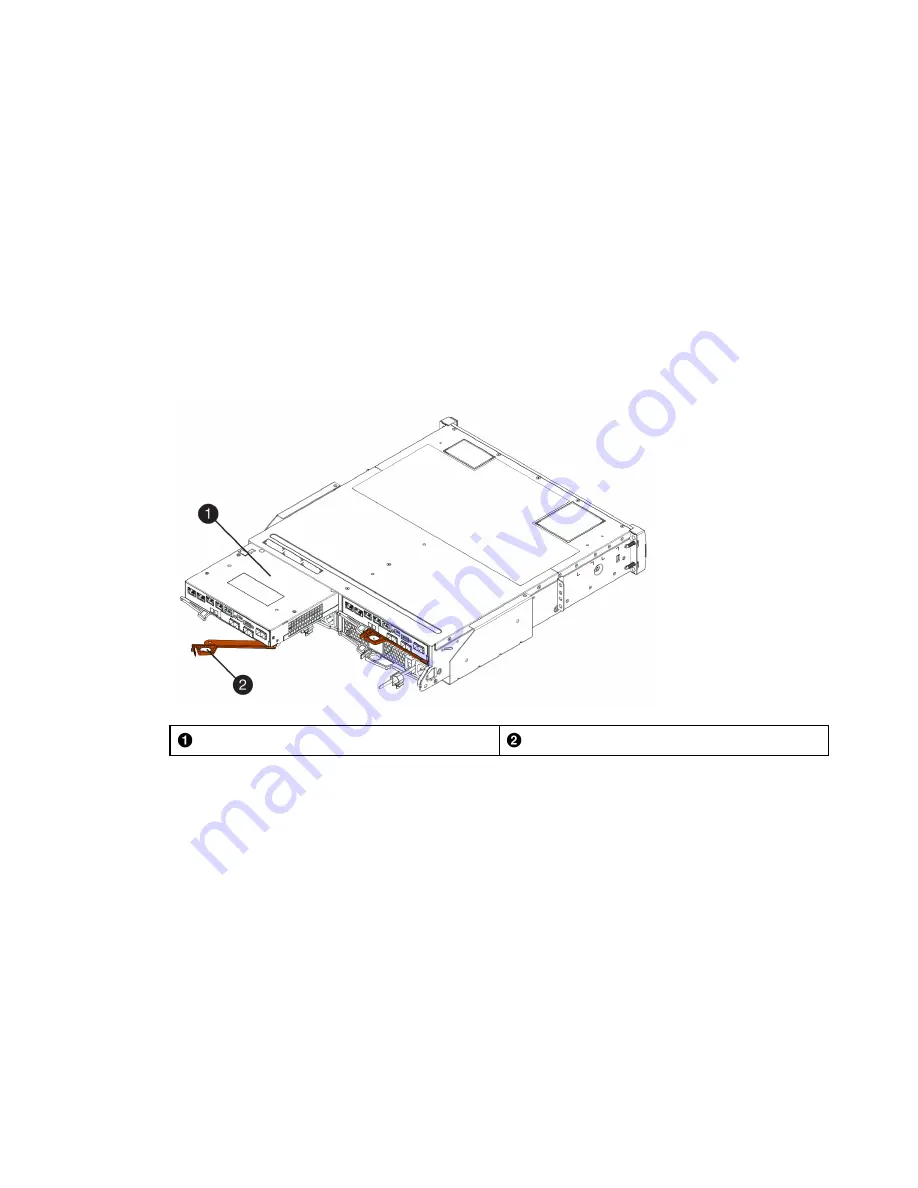
Step 3. With the cam handle in the open position, slide the controller canister all the way into the controller
shelf.
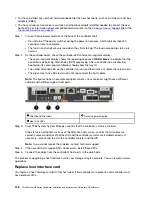
The following figure is an example of a 2U controller shelf:
Controller canister
Cam handle
Step 4. Move the cam handle to the left to lock the controller canister in place.
Step 5. Reconnect all the cables you removed.
Attention:
Do not connect data cables to the new HIC ports at this time.
Step 6. (Optional) If you are upgrading HICs in a two-controller configuration, repeat all steps to remove the
other controller canister, remove the HIC, install the new HIC, and replace the second controller
canister.
Go to Complete upgrading a host interface card.
Complete host interface card upgrade
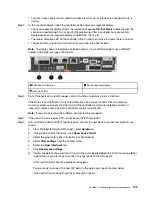
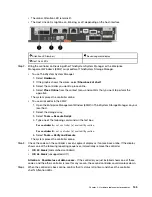
You complete the process of upgrading a host interface card by checking the controller LEDs and seven-
segment display and confirming that the controller's status is Optimal.
Before you begin
.
Hardware replacement procedures
137
Summary of Contents for DE120S
Page 96: ...90 ThinkSystem DE Series Hardware Installation and Maintenance Guide for 2U Enclosures ...
Page 282: ...276 ThinkSystem DE Series Hardware Installation and Maintenance Guide for 2U Enclosures ...
Page 284: ...278 ThinkSystem DE Series Hardware Installation and Maintenance Guide for 2U Enclosures ...
Page 291: ......
Page 292: ......


