• Prevent exposure to static electricity, which might lead to system halt and loss of data, by keeping static-
sensitive components in their static-protective packages until installation, and handling these devices with
an electrostatic-discharge wrist strap or other grounding system.
Procedure
Step 1. Touch the static-protective package that contains the new M.2 adapter and M.2 drive to any
unpainted surface on the outside of the server. Then, take the new M.2 adapter and M.2 drive out
of the package and place them on a static-protective surface.
Note:
Your M.2 adapter might look different from the following illustrations, but the installation
method is the same.
Step 2. Adjust the retainer on the M.2 adapter to accommodate the particular size of the M.2 drive you wish
to install. See “Adjust the retainer on the M.2 adapter” on page 38.
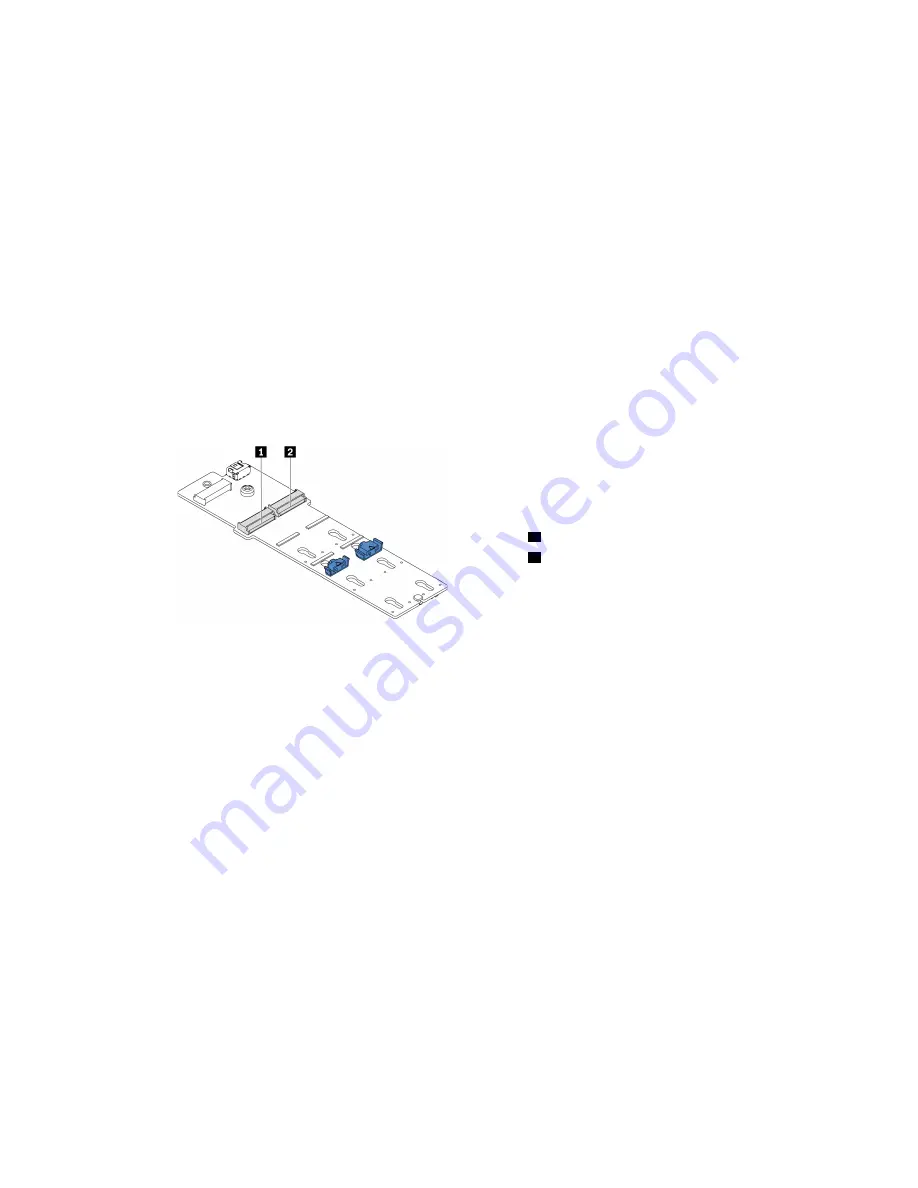
Step 3. Locate the connector on the M.2 adapter.
Note:
Some M.2 adapters support two identical M.2 drives. Install the M.2 drive in slot 0 first.
Figure 17. M.2 drive slot
1
Slot 0
2
Slot 1
.
Hardware replacement procedures
39
Summary of Contents for HR650X V2
Page 1: ...HR650X V2 User Guide Machine Types 7D4D ...
Page 8: ......
Page 14: ...6 HR650X V2 User Guide ...
Page 30: ...22 HR650X V2 User Guide ...
Page 122: ...114 HR650X V2 User Guide ...
Page 152: ...144 HR650X V2 User Guide ...
Page 176: ...168 HR650X V2 User Guide ...
Page 182: ...174 HR650X V2 User Guide ...
Page 186: ...178 HR650X V2 User Guide ...
Page 190: ...182 HR650X V2 User Guide ...
Page 191: ......
Page 192: ......


