00000000000000000
00000000000000000
00000000000000000
00000000000000000
00000000000000000
00000000000000000
00000000000000000
00000000000000000
00000000000000000
00000000000000000
00000
00000
00000
00000
0000
0000
0000
0000
0000
0000
0000
0000
0000
0000
0000
0000
0000
0000
0000
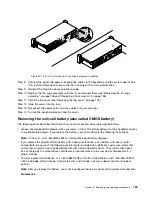
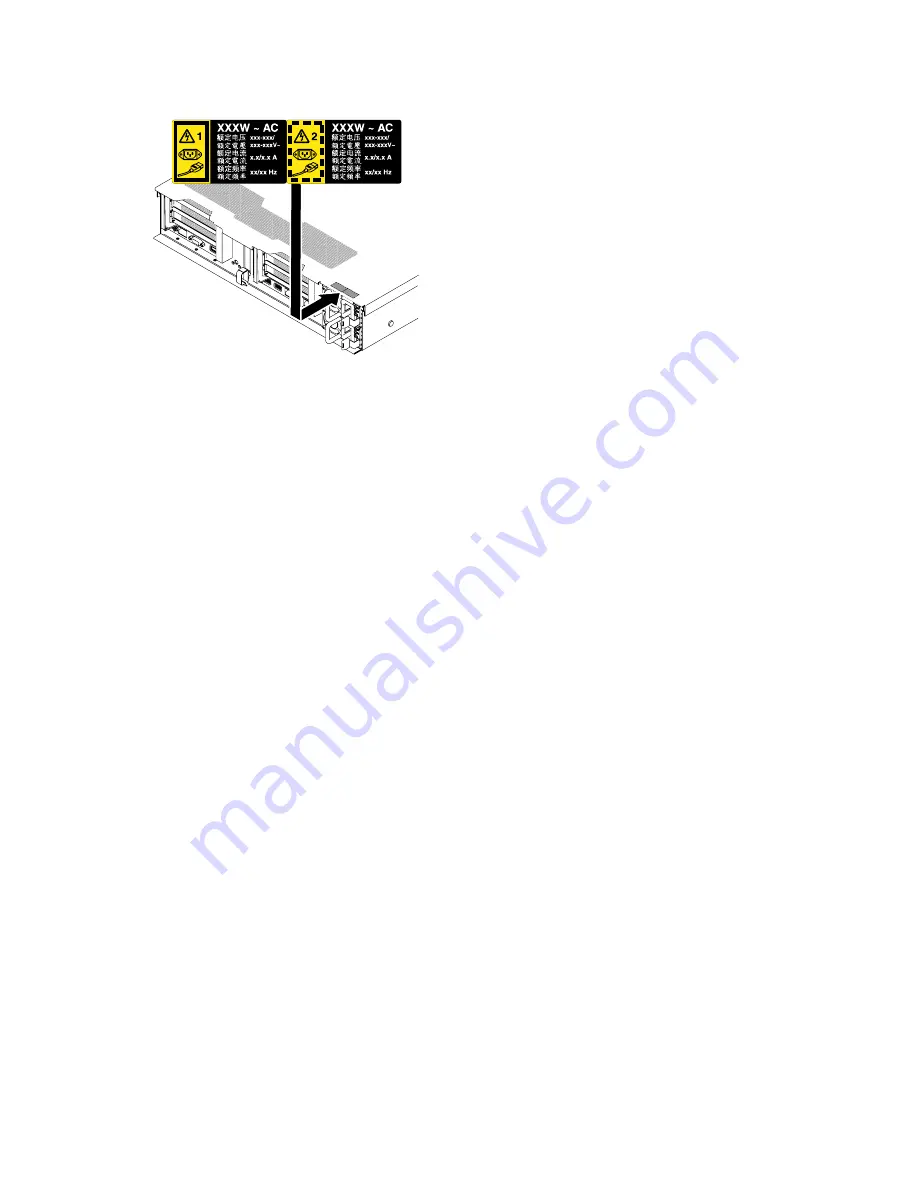
Figure 131. Attaching the redundant power information label
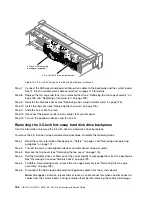
Removing the 2.5-inch hot-swap hard disk drive backplane
Use this information to remove the 2.5-inch hot-swap hard disk drive backplane.
To remove the 2.5-inch hot-swap hard disk drive backplane, complete the following steps:
Step 1.
Read the safety information that begins on “Safety” on page v and “Removing and replacing
guidelines” on page 101.
Step 2.
Turn off the server and peripheral devices and disconnect the power cords and all external cables,
if necessary.
Step 3.
Remove the top cover (see “Removing the top cover” on page 116).
Step 4.
Pull the hard disk drives or fillers out of the server slightly to disengage them from the backplane.
See “Removing a hot-swap hard disk drive” on page 125.
Step 5.
To obtain more working room, remove the fan cage assembly (see “Removing the fan cage
assembly” on page 135).
Step 6.
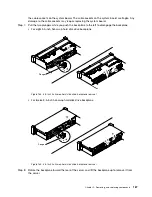
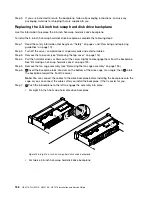
Lift the two front release latches and rotate the backplane toward the rear of the server to remove
the backplane.
184
HX3510-G, HX5510, HX5510-C, HX7510 Installation and Service Guide
Summary of Contents for HX3510-G
Page 1: ...HX3510 G HX5510 HX5510 C HX7510 Installation and Service Guide Machine Type 8695 ...
Page 6: ...iv HX3510 G HX5510 HX5510 C HX7510 Installation and Service Guide ...
Page 62: ...50 HX3510 G HX5510 HX5510 C HX7510 Installation and Service Guide ...
Page 102: ...90 HX3510 G HX5510 HX5510 C HX7510 Installation and Service Guide ...
Page 112: ...100 HX3510 G HX5510 HX5510 C HX7510 Installation and Service Guide ...
Page 1222: ...1210 HX3510 G HX5510 HX5510 C HX7510 Installation and Service Guide ...
Page 1238: ...1226 HX3510 G HX5510 HX5510 C HX7510 Installation and Service Guide ...
Page 1239: ......
Page 1240: ......

