• While the device is still in its static-protective package, touch it to an unpainted metal surface on the
outside of the server for at least 2 seconds. This drains static electricity from the package and from
your body.
• Remove the device from its package and install it directly into the server without setting down the device.
If it is necessary to set down the device, put it back into its static-protective package. Do not place the
device on the server cover or on a metal surface.
• Take additional care when handling devices during cold weather. Heating reduces indoor humidity
and increases static electricity.
Returning a device or component
If you are instructed to return a device or component, follow all packaging instructions, and use any
packaging materials for shipping that are supplied to you.
High-level procedures for replacing components
Because the Lenovo Converged HX Series appliances are a combination of both software and hardware, it is
important to follow the instructions in this section for changing any of the major hardware components.
Except for hot-swap components such as drives, fans, and power supplies, it is necessary to remove
the appliance from the cluster and cleanly shutdown the hypervisor before changing the hardware. After
replacing the hardware component the server and hypervisor can be restarted. For hardware it might be
necessary to update the firmware configuration.
See also the Nutanix Hardware Replacement and Field Installation Guide Documentation.
Replacing a front HDD/SSD
Each Lenovo Converged HX Series appliance contains solid-state drives (SSDs) and hard disk drives (HDDs).
User data is striped across these drives, so they are referred to as “data drives”. While a node might be able
to self-correct for a data drive failure, it does lead to system degradation. You should replace failed data
drives as soon as possible. The indications of a failed data drive are:
• The Prism web console displays a disk alert.
• The red LED on the front of a drive carrier is illuminated.
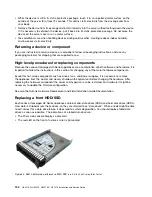
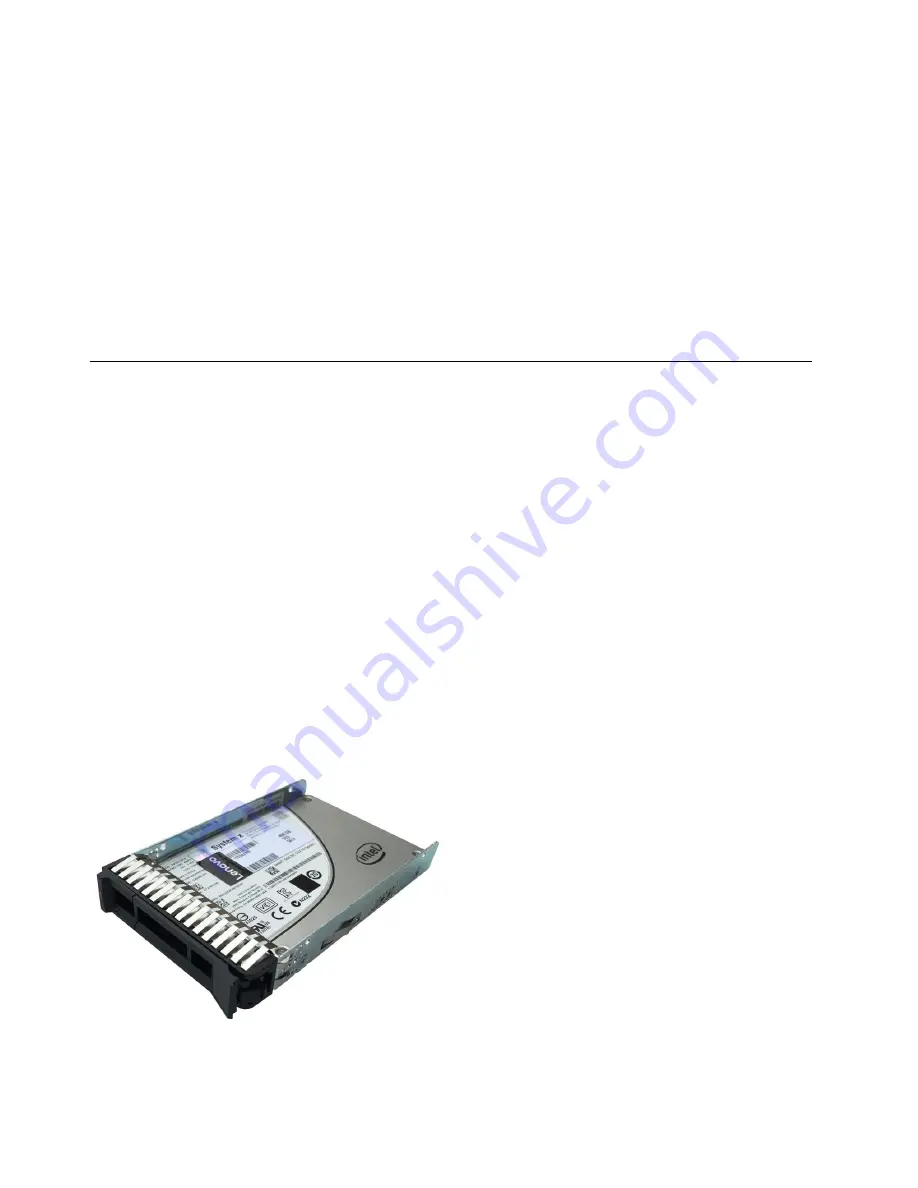
Figure 33. S3610 Enterprise performance SATA SSD in a 2.5-inch hot-swap form factor
104
HX3510-G, HX5510, HX5510-C, HX7510 Installation and Service Guide
Summary of Contents for HX3510-G
Page 1: ...HX3510 G HX5510 HX5510 C HX7510 Installation and Service Guide Machine Type 8695 ...
Page 6: ...iv HX3510 G HX5510 HX5510 C HX7510 Installation and Service Guide ...
Page 62: ...50 HX3510 G HX5510 HX5510 C HX7510 Installation and Service Guide ...
Page 102: ...90 HX3510 G HX5510 HX5510 C HX7510 Installation and Service Guide ...
Page 112: ...100 HX3510 G HX5510 HX5510 C HX7510 Installation and Service Guide ...
Page 1222: ...1210 HX3510 G HX5510 HX5510 C HX7510 Installation and Service Guide ...
Page 1238: ...1226 HX3510 G HX5510 HX5510 C HX7510 Installation and Service Guide ...
Page 1239: ......
Page 1240: ......


