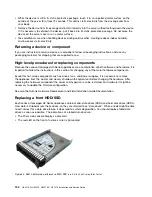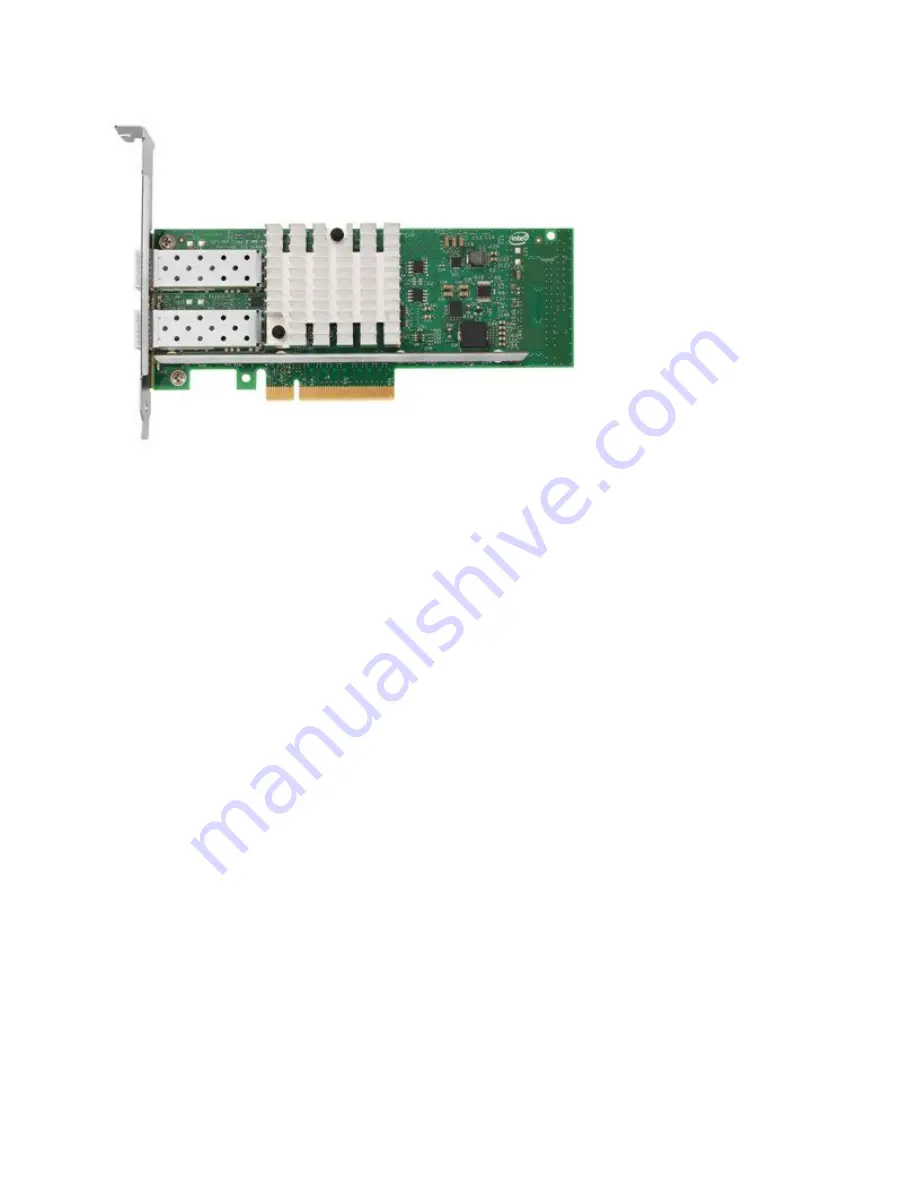
Figure 35. Intel X520 dual port 10GbE SFP+ adapter
To replace a NIC, perform the following steps:
1. The Lenovo Converged HX Series appliances contain one or two NICs. For nodes with two NICs, ensure
you verify which one has failed. Identify the failed NIC by either chbecking in XClarity Administrator or
checking the indicator lights on the network ports.
2. Shut down the node by following the hypervisor specific Node Shutdown procedure described in the
Nutanix Hardware Replacement Documentation.
3. Power off the node and disconnect all the cables if the cable management arm is not in place. Pull the
node chassis out of the rack.
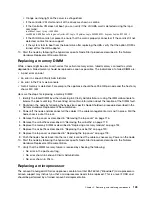
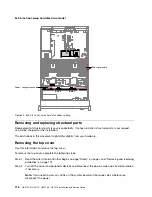
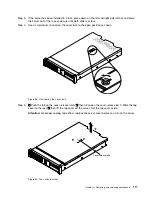
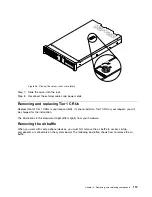
4. Remove the top cover as described in “Removing the top cover” on page 116.
5. Replace the first (and sometimes only) NIC as described in “Replacing an adapter in PCI expansion
slot 4 or slot 5” on page 156 or replace the second NIC as described in “Replacing an adapter in
a riser-card assembly” on page 152.
6. Replace the top cover as described in “Replacing the top cover” on page 118.
7. Push the node chassis back into the rack and reconnect the cables as necessary. Power on the node.
8. Start the node by following the hypervisor specific Node Start procedure described in the Nutanix
Hardware Replacement Documentation.
9. Verify that the NIC has been successfully replaced by checking the following:
• Orange warning light on the node front panel is extinguished.
• All network ports are again fully functional.
Replacing an host bus adapter (HBA)
While a node may be able to self-correct for other adapter card errors, a failed HBA can lead to system
degradation and should be addressed as soon as possible.
The indications of a failed HBA card include:
• If using VMware ESXi, vCenter Alarms or Hardware Status shows an alert.
• The Prism web console shows a message similar to LSI HBA card not detected.
• Slow disk performance or slow system performance.
.
Removing, and replacing components
107
Summary of Contents for HX3510-G
Page 1: ...HX3510 G HX5510 HX5510 C HX7510 Installation and Service Guide Machine Type 8695 ...
Page 6: ...iv HX3510 G HX5510 HX5510 C HX7510 Installation and Service Guide ...
Page 62: ...50 HX3510 G HX5510 HX5510 C HX7510 Installation and Service Guide ...
Page 102: ...90 HX3510 G HX5510 HX5510 C HX7510 Installation and Service Guide ...
Page 112: ...100 HX3510 G HX5510 HX5510 C HX7510 Installation and Service Guide ...
Page 1222: ...1210 HX3510 G HX5510 HX5510 C HX7510 Installation and Service Guide ...
Page 1238: ...1226 HX3510 G HX5510 HX5510 C HX7510 Installation and Service Guide ...
Page 1239: ......
Page 1240: ......

