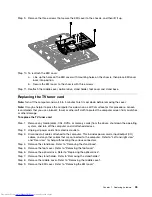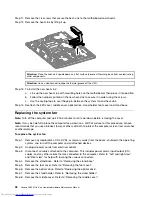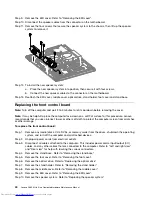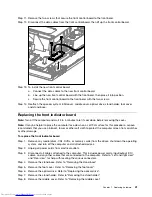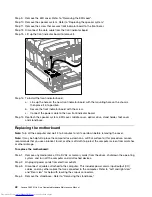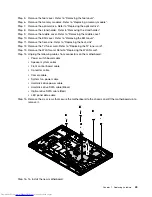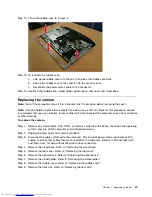
Step 3.
Disconnect all cables attached to the computer. This includes power cords, input/output (I/O)
cables, and any other cables that are connected to the computer. Refer to “Left and right view”
and “Rear view” for help with locating the various connectors.
Step 4.
Remove the stand base. Refer to “Removing the stand base”.
Step 5.
Remove the foot cover. Refer to “Removing the foot cover”.
Step 6.
Remove the memory modules. Refer to “Replacing a memory module”.
Step 7.
Remove the optical drive. Refer to “Replacing the optical drive”.
Step 8.
Remove the stand holder. Refer to “Removing the stand holder”.
Step 9.
Remove the middle cover. Refer to “Removing the middle cover”.
Step 10. Remove the EMI cover. Refer to “Removing the EMI cover”.
Step 11. Remove the speaker system. Refer to “Replacing the speaker system”.
Step 12. Remove the heat-sink. Refer to “Replacing the heat-sink”.
Step 13. Remove the camera. Refer to “Replacing the camera”.
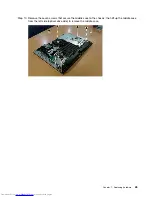
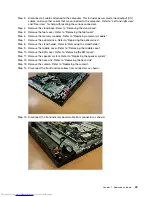
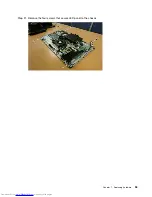
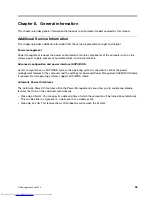
Step 14. Disconnect the front function cables from connectors as shown:
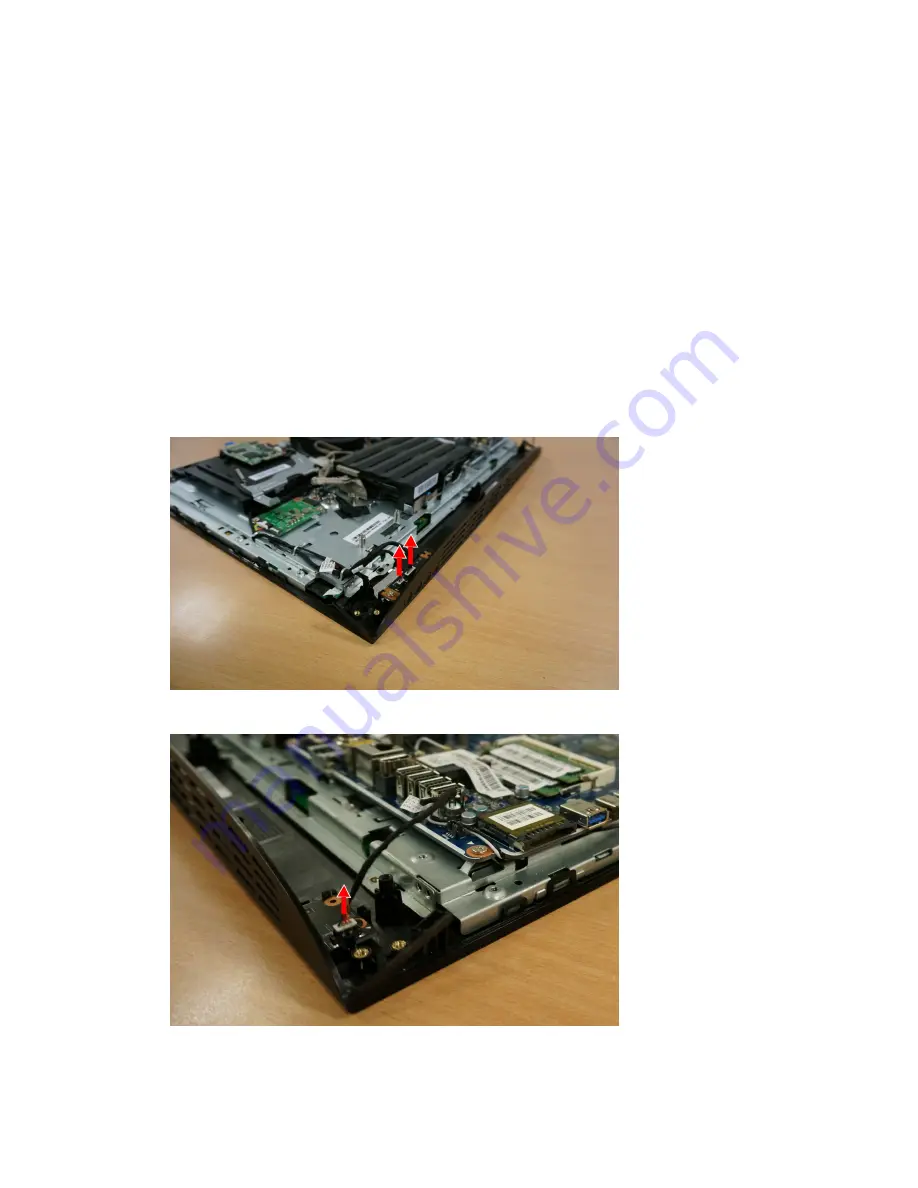
Step 15. Disconnect the front indicator board cable from connector as shown:
Chapter 7
.
Replacing hardware
49
Summary of Contents for ideaCentre C460
Page 2: ......
Page 3: ...Lenovo C460 All In One Computer Hardware Maintenance Manual Machine Types 10149 F0AD C460 ...
Page 6: ...iv Lenovo C460 All In One ComputerHardware Maintenance Manual ...
Page 8: ...2 Lenovo C460 All In One ComputerHardware Maintenance Manual ...
Page 16: ...10 Lenovo C460 All In One ComputerHardware Maintenance Manual ...
Page 18: ...12 Lenovo C460 All In One ComputerHardware Maintenance Manual ...
Page 24: ...18 Lenovo C460 All In One ComputerHardware Maintenance Manual ...

