

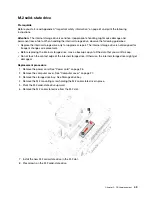


Microprocessor heatsink and fan assembly
Prerequisite
Before you start, read Appendix A “Important safety information” on page 61 and print the following
instructions.
The heatsink might be very hot. Before you open the computer cover, turn off the computer and wait several
minutes until the computer is cool.
Note:
The images provided are for reference only. The microprocessor heatsink and fan provided with your
computer may differ in appearance.
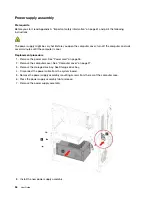
Replacement procedure
1. Remove the power cord. See “Power cord” on page 26.
2. Remove the computer cover. See “Computer cover” on page 27.
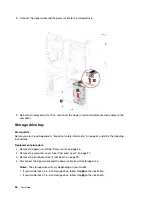
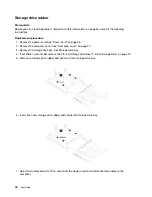
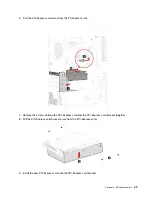
3. Remove the storage drive bay. See Storage drive bay.
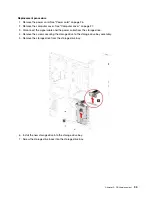
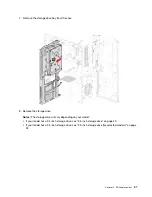
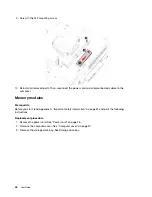
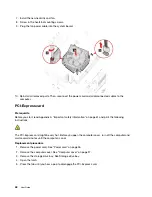
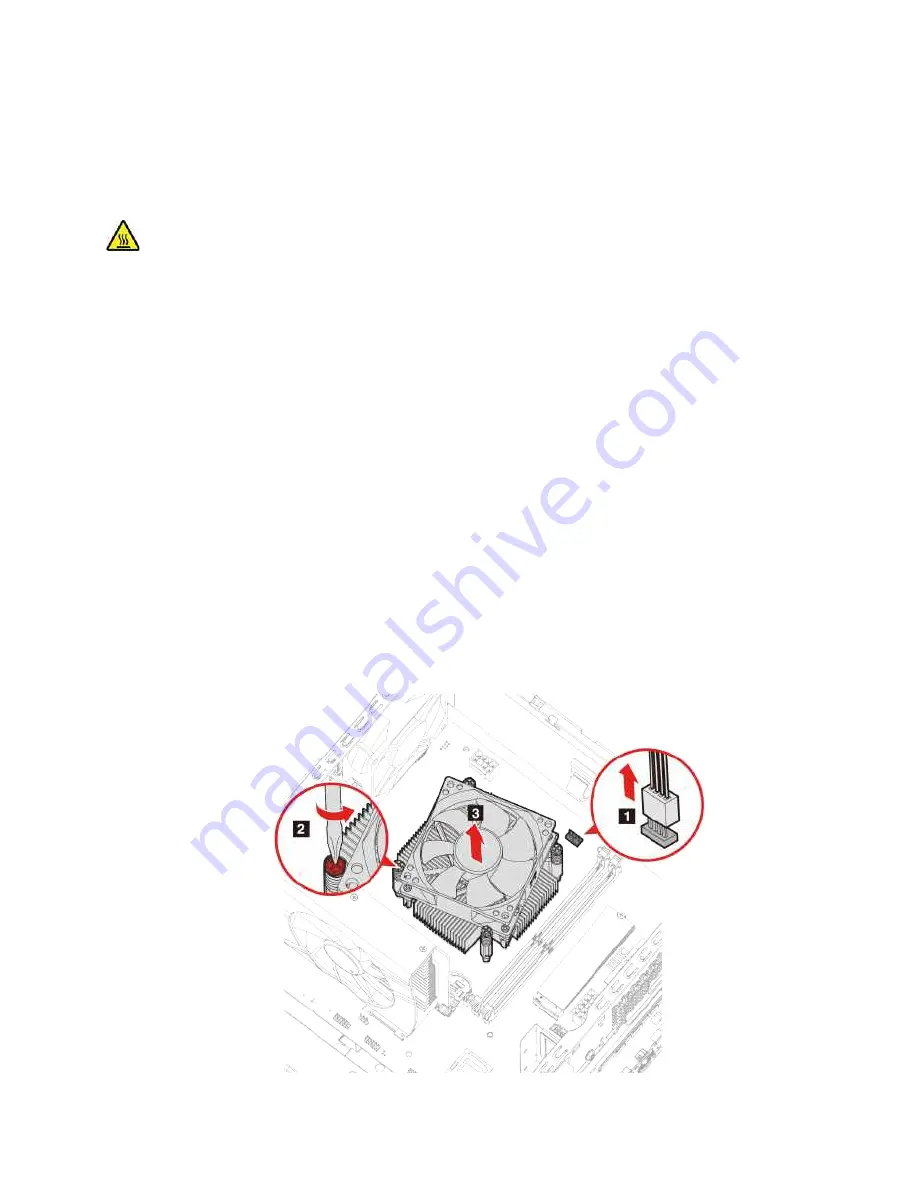
4. Remove the fan power cable from the system board.
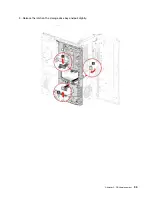
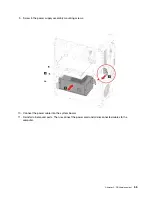
5. Remove the heatsink mounting screws.
Note:
Carefully remove the screws from the system board to avoid any possible damage to the system
board. The screws cannot be removed from the heatsink.
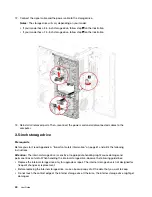
6. Remove the heatsink and fan.
Notes:
• Do not touch the thermal paste while handling the heatsink.
• You may have to gently twist the heatsink to free it from the microprocessor.
47
Summary of Contents for IdeaCentre C5 14IMB05
Page 1: ...User Guide IdeaCentre Gaming 5 14L 05 IdeaCentre Creator 5 14L 05 ...
Page 4: ...ii User Guide ...
Page 6: ...iv User Guide ...
Page 12: ...6 User Guide ...
Page 30: ...24 User Guide ...
Page 34: ...28 User Guide ...
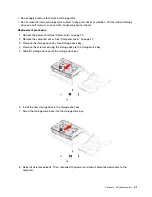
Page 41: ...5 Release the latch on the storage drive bay and pull slightly Chapter 5 CRU replacement 35 ...
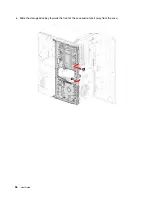
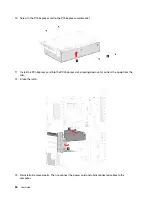
Page 44: ...9 Mount the new storage drive bay on the case 38 User Guide ...
Page 62: ...56 User Guide ...
Page 66: ...60 User Guide ...
Page 80: ...74 User Guide ...
Page 96: ...90 User Guide ...
Page 99: ......
Page 100: ......


