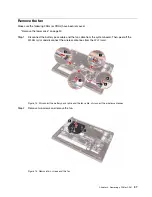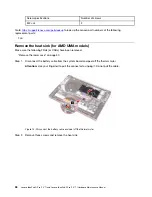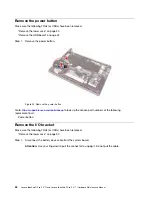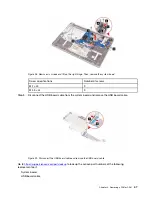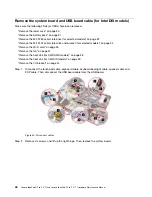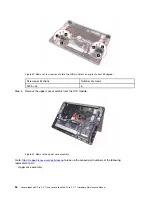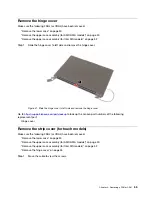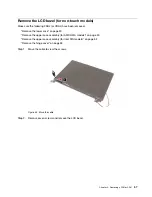
Figure 31. Remove six screws and lift up the right hinge. Then, remove the system board
Screw specifications
Number of screws
M2 × L4
3
M2.5 × L4
3
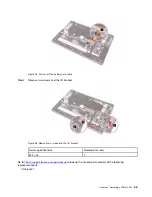
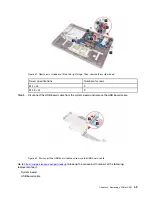
Step 3. Disconnect the USB board cable from the system board and remove the USB board cable.
Figure 32. Disconnect the USB board cable and remove the USB board cable
Go to
https://support.lenovo.com/partslookup
to look up the Lenovo part numbers of the following
replacement part:
System board
USB board cable
.
49
Summary of Contents for IdeaPad 5 Pro
Page 1: ...Lenovo IdeaPad 5i Pro 14 7 and Lenovo IdeaPad 5 Pro 14 7 Hardware Maintenance Manual ...
Page 2: ...First Edition March 2022 Copyright Lenovo 2022 ...
Page 4: ...ii Lenovo IdeaPad 5i Pro 14 7 and Lenovo IdeaPad 5 Pro 14 7 Hardware Maintenance Manual ...
Page 6: ...iv Lenovo IdeaPad 5i Pro 14 7 and Lenovo IdeaPad 5 Pro 14 7 Hardware Maintenance Manual ...
Page 11: ...DANGER DANGER DANGER DANGER DANGER Chapter 1 Safety information 5 ...
Page 12: ...6 Lenovo IdeaPad 5i Pro 14 7 and Lenovo IdeaPad 5 Pro 14 7 Hardware Maintenance Manual ...
Page 13: ...PERIGO PERIGO PERIGO Chapter 1 Safety information 7 ...
Page 15: ...DANGER DANGER DANGER DANGER Chapter 1 Safety information 9 ...
Page 17: ...VORSICHT VORSICHT VORSICHT VORSICHT Chapter 1 Safety information 11 ...
Page 19: ...Chapter 1 Safety information 13 ...
Page 20: ...14 Lenovo IdeaPad 5i Pro 14 7 and Lenovo IdeaPad 5 Pro 14 7 Hardware Maintenance Manual ...
Page 21: ...Chapter 1 Safety information 15 ...
Page 22: ...16 Lenovo IdeaPad 5i Pro 14 7 and Lenovo IdeaPad 5 Pro 14 7 Hardware Maintenance Manual ...
Page 23: ...Chapter 1 Safety information 17 ...
Page 24: ...18 Lenovo IdeaPad 5i Pro 14 7 and Lenovo IdeaPad 5 Pro 14 7 Hardware Maintenance Manual ...
Page 25: ...Chapter 1 Safety information 19 ...
Page 26: ...20 Lenovo IdeaPad 5i Pro 14 7 and Lenovo IdeaPad 5 Pro 14 7 Hardware Maintenance Manual ...
Page 34: ...28 Lenovo IdeaPad 5i Pro 14 7 and Lenovo IdeaPad 5 Pro 14 7 Hardware Maintenance Manual ...
Page 76: ......
Page 77: ......
Page 78: ......


