
打印�复印�扫描
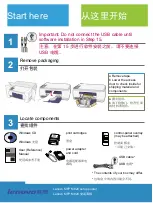
Start here
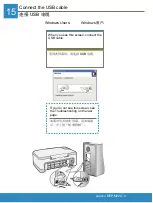
Important: Do not connect the USB cable until
software installation in Step 15.
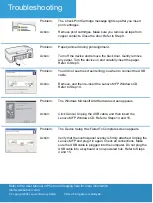
Remove packaging
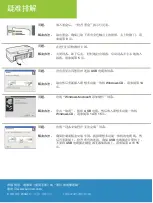
Locate components
a Remove tape.
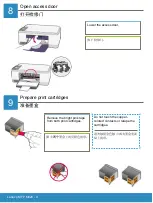
b Lower the access
door to check inside for
shipping material and
components.
Windows CD
User (Reference)
Manual
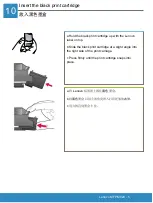
print cartridges
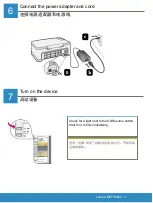
power adapter
and cord
control-panel overlay
(may be attached)
USB cable*
Lenovo MFP M820 setup poster
* The contents of your box may differ.
2
3
1
注意:在第
15
步进行软件安装之前,请不要连接
USB
电缆。
打开包装
a
撕去胶带。
b
放下检修门,检查里面
的材料和组件。
查找组件
Windows
光盘
使用或参考手册
墨盒
电源适配器和电
源线
控制面板盖
(可能已安装)
USB
电缆
*
*
包装盒中的内容可能会不同。
Lenovo MFP M820
安装海报
从这里开始


