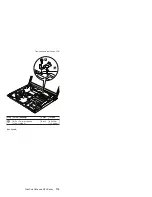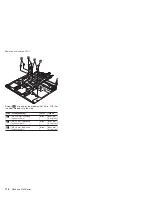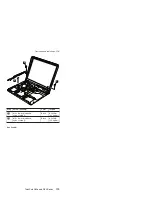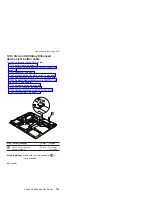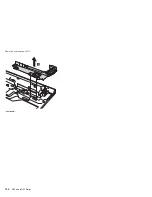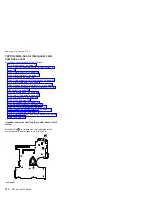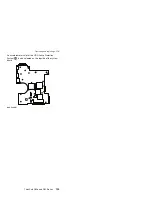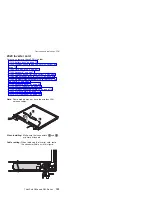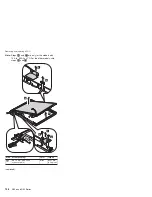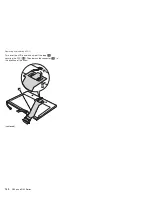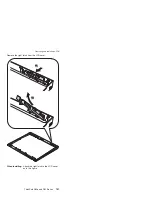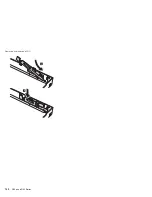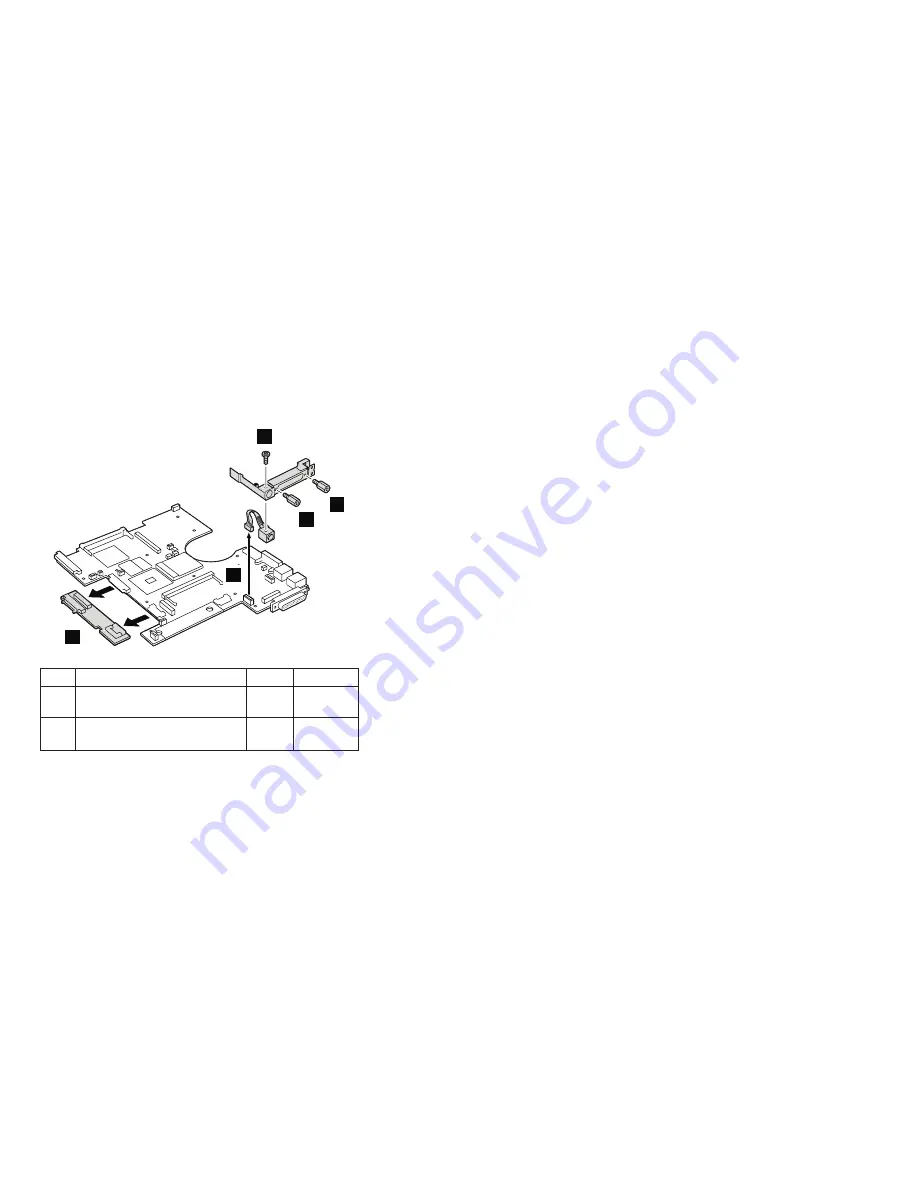
Remove
the
connector
bracket
from
the
system
board
by
removing
screws
5
and
6
.
Then
remove
the
ac
connector
from
the
system
board
by
disconnecting
the
cables
7
.
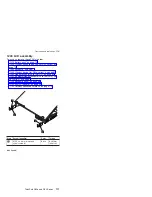
Step
8
is
only
for
the
models
with
15.0-in.
LCD
models.
Other
models
do
not
have
the
interposer
card.
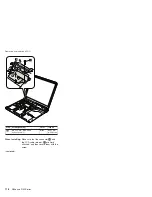
5
5
6
7
8
Step
Screw
(quantity)
Color
Torque
5
Hex
stud
(2)
Silver
0.392
Nm
(4
kgfcm)
6
M2.5
×
3
mm,
flat-head,
nylon-coated
(1)
Black
0.392
Nm
(4
kgfcm)
Removing
and
replacing
a
FRU
ThinkPad
R50e
and
R52
Series
129
Summary of Contents for MT 1834
Page 5: ...Trademarks 247 Contents v ...
Page 6: ...vi R50e and R52 Series ...
Page 8: ...2 R50e and R52 Series ...
Page 80: ...3 Removing and replacing a FRU 74 R50e and R52 Series ...
Page 128: ...3 continued Removing and replacing a FRU 122 R50e and R52 Series ...
Page 138: ...3 2 Removing and replacing a FRU 132 R50e and R52 Series ...
Page 141: ...1 continued Removing and replacing a FRU ThinkPad R50e and R52 Series 135 ...
Page 148: ...1 2 Removing and replacing a FRU 142 R50e and R52 Series ...
Page 159: ...4 5 6 7 8 14 9 10 11 12 13 15 16 17 R 1 2 3 Locations ThinkPad R50e and R52 Series 153 ...
Page 215: ...LCD FRUs 1 2 6 7 8 3 4 k l m n 5 Parts list ThinkPad R50e and R52 Series 209 ...

