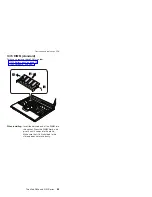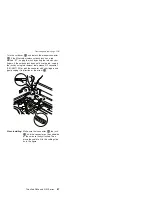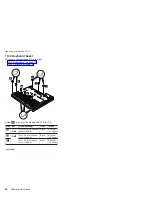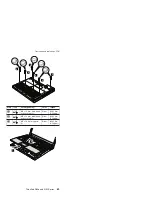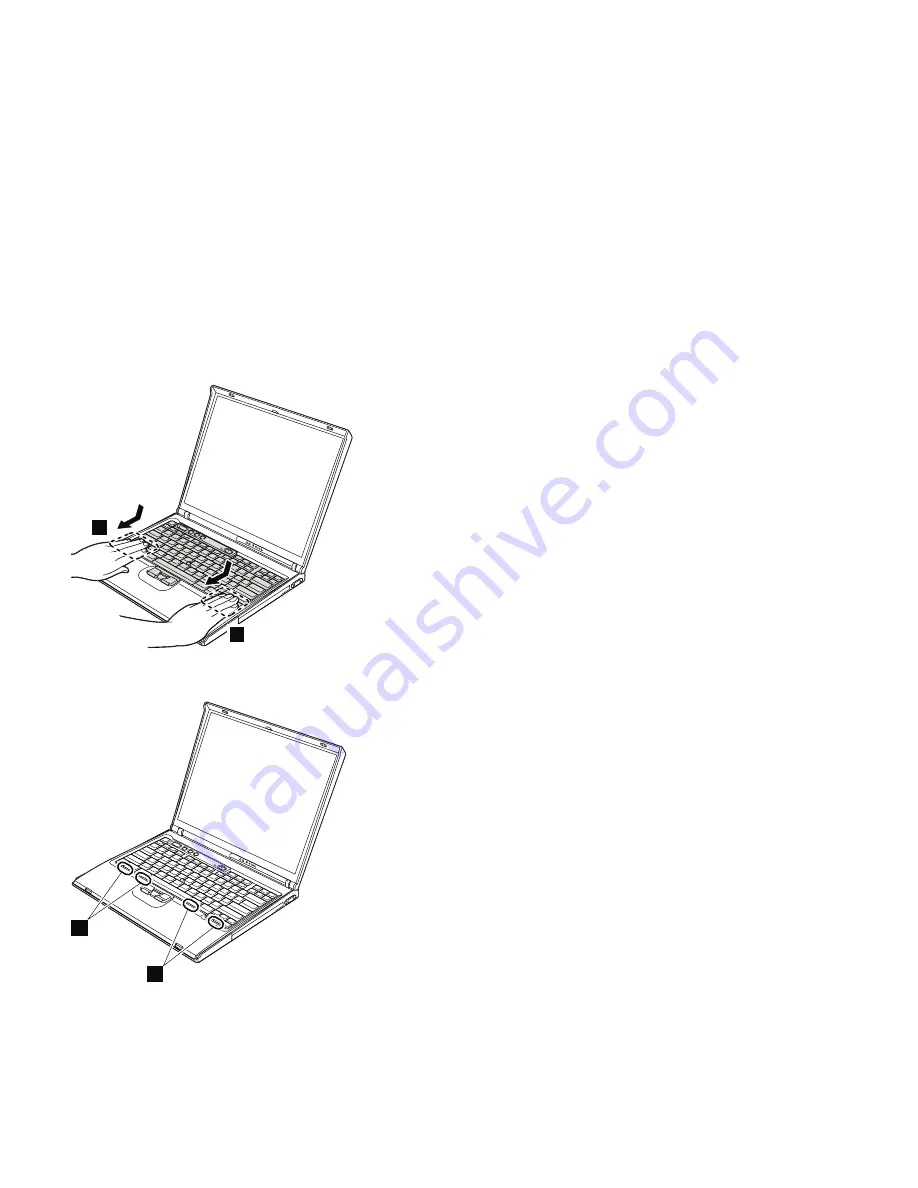
3.
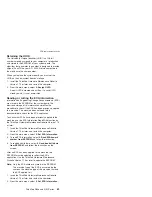
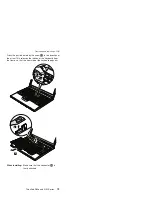
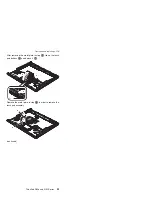
To
make
sure
that
the
front
edge
of
the
keyboard
is
housed
firmly,
gently
press
the
keys
with
your
fingers
and
try
to
slide
the
keyboard
towards
you.
3
3
4.
Make
sure
that
all
the
projections
on
the
front
side
of
the
keyboard
b
are
firmly
attached
under
the
frame.
b
b
5.
Secure
the
keyboard
from
the
underside
of
the
computer,
using
the
new
screws
provided
with
the
keyboard.
Removing
and
replacing
a
FRU
ThinkPad
R50e
and
R52
Series
81
Summary of Contents for MT 1834
Page 5: ...Trademarks 247 Contents v ...
Page 6: ...vi R50e and R52 Series ...
Page 8: ...2 R50e and R52 Series ...
Page 80: ...3 Removing and replacing a FRU 74 R50e and R52 Series ...
Page 128: ...3 continued Removing and replacing a FRU 122 R50e and R52 Series ...
Page 138: ...3 2 Removing and replacing a FRU 132 R50e and R52 Series ...
Page 141: ...1 continued Removing and replacing a FRU ThinkPad R50e and R52 Series 135 ...
Page 148: ...1 2 Removing and replacing a FRU 142 R50e and R52 Series ...
Page 159: ...4 5 6 7 8 14 9 10 11 12 13 15 16 17 R 1 2 3 Locations ThinkPad R50e and R52 Series 153 ...
Page 215: ...LCD FRUs 1 2 6 7 8 3 4 k l m n 5 Parts list ThinkPad R50e and R52 Series 209 ...


