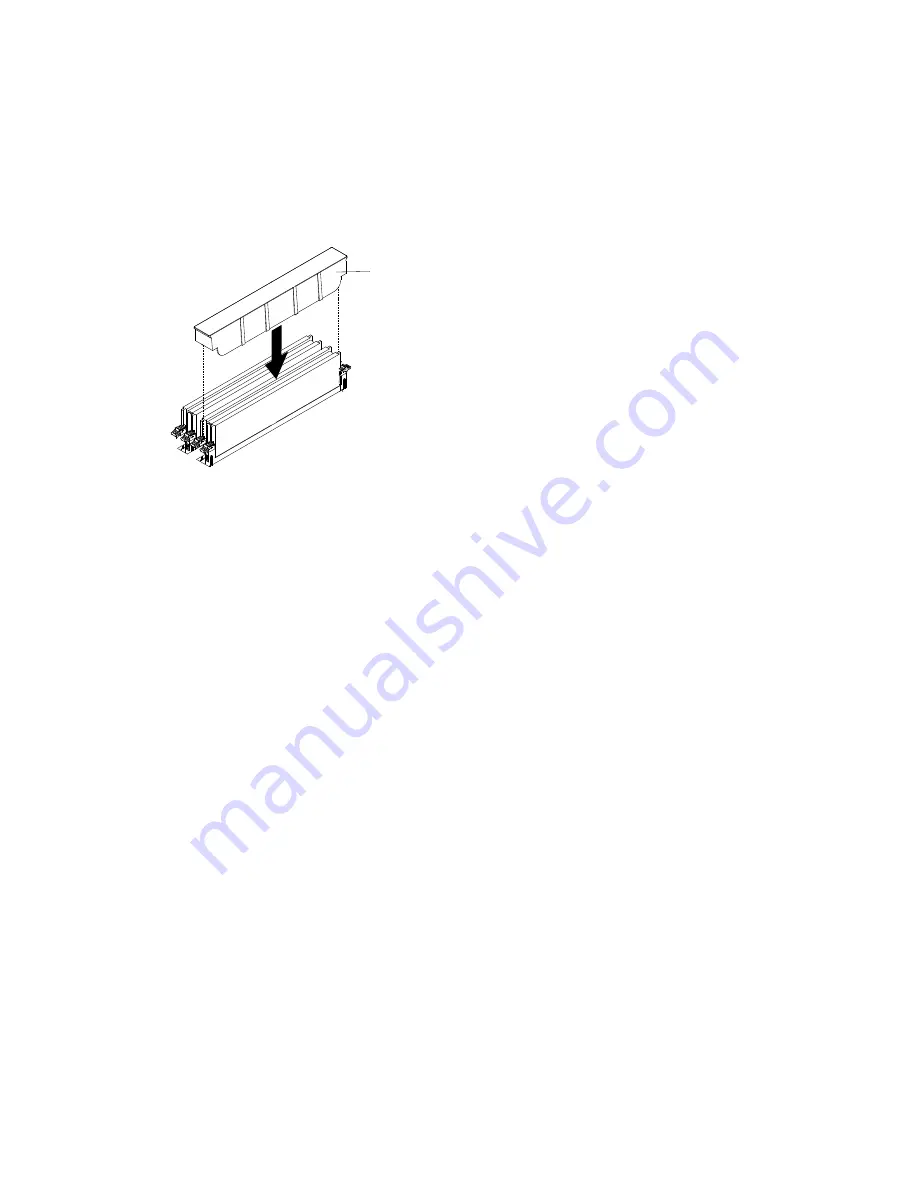
Step 7. Firmly press the DIMM straight down into the connector by applying pressure on both ends of the
DIMM simultaneously. The retaining clips snap into the locked position when the DIMM is firmly
seated in the connector.
Note:
If there is a gap between the DIMM and the retaining clips, the DIMM has not been correctly
inserted; open the retaining clips, remove the DIMM, and then reinsert it.
Step 8. Install the DIMM cover.
DIMM cover
Figure 56. DIMM installation
Step 9. Reinstall the cover (see “Replacing the cover” on page 142).
If you have replaced a server component or installed an optional device in the server, you need reinstall the
cover, slide the server into the rack, reconnect the power cords and all external cables, and turn on the
server and peripheral devices.
Removing the optional drive cage
Use this information to remove the optional drive cage.
Read the safety information in Safety and Installation guidelines.
Note:
You only need to remove the drive cage if a system board is replaced.
To remove the optional drive cage, complete the following steps:
Step 1. Remove the water-cooled technology tray from a chassis (See “Removing a water-cooled
technology tray from a chassis” on page 139).
Step 2. Remove the cover (see “Removing the cover” on page 142).
Step 3. Remove a hard disk drive/ solid state drive (See “Removing a hard disk drive (HDD)/solid state drive
Step 4. Remove the three screws that secure the drive cage to the water-cooled technology tray and save
them for future use.
Removing and replacing server components
149
Summary of Contents for NeXtScale n1200
Page 115: ...Chapter 6 Removing and replacing server components 101 ...
Page 117: ...Chapter 6 Removing and replacing server components 103 ...
Page 119: ...Chapter 6 Removing and replacing server components 105 ...
Page 135: ...Chapter 6 Removing and replacing server components 121 ...
Page 137: ...Chapter 6 Removing and replacing server components 123 ...
Page 139: ...Chapter 6 Removing and replacing server components 125 ...
Page 869: ...Taiwan Class A compliance statement Appendix E Notices 855 ...
Page 877: ......
Page 878: ...Part Number SP47A31725 Printed in China 1P P N SP47A31725 1PSP47A31725 ...


