Customizing the Access to Features on Your px12-450r
Network Storage
An administrator user can customize the look of the px12-450r Management Console using Feature
Selection (FS). Using FS, an admin can enable the display of certain features and disable others. In
addition, an admin can provide non-administrator users access to certain features by setting permissions
for those users.
Access permission to a feature can be given only to non-administrator users, since admin users
always have access to all features. Setting access permissions for non-admin users requires that
security is enabled on your px12-450r Network Storage and an administrator user is created. See
Enabling Security and Creating an Administrator User
.
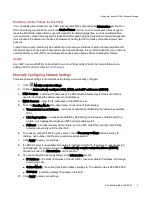
Enabling the Display of Features
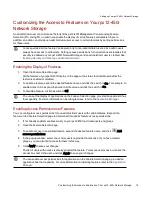
1. Open the Feature Selection page.
All the features of your px12-450r display on the page with a status that indicates whether the
feature is enabled or disabled.
2. To enable a feature, expand the desired feature name, and click the switch to On. For example, to
enable Amazon S3, expand the Amazon S3 feature, and click the switch to On.
3. To disable a feature, click the switch to Off.
You can set the display of applications on the Feature Selection page, provided an application has
that capability. For more information on installing features, refer to the
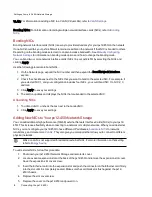
Enabling Access Permissions to Features
You can configure access permissions for non-administrator users with certain features. Expand the
feature on the Feature Selection page to determine if it supports feature access permissions.
1. If not already enabled, enable security on your px12-450r and create users and groups.
2. Open the Feature Selection page.
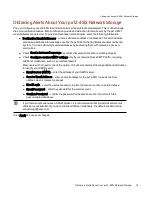
3. To enable access to an enabled feature, expand the desired feature name, and click
Add
access permissions.
4. In the pop-up window, select one or more users to provide them access. If you have created
groups, you can also limit access for them in this way.
5. Click Apply to save your changes.
The list of users with access is displayed under the feature. To remove user access, uncheck the
access box next to the user, and click Apply to save your changes.
You can enable access permissions for applications on the Feature Selection page, provided an
application has that capability. For more information on installing features, refer to the
Setting up Your px12-450r Network Storage
Customizing the Access to Features on Your px12-450r Network Storage
13
Summary of Contents for PX12-450R
Page 1: ...px12 450r Network Storage with LifeLine 4 0 User Guide ...
Page 32: ...Sharing Files Sharing Files 22 CHAPTER 2 ...
Page 55: ...Storage Pool Management Storage Pool Management 45 CHAPTER 4 ...
Page 67: ...Drive Management Drive Management 57 CHAPTER 5 ...
Page 70: ...Backing up and Restoring Your Content Backing up and Restoring Your Content 60 CHAPTER 6 ...
Page 106: ...Sharing Content Using Social Media Sharing Content Using Social Media 96 CHAPTER 9 ...
Page 112: ...Media Management Media Management 102 CHAPTER 10 ...
Page 124: ... Delete a torrent job Click to delete the torrent download Media Management Torrents 114 ...
Page 138: ...Hardware Management Hardware Management 128 CHAPTER 14 ...
Page 150: ...Additional Support AdditionalSupport 140 ...
Page 153: ...Legal Legal 143 ...


