To remove a PCIe card from the riser card assembly, do the following:
1. Remove all external media from the drives and turn off all attached devices and the storage product.
Then, disconnect all power cords from electrical outlets and disconnect all cables that are connected to
the storage product.
2. Prepare your storage product. See “Removing or extending the storage product from the rack cabinet”
3. Remove the storage product cover. See “Removing the cover” on page 43.
4. Remove the riser card assembly and lay it upside down on a flat, clean, and static-protective surface.
See “Replacing the riser card assembly” on page 103.
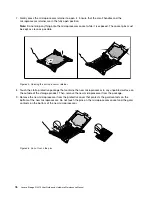
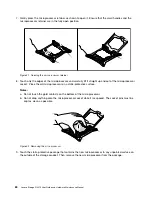
5. Pivot the card latch to the open position.
Figure 34. Pivoting the card latch to the open position
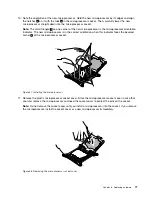
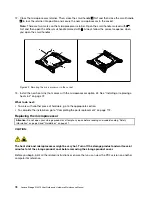
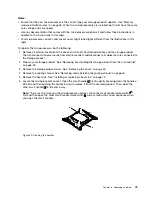
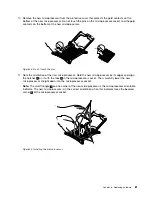
6. Grasp the PCIe card by its edges and carefully pull it out of the PCIe slot on the riser card assembly.
Note:
The PCIe card might fit tightly into the PCIe slot. If necessary, alternate moving each side of the
PCIe card a small and equal amount until it is completely removed from the slot.
Figure 35. Removing the PCIe card
7. Install a new PCIe card to replace the old one or install a PCIe card slot bracket to cover the place. See
“Installing a PCIe card” on page 63.
8. Reinstall the riser card assembly. See “Replacing the riser card assembly” on page 103.
9. If you are instructed to return the old PCIe card, follow all packaging instructions and use any packaging
materials that are supplied to you for shipping.
66
Lenovo Storage N3310 User Guide and Hardware Maintenance Manual
Summary of Contents for Storage N3310
Page 1: ...Lenovo Storage N3310 User Guide and Hardware Maintenance Manual Machine Types 70FX and 70FY ...
Page 14: ...xii Lenovo Storage N3310 User Guide and Hardware Maintenance Manual ...
Page 18: ...4 Lenovo Storage N3310 User Guide and Hardware Maintenance Manual ...
Page 20: ...6 Lenovo Storage N3310 User Guide and Hardware Maintenance Manual ...
Page 138: ...124 Lenovo Storage N3310 User Guide and Hardware Maintenance Manual ...
Page 151: ......
Page 152: ......


