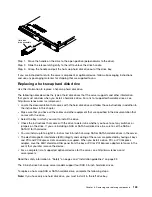
Attention:
To avoid damage to the hard disk drive connectors, make sure that the server top cover is in
place and fully closed whenever you install or remove a hard disk drive.
Step 1.
Make sure that the server top cover is in place and fully closed.
Step 2.
Remove the filler panel from the empty drive bay. Keep the filler panel in a safe place.
Step 3.
Touch the static-protective package that contains the drive to any unpainted metal surface on the
server; then, remove the drive from the package and place it on a static-protective surface.
Step 4.
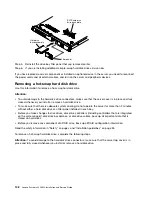
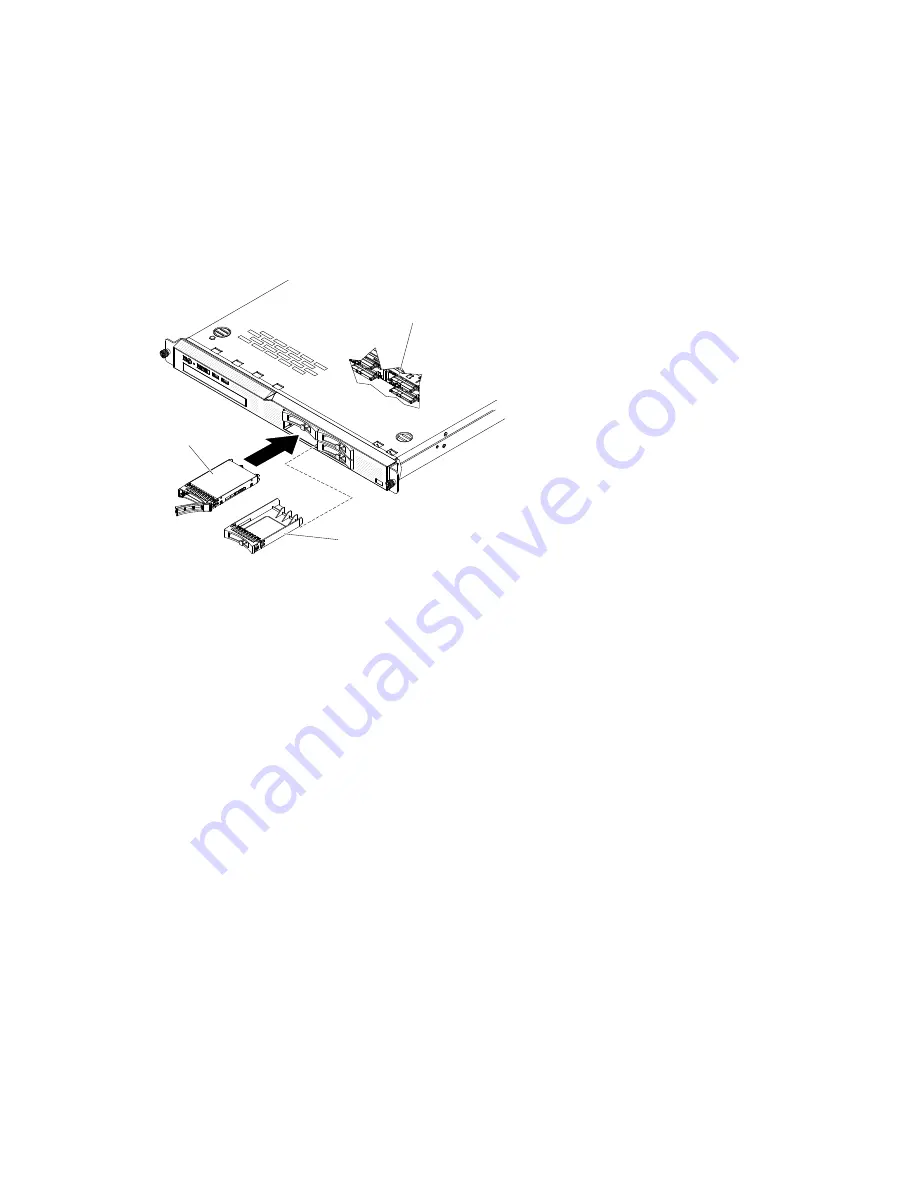
Install the hard disk drive in the drive bay:
000000000
000000000
000000000
000000000
000000000
000000000
0000
0000
0000
000
000
000
0000
0000
0000
Filler panel
Hard disk
drive assembly
SAS hard disk
drive back plane
a.
Make sure that the drive tray handle is open.
b.
Remove the filler panel from the bay.
c.
Align the drive with the guide rails in the bay.
d.
Gently push the drive into the bay until the drive stops.
e.
Push the tray handle to the closed (locked) position.
f.
heck the hard disk drive status LED to make sure that the hard disk drive is operating correctly.
If the yellow hard disk drive status LED for a drive is lit continuously, that drive is faulty and
must be replaced. If the green hard disk drive activity LED is flashing, the drive is being
accessed.
Note:
If the server is configured for RAID operation using a ServeRAID adapter, you might
have to reconfigure your disk arrays after you install hard disk drives. See the ServeRAID
adapter documentation for additional information about RAID operation and complete
instructions for using the ServeRAID adapter.
Step 5.
If you are installing additional hot-swap hard disk drives, do so now.
If you have replaced a server component or installed an optional device in the server, you need to reconnect
the power cords and all external cables, and turn on the server and peripheral devices.
Removing the optional DVD drive
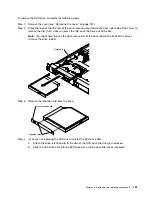
Use this information to remove the DVD drive.
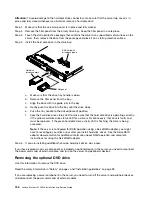
Read the safety information in “Safety” on page v and “Installation guidelines” on page 33.
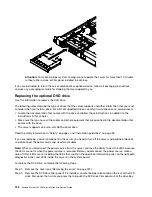
If you are replacing a server component in the server, you need to turn off the server and peripheral devices,
and disconnect the power cords and all external cables.
150
Lenovo System x3250 M4 Installation and Service Guide
Summary of Contents for System x3250 M4
Page 1: ...Lenovo System x3250 M4 Installation and Service Guide Machine Type 2583 ...
Page 6: ...iv Lenovo System x3250 M4 Installation and Service Guide ...
Page 74: ...60 Lenovo System x3250 M4 Installation and Service Guide ...
Page 98: ...84 Lenovo System x3250 M4 Installation and Service Guide ...
Page 136: ...122 Lenovo System x3250 M4 Installation and Service Guide ...
Page 144: ...130 Lenovo System x3250 M4 Installation and Service Guide ...
Page 418: ...404 Lenovo System x3250 M4 Installation and Service Guide ...
Page 596: ...582 Lenovo System x3250 M4 Installation and Service Guide ...
Page 604: ...Taiwan BSMI RoHS declaration 590 Lenovo System x3250 M4 Installation and Service Guide ...
Page 612: ...598 Lenovo System x3250 M4 Installation and Service Guide ...
Page 613: ......
Page 614: ......

