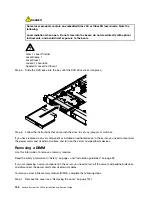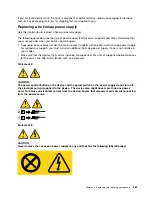
Hazardous voltage, current, and energy levels are present inside any component that has this label
attached. There are no serviceable parts inside these components. If you suspect a problem with
one of these parts, contact a service technician.
Read the safety information in “Safety” on page v and “Installation guidelines” on page 33.
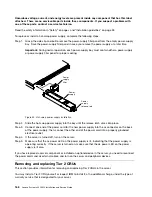
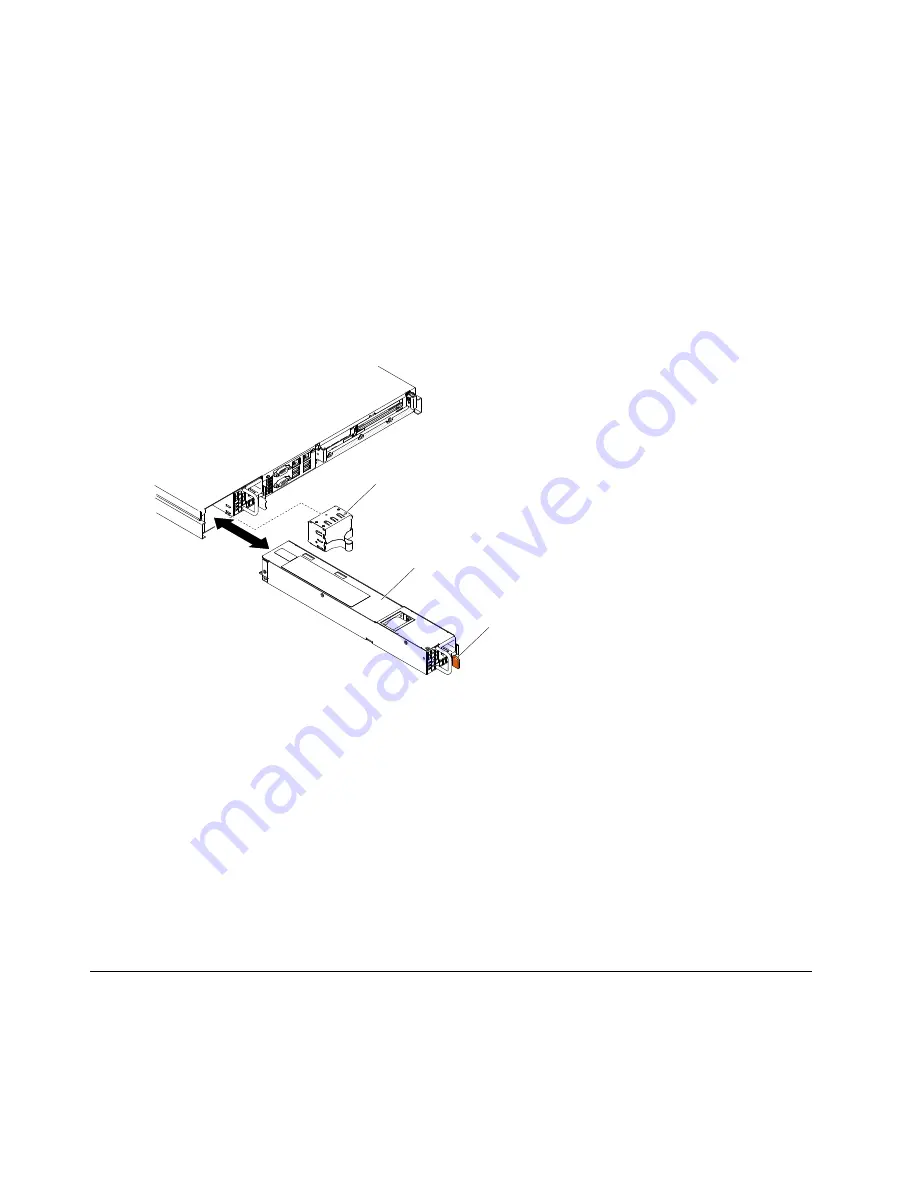
To replace or install a hot-swap power supply, complete the following steps.
Step 1.
Grasp the side clip and pull to remove the power-supply filler panel from the empty power-supply
bay. Save the power-supply filler panel in case you remove the power supply at a later time.
Important:
During normal operation, each power-supply bay must contain either a power supply
or power-supply filler panel for proper cooling.
00
000000000
000000000
000000000
000000000
000000000
000000000
Power
supply
filler
Power
supply
Power
supply
release tab
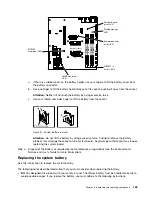
Figure 50. Hot-swap power supply installation
Step 2.
Slide the hot-swap power supply into the bay until the release latch clicks into place.
Step 3.
Connect one end of the power cord for the new power supply into the ac connector on the back
of the power supply; then, connect the other end of the power cord into a properly grounded
electrical outlet.
Step 4.
If the server is turned off, turn on the server.
Step 5.
Make sure that the ac power LED on the power supply is lit, indicating that the power supply is
operating correctly. If the server is turned on, make sure that the dc power LED on the power
supply is lit also.
If you have replaced a server component or installed an optional device in the server, you need to reconnect
the power cords and all external cables, and turn on the server and peripheral devices.
Removing and replacing Tier 2 CRUs
This section provides information for removing and replacing Tier 2 CRUs in the server.
You may install a Tier 2 CRU yourself or request IBM to install it, at no additional charge, under the type of
warranty service that is designated for your server.
168
Lenovo System x3250 M4 Installation and Service Guide
Summary of Contents for System x3250 M4
Page 1: ...Lenovo System x3250 M4 Installation and Service Guide Machine Type 2583 ...
Page 6: ...iv Lenovo System x3250 M4 Installation and Service Guide ...
Page 74: ...60 Lenovo System x3250 M4 Installation and Service Guide ...
Page 98: ...84 Lenovo System x3250 M4 Installation and Service Guide ...
Page 136: ...122 Lenovo System x3250 M4 Installation and Service Guide ...
Page 144: ...130 Lenovo System x3250 M4 Installation and Service Guide ...
Page 418: ...404 Lenovo System x3250 M4 Installation and Service Guide ...
Page 596: ...582 Lenovo System x3250 M4 Installation and Service Guide ...
Page 604: ...Taiwan BSMI RoHS declaration 590 Lenovo System x3250 M4 Installation and Service Guide ...
Page 612: ...598 Lenovo System x3250 M4 Installation and Service Guide ...
Page 613: ......
Page 614: ......

