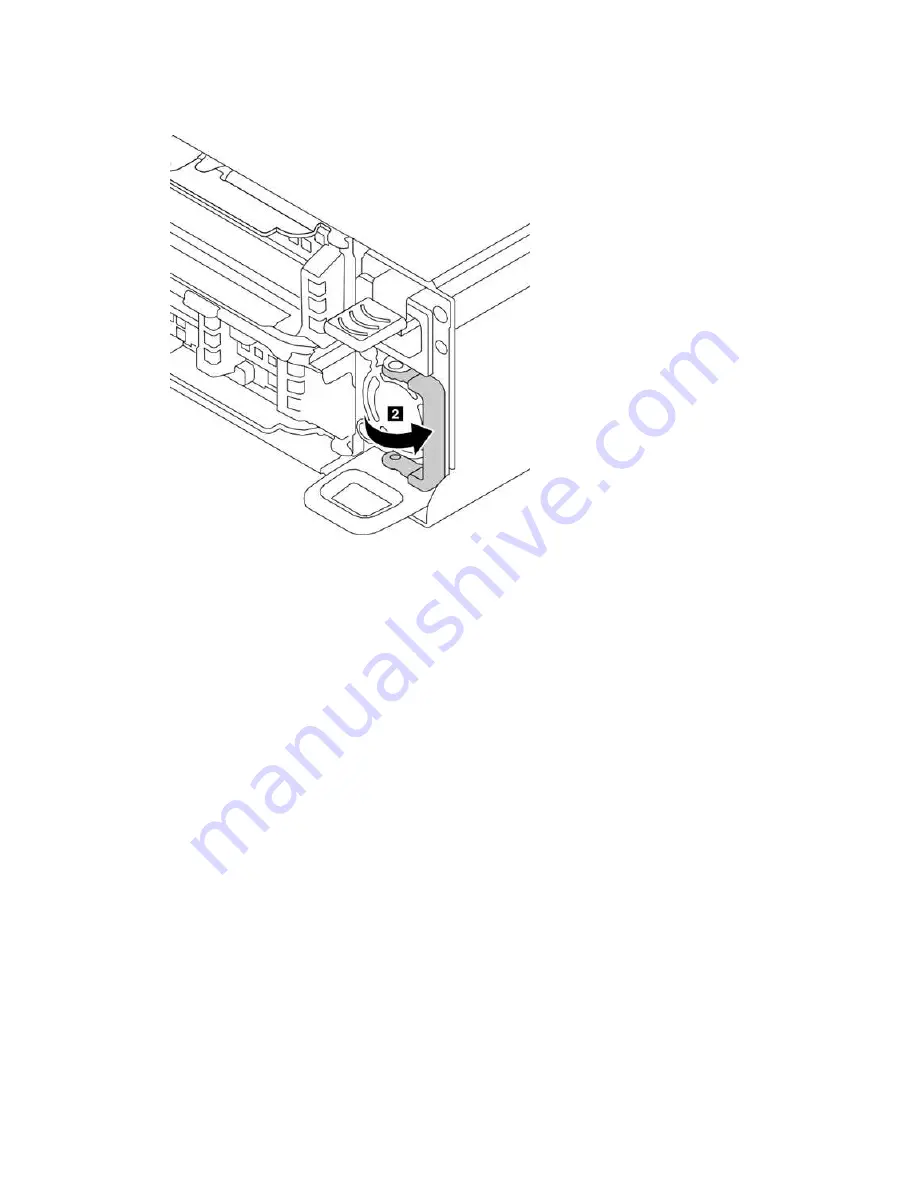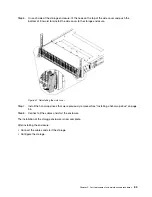
Step 3. Close the handle.
Figure 25. Hot-swap power supply installation (2/2)
The installation of a hot-swap power supply is now complete.
After installing the power supply:
• Connect one end of the power cord to the new power supply connector. Then, connect the other end of
the power cord into a properly grounded electrical outlet.
• Ensure that the power supply LED is lit, indicating that the power supply is operating properly.
Part replacement and maintenance procedures
69
Summary of Contents for ThinkAgile CP
Page 4: ...ii Lenovo ThinkAgile CP Hardware Part Replacement and Component Maintenance Procedures ...
Page 6: ...iv Lenovo ThinkAgile CP Hardware Part Replacement and Component Maintenance Procedures ...
Page 8: ...vi Lenovo ThinkAgile CP Hardware Part Replacement and Component Maintenance Procedures ...
Page 30: ...22 Lenovo ThinkAgile CP Hardware Part Replacement and Component Maintenance Procedures ...
Page 33: ...Chapter 4 Managing Support Mode 25 ...
Page 80: ...72 Lenovo ThinkAgile CP Hardware Part Replacement and Component Maintenance Procedures ...
Page 158: ...150 Lenovo ThinkAgile CP Hardware Part Replacement and Component Maintenance Procedures ...
Page 160: ...152 Lenovo ThinkAgile CP Hardware Part Replacement and Component Maintenance Procedures ...
Page 161: ......
Page 162: ......


