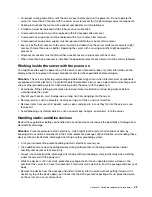
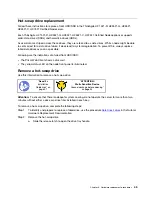

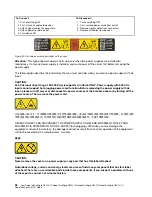

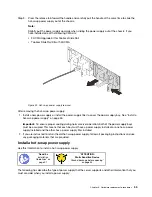


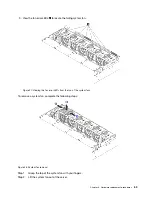


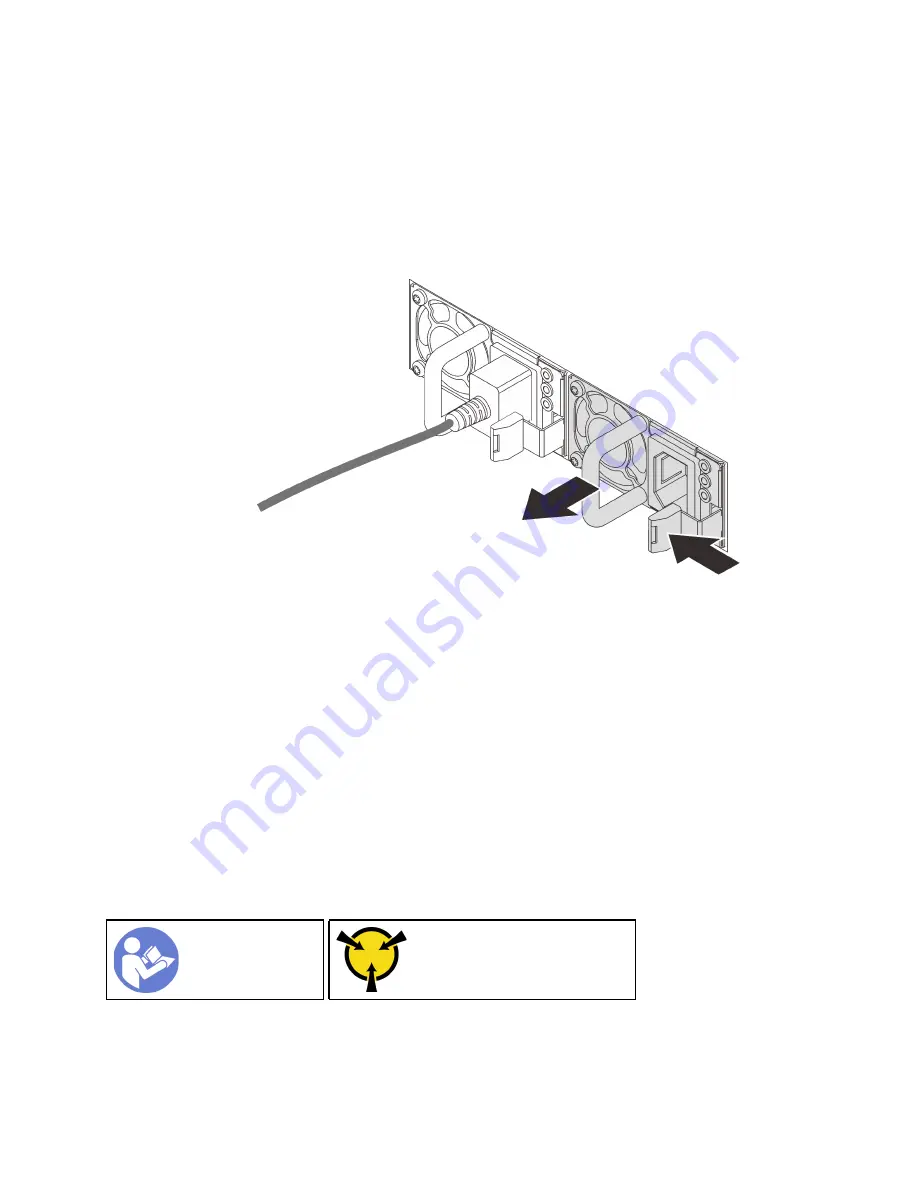
Step 3. Press the release tab toward the handle and carefully pull the handle at the same time to slide the
hot-swap power supply out of the chassis.
Note:
Slightly pull the power supply upwards when sliding the power supply out of the chassis, if you
have installed one of the following CMA kits:
• 2U CMA Upgrade Kit for Toolless Slide Rail
• Toolless Slide Rail Kit with 2U CMA
Figure 22. Hot-swap power supply removal
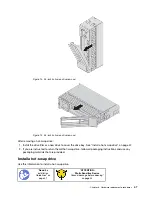
After removing the hot-swap power supply:
1. Install a new power supply or install the power-supply filler to cover the power supply bay. See “Install a
hot-swap power supply” on page 55.
Important:
To ensure proper cooling during normal server operation, both of the power supply bays
must be occupied. This means that each bay must have a power supply installed; or one has a power
supply installed and the other has a power supply filler installed.
2. If you are instructed to return the old hot-swap power supply, follow all packaging instructions and use
any packaging materials that are provided.
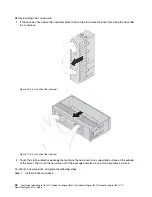
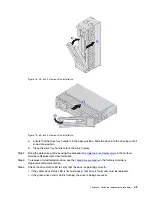
Install a hot-swap power supply
Use this information to install a hot-swap power supply.
Ground package before opening”
The following tips describe the type of power supply that the server supports and other information that you
must consider when you install a power supply:
.
Hardware replacement procedures
55


