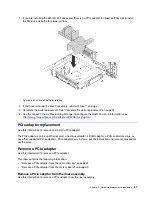
Before removing a PCIe adapter from the system board:
1. Remove the top cover. See “Remove the top cover” on page 86.
2. Record the cable connections on the PCIe adapter and then disconnect all cables from the PCIe
adapter.
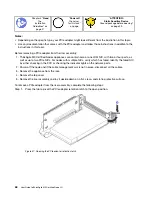
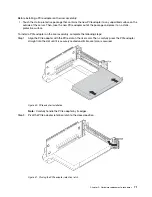
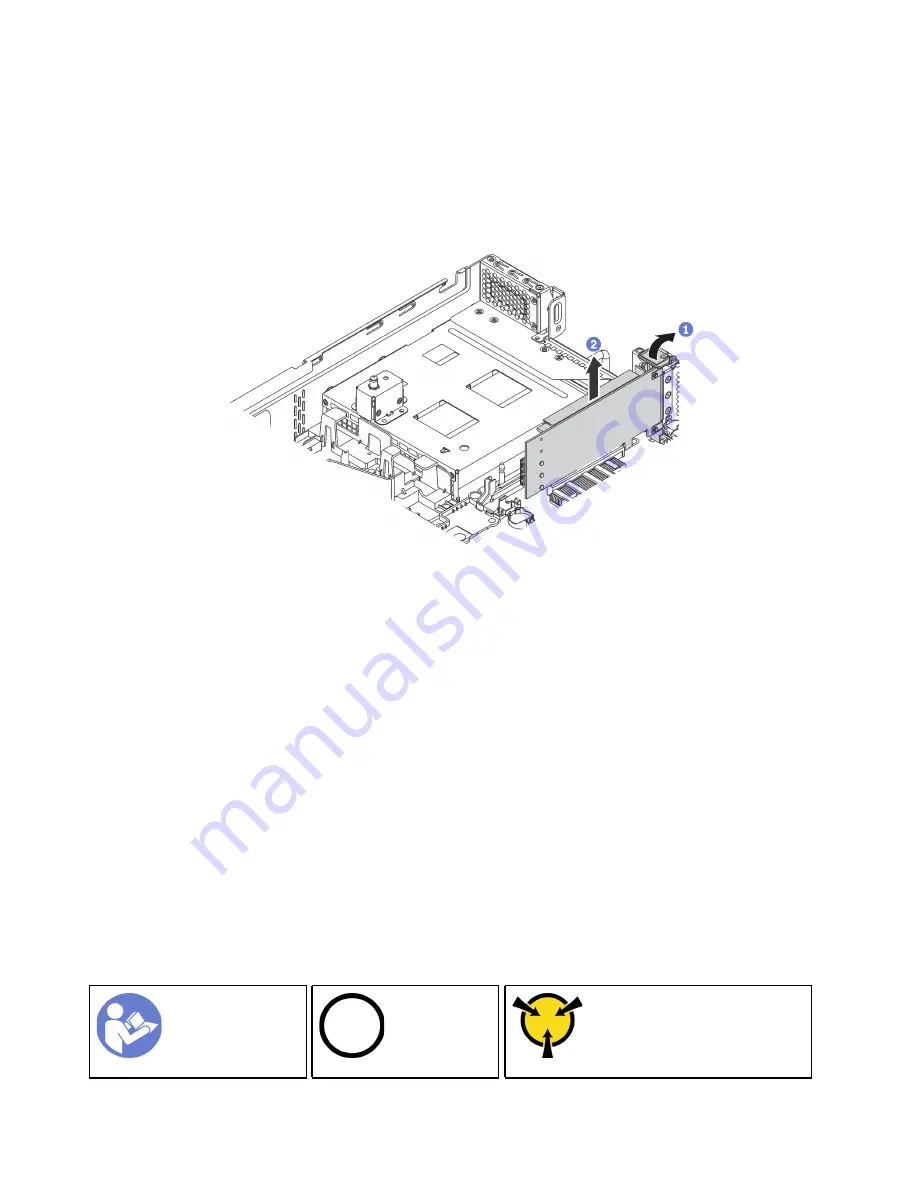
To remove a PCIe adapter from the system board, complete the following steps:
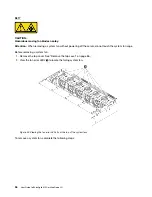
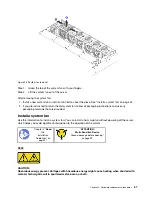
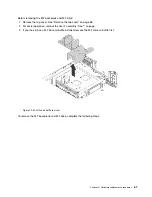
Figure 39. Removing a PCIe adapter from the system board
Step 1. Locate the PCIe slot 4. Then, pivot the PCIe adapter retention latch to the open position.
Step 2. Grasp the PCIe adapter by its edges and carefully pull it out of the PCIe slot.
Note:
The PCIe adapter might fit tightly into the PCIe slot. If necessary, alternatively move each
side of the PCIe adapter a small and equal amount until it is removed from the slot.
If you are instructed to return the old PCIe adapter, follow all packaging instructions and use any packaging
materials that are provided.
Install a PCIe adapter
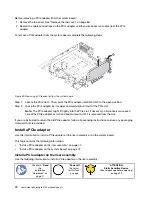
Use this information to install a PCIe adapter on the riser assembly or on the system board.
This topic contains the following information:
• “Install a PCIe adapter on the riser assembly” on page 70
• “Install a PCIe adapter on the system board” on page 72
Install a PCIe adapter on the riser assembly
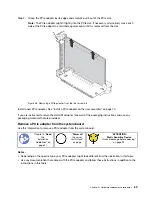
Use the following information to install a PCIe adapter on the riser assembly.
“
Power off
the server
for this task”
on page
Ground package before opening”
70
User Guide forThinkAgile MX Certified Node 2U
Summary of Contents for ThinkAgile MX Certified Node 2U
Page 1: ...User Guide for ThinkAgile MX Certified Node 2U Machine Type 7Z20 ...
Page 4: ...ii User Guide forThinkAgile MX Certified Node 2U ...
Page 14: ...10 User Guide forThinkAgile MX Certified Node 2U ...
Page 38: ...34 User Guide forThinkAgile MX Certified Node 2U ...
Page 94: ...90 User Guide forThinkAgile MX Certified Node 2U ...
Page 98: ...94 User Guide forThinkAgile MX Certified Node 2U ...
Page 100: ...96 User Guide forThinkAgile MX Certified Node 2U ...
Page 103: ......
Page 104: ......

