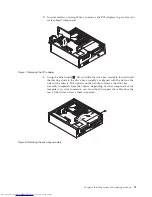

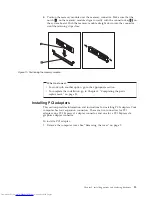
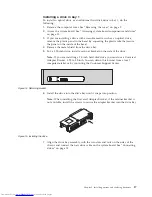
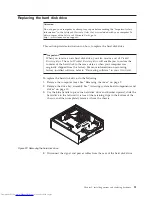

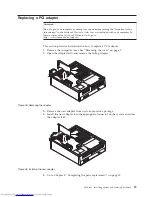

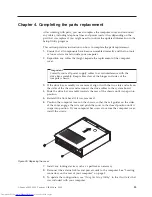
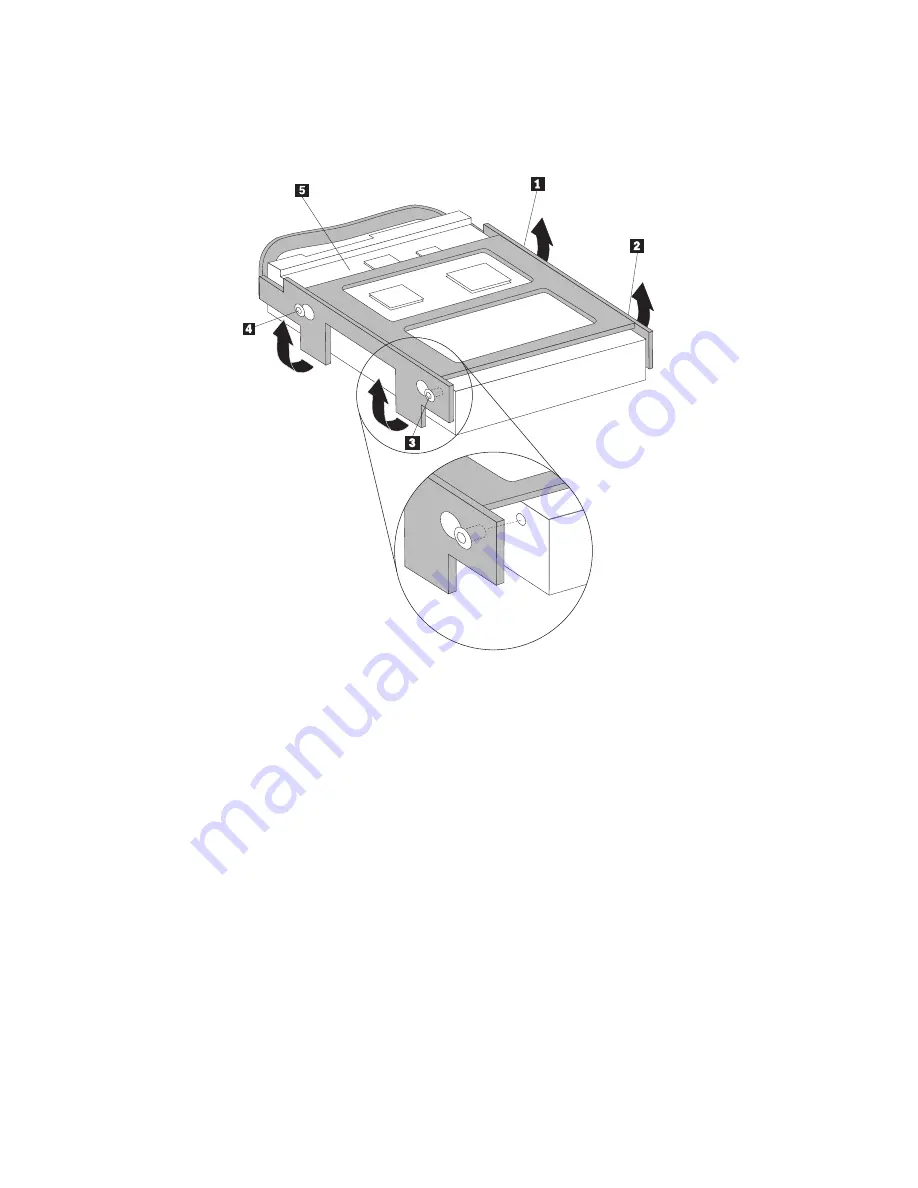
5.
Install
the
new
drive
into
the
blue
bracket,
flex
the
bracket,
and
align
the
pins
1
through
4
on
the
bracket
with
the
holes
in
the
hard
disk
drive.
Do
not
touch
the
circuit
board
5
on
the
bottom
of
the
hard
disk
drive.
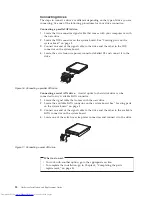
6.
Connect
the
signal
and
power
cables
to
the
rear
of
the
hard
disk
drive.
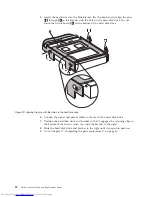
7.
Position
the
hard
disk
drive
and
bracket
so
that
it
engages
the
retaining
clips
in
the
bottom
of
the
chassis
when
you
slide
the
bracket
to
the
right.
8.
Slide
the
hard
disk
drive
and
bracket
to
the
right
until
it
snaps
into
position.
9.
Go
to
Chapter
4,
“Completing
the
parts
replacement,”
on
page
33.
Figure
23.
Aligning
the
pins
with
the
holes
in
the
hard
disk
drive
22
Hardware
Installation
and
Replacement
Guide
Summary of Contents for ThinkCentre 7096
Page 2: ......
Page 3: ...ThinkCentre Hardware Installation and Replacement Guide ...
Page 6: ...iv Hardware Installation and Replacement Guide ...
Page 8: ...vi Hardware Installation and Replacement Guide ...
Page 10: ...2 Hardware Installation and Replacement Guide ...
Page 40: ...32 Hardware Installation and Replacement Guide ...
Page 46: ...38 Hardware Installation and Replacement Guide ...
Page 49: ......
Page 50: ...Part Number 45C6431 Printed in USA 1P P N 45C6431 ...


