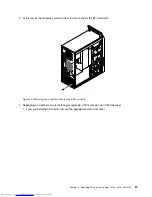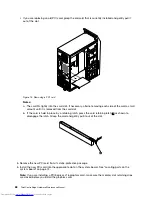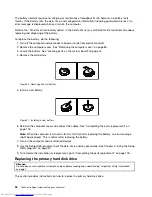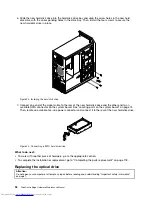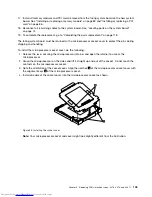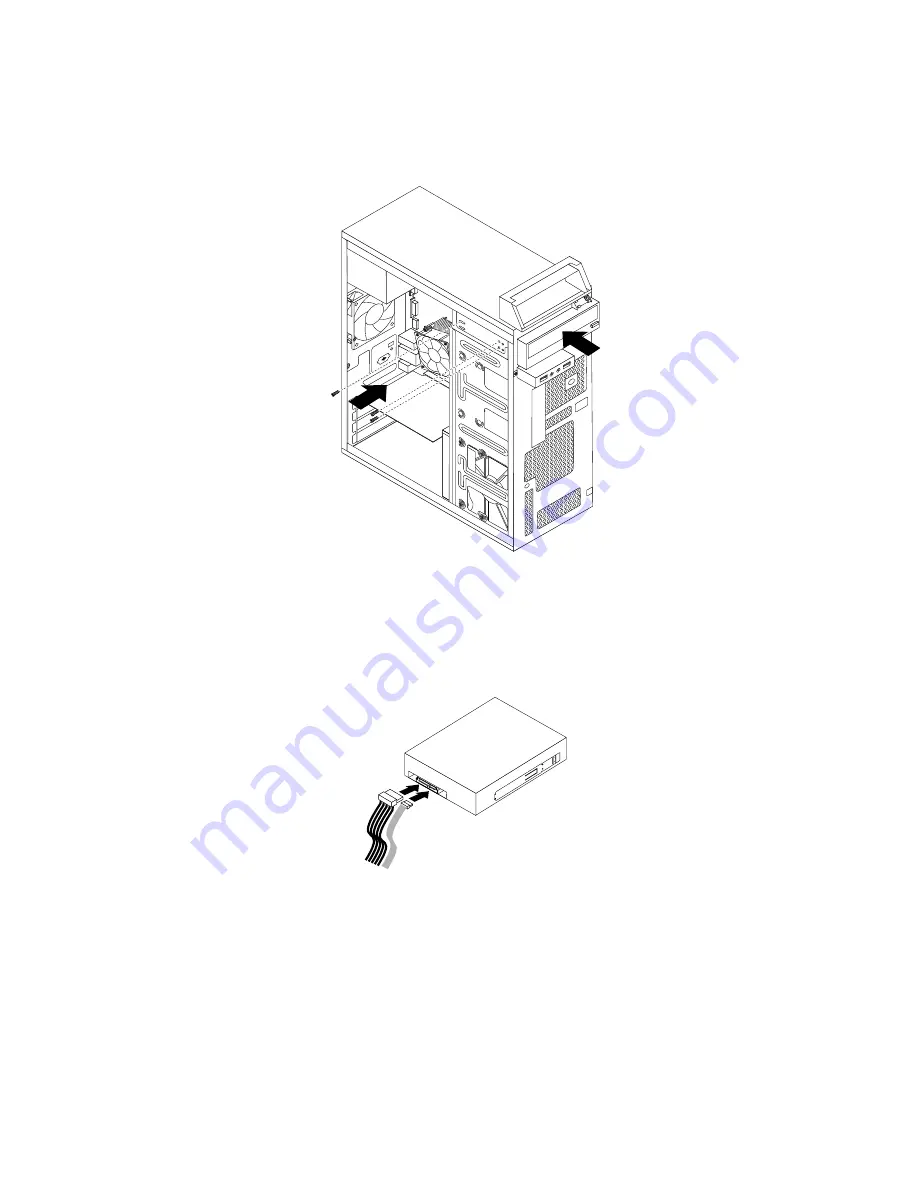
5. Slide the new optical drive into the drive bay from the front and align the screw holes in the new optical
drive with the corresponding holes in the drive bay. Then, install the three screws to secure the new
optical drive in place.
Figure 26. Installing the optical drive
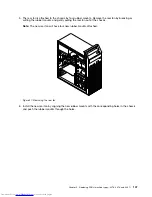
6. Connect one end of the signal cable to the rear of the new optical drive and the other end to an available
SATA connector on the system board. See “Locating parts on the system board” on page 74. Then,
locate an available five-wire power connector and connect it to the rear of the new optical drive.
Figure 27. Connecting the optical drive
What to do next:
• To work with another piece of hardware, go to the appropriate section.
• To complete the installation or replacement, go to “Completing the parts replacement” on page 118.
96
ThinkCentre Edge Hardware Maintenance Manual
Summary of Contents for ThinkCentre Edge 92
Page 1: ...ThinkCentre Edge Hardware Maintenance Manual Machine Types 3376 3377 3378 3386 3387 and 3388 ...
Page 6: ...2 ThinkCentre Edge Hardware Maintenance Manual ...
Page 13: ...Chapter 2 Safety information 9 ...
Page 14: ... 18 kg 37 lb 32 kg 70 5 lb 55 kg 121 2 lb 10 ThinkCentre Edge Hardware Maintenance Manual ...
Page 18: ...14 ThinkCentre Edge Hardware Maintenance Manual ...
Page 19: ...1 2 Chapter 2 Safety information 15 ...
Page 20: ...1 2 16 ThinkCentre Edge Hardware Maintenance Manual ...
Page 26: ...22 ThinkCentre Edge Hardware Maintenance Manual ...
Page 27: ...1 2 Chapter 2 Safety information 23 ...
Page 31: ...Chapter 2 Safety information 27 ...
Page 32: ...1 2 28 ThinkCentre Edge Hardware Maintenance Manual ...
Page 36: ...32 ThinkCentre Edge Hardware Maintenance Manual ...
Page 124: ...120 ThinkCentre Edge Hardware Maintenance Manual ...
Page 166: ...162 ThinkCentre Edge Hardware Maintenance Manual ...
Page 170: ...166 ThinkCentre Edge Hardware Maintenance Manual ...
Page 175: ......

