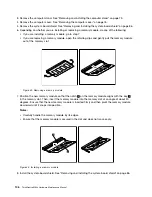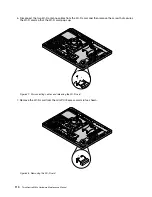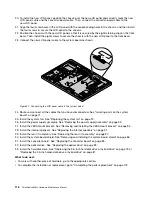
20. To install the new LCD panel, position the chassis over the new LCD panel and correctly route the new
LCD-panel cable and the converter-board cable. Then, connect the converter-board cable to the
new LCD panel.
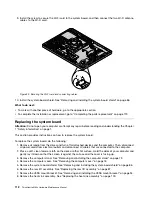
21. Align the four screw holes in the LCD panel with the corresponding holes in the chassis, and then install
the four screws to secure the LCD panel to the chassis.
22. Position the chassis with the new LCD panel so that it is secured by the eight retaining clips on the front
bezel. Then, install the eight screws to secure the chassis with the new LCD panel to the front bezel.
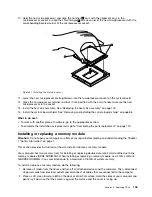
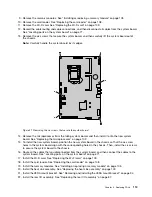
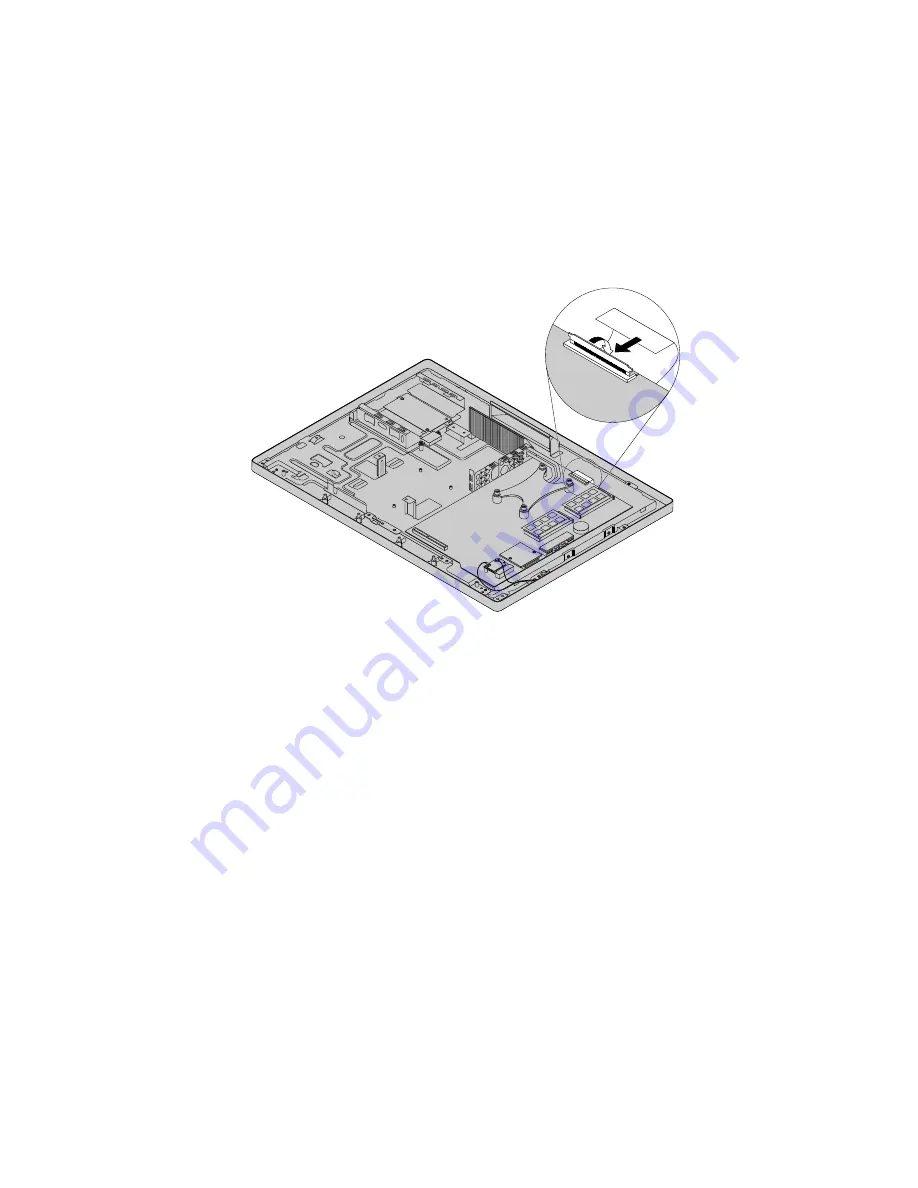
23. Connect the new LCD-panel cable to the system board as shown.
Figure 57. Connecting the LCD panel cable to the system board
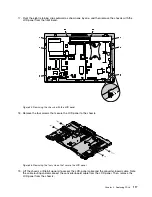
24. Route and connect all the cables that you have disconnected. See “Locating parts on the system
board” on page 71.
25. Install the system fan. See “Replacing the system fan” on page 97.
26. Install the power supply assembly. See “Replacing the power supply assembly” on page 95.
27. Install the VESA mount bracket. See “Removing and installing the VESA mount bracket” on page 94.
28. Install the internal speakers. See “Replacing the internal speakers” on page 91.
29. Install the rear I/O assembly. See “Replacing the rear I/O assembly” on page 87.
30. Install the system-board shield. See “Removing and installing the system-board shield” on page 86.
31. Install the converter board. See “Replacing the converter board” on page 85.
32. Install the optical drive. See “Replacing the optical drive” on page 83.
33. Install the hard disk drive. See “Replacing the 3.5-inch hard disk drive or hybrid drive” on page 79 or
“Replacing the 2.5-inch solid-state drive or hybrid drive” on page 81.
What to do next:
• To work with another piece of hardware, go to the appropriate section.
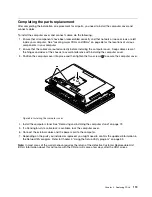
• To complete the installation or replacement, go to “Completing the parts replacement” on page 119.
118
ThinkCentre M83z Hardware Maintenance Manual
Summary of Contents for ThinkCentre M83z
Page 1: ...ThinkCentre M83z Hardware Maintenance Manual Machine Types 10C2 and 10C3 ...
Page 6: ......
Page 13: ...Chapter 1 Safety information 7 ...
Page 17: ...Chapter 1 Safety information 11 ...
Page 18: ...1 2 12 ThinkCentre M83z Hardware Maintenance Manual ...
Page 19: ...1 2 Chapter 1 Safety information 13 ...
Page 24: ...1 2 18 ThinkCentre M83z Hardware Maintenance Manual ...
Page 25: ...1 2 Chapter 1 Safety information 19 ...
Page 28: ...22 ThinkCentre M83z Hardware Maintenance Manual ...
Page 32: ...26 ThinkCentre M83z Hardware Maintenance Manual ...
Page 58: ...52 ThinkCentre M83z Hardware Maintenance Manual ...
Page 64: ...58 ThinkCentre M83z Hardware Maintenance Manual ...
Page 70: ...64 ThinkCentre M83z Hardware Maintenance Manual ...
Page 75: ...Figure 3 Locating major FRUs and CRUs Chapter 7 Locations 69 ...
Page 78: ...72 ThinkCentre M83z Hardware Maintenance Manual ...
Page 126: ...120 ThinkCentre M83z Hardware Maintenance Manual ...
Page 136: ...130 ThinkCentre M83z Hardware Maintenance Manual ...
Page 137: ......
Page 138: ......


